
Tuna Macaroni Salad
Hey there, fellow foodies! Today, I’m excited to share with you one of my all-time favorite recipes: Tuna Macaroni Salad. This classic dish holds a special place in my heart, as it’s a nostalgic reminder of family gatherings and summer picnics. Plus, it’s incredibly easy to make and oh-so-delicious! With tender elbow macaroni, savory canned tuna, crunchy veggies, and a creamy dressing, this tuna macaroni salad recipe is a true crowd-pleaser that’s perfect for any occasion.
Tuna Macaroni Salad
But before we dive into the recipe, let’s take a quick trip down memory lane and explore the history of tuna macaroni salad. While the exact origins of this dish are unclear, it’s believed to have originated in the mid-20th century as a convenient and budget-friendly meal option. During this time, canned tuna became widely available and was often used to stretch meals and add protein to salads and casseroles. Tuna macaroni salad quickly gained popularity as a hearty and satisfying dish that could be enjoyed year-round.

Now, let’s talk about how to make this delicious tuna macaroni salad. It starts with cooking up a batch of elbow macaroni until tender, then cooling it down with a rinse of cold water. Meanwhile, we’ll whip up a creamy dressing using mayonnaise, sweet pickle relish, lemon juice, and a blend of seasonings. Once the dressing is ready, we’ll toss it with the cooked pasta, canned tuna, chopped hard-boiled eggs, and thawed peas. The result? A flavor-packed salad that’s creamy, tangy, and oh-so-satisfying. Trust me, once you try this tuna macaroni salad, you’ll be hooked!

What Will You Love About This Recipe
There are so many reasons to love this Tuna Macaroni Salad recipe! First and foremost, it’s incredibly delicious. The combination of tender macaroni, flavorful canned tuna, crunchy veggies, and creamy dressing creates a symphony of flavors and textures that’s simply irresistible. Each bite is bursting with savory goodness, making it a satisfying and comforting dish that’s perfect for lunch, dinner, or any time you’re craving something tasty.
Another reason to love this recipe is its versatility. It’s a great way to use up pantry staples like canned tuna and pasta, and you can easily customize it with your favorite add-ins and seasonings. Whether you prefer extra veggies, a bit of heat from hot sauce or diced jalapenos, or a sprinkle of fresh herbs for added freshness, the possibilities are endless. Plus, you can adjust the ingredients to suit your dietary preferences or any allergies you may have, making it a flexible and adaptable dish for everyone to enjoy.
Lastly, this Tuna Macaroni Salad is perfect for meal prep and make-ahead meals. It’s great for batch cooking and can be stored in the refrigerator for several days, allowing the flavors to meld together and develop even more. It’s a convenient option for busy weeknights or on-the-go lunches, and it’s always a hit at potlucks, picnics, and gatherings. So whether you’re cooking for yourself or feeding a crowd, this Tuna Macaroni Salad is sure to be a favorite recipe that you’ll turn to again and again!

How to Make
Step 1: Start by cooking your pasta as directed on the back of the box. I always add salt to the water to help add flavor to the pasta.

Step 2: While your pasta is cooking, open the tuna cans. Make sure to drain off excess liquid. Also, add your eggs in water to make hard boiled eggs.
Step 3: Now in a bowl mix up your mayo and other dressing ingredients. Full directions are below. Once well mixed stir in the tuna.

Step 4: Drain cooked pasta and run under cold water to cool down. Once drained place in your serving bowl. Pour your tuna mixture into your pour pasta and stir well.

Step 5: Add in your thawed peas.

Step 6: Carefully mix in your chopped eggs. When your salad is finished and all mixed up store in the fridge until ready to serve up your Tuna salad.

Tips & Tricks
- Cook the pasta just right: Be sure to cook the elbow macaroni until it’s al dente, or slightly firm to the bite. Overcooking can result in mushy pasta, which can affect the texture of the salad.
- Cool the pasta completely: After cooking the macaroni, be sure to rinse it under cold water to stop the cooking process and cool it down quickly. This helps prevent the pasta from becoming too soft and sticky, and it also ensures that the salad stays chilled and refreshing.
- Use quality ingredients: Opt for high-quality canned tuna packed in water for the best flavor and texture. Similarly, use fresh or frozen peas, and ripe eggs for the best results.
- Customize the dressing: Feel free to adjust the dressing to suit your taste preferences. You can add more or less mayonnaise, sweet pickle relish, lemon juice, and seasonings according to your liking.
- Let the flavors meld: After mixing all the ingredients together, let the Tuna Macaroni Salad chill in the refrigerator for at least an hour before serving. This allows the flavors to meld together and develop, resulting in a more flavorful and cohesive dish.
- Serve with a twist: Get creative with your serving options! Try serving the Tuna Macaroni Salad in lettuce cups, stuffed into pita pockets, or alongside a fresh green salad for a complete meal.
FAQs about cheesecloth
Can I Do This Without Tuna
If you want to skip the tuna go ahead and replace like shrimp, chicken or make it plain like a classic pasta salad.

Check out these recipes:

Tuna Macaroni Salad
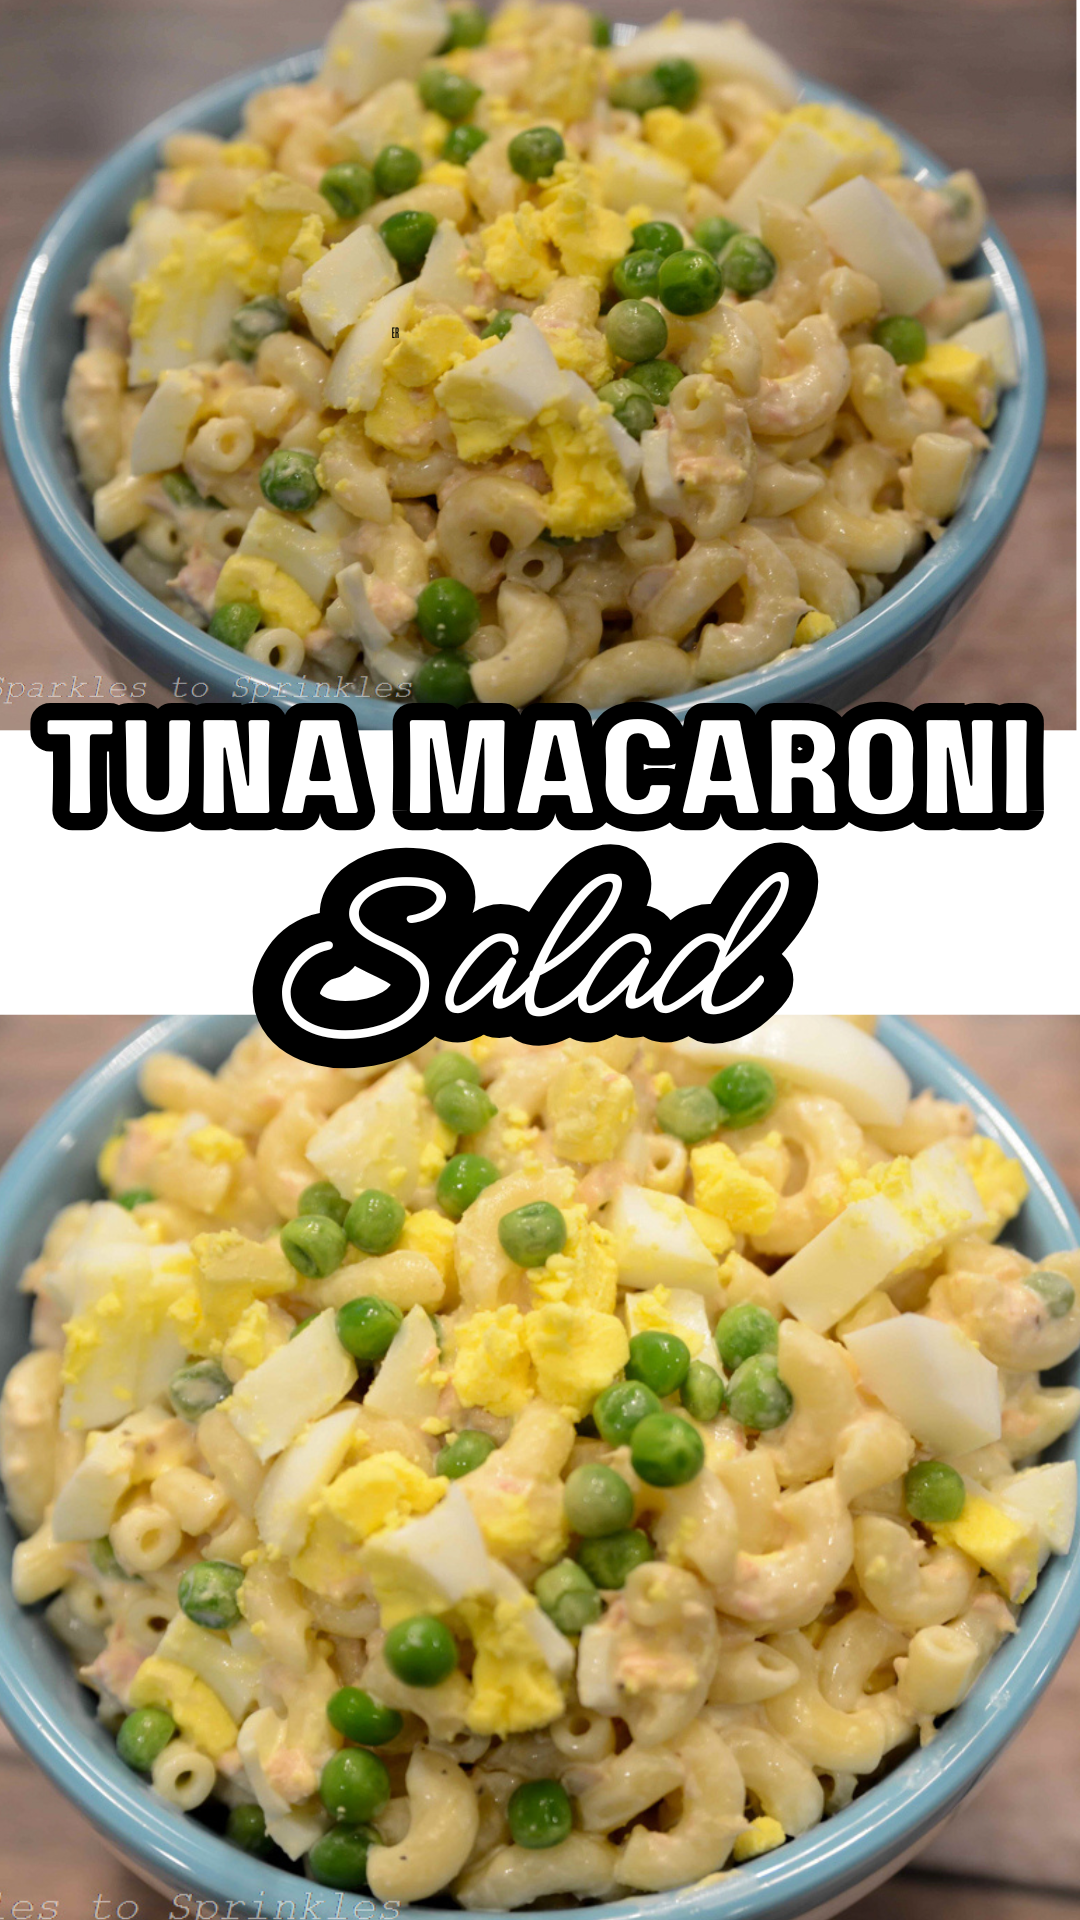
Tuna macaroni salad is one of my favorite cold salads! This tuna macaroni salad is loaded with rich flavorful tuna, hard boiled eggs, pasta in a creamy homemade dressing.
Ingredients
- 1 LB Elbow Macaroni, cooked
- 2 5 OZ Cans of Tuna, in water, drained
- 4 Hard Boiled Eggs, chopped
- 1 Cup Frozen Peas, thawed
- 1 Cup Mayonnaise
- 1/2 Cup Sweet Pickle Relish Juice
- 3/4 TSP Onion Salt
- 3/4 TSP Celery Seed
- 3/4 TSP Pepper
- 1 TBSP Lemon Juice
Instructions
- Cook macaroni, run cold water over it to cool.
- In a bowl, combine mayonnaise, relish, salt, celery seed, pepper, & lemon juice. Whisk to combine well.
- Add in tuna.
- Add cooled pasta to a serving bowl.
- Pour mayonnaise mixture over the pasta. Mix well to make sure all of the pasta is coated.
- Add in the thawed peas. Mix to combine.
- Add in chopped eggs. Stir gently to combine.
- Put in the refrigerator to chill for a few hours before serving.
Nutrition Information:
Yield:
14Serving Size:
1Amount Per Serving: Calories: 226Total Fat: 14gSaturated Fat: 3gTrans Fat: 0gUnsaturated Fat: 11gCholesterol: 68mgSodium: 313mgCarbohydrates: 15gFiber: 1gSugar: 3gProtein: 9g

Hey there, I’m Melissa
Meet Melissa, the creative mind behind Sparkles to Sprinkles, where imagination thrives and joy abounds. A proud Jersey girl who fell in love with a New York boy, Melissa is a dedicated mom to four boys and a few fur babies. Her journey into blogging began when she chose to stay home and nurture her children. Formerly a workaholic, Melissa found solace and passion in blogging, inspired by her mother-in-law’s culinary prowess. Through family recipes and cooking classes, Melissa honed her skills, often attending with her son Michael, who shares her love for cooking. Her blog showcases diverse recipes, from beloved family classics to global cuisines, featuring her expertise with kitchen appliances like the Instant Pot and air fryer. Join Melissa on her culinary journey, where tried-and-true favorites meet exciting new discoveries!
I’m Melissa, the imaginative force behind Sparkles to Sprinkles, where creativity comes to life, and sprinkles of joy are scattered generously. Melissa is a proud Jersey girl who found love with a New York boy. As a mom to four wonderful boys and a few fur babies, her journey into the world of blogging began after making the life-changing decision to stay home and raise her children. Previously a dedicated workaholic, Melissa’s blog became her creative outlet and passion project. Inspired by her mother-in-law, a masterful cook renowned for her delicious home-cooked meals and legendary holiday feasts (think mouthwatering sausage stuffing), Melissa honed her culinary skills through a combination of family recipes and countless cooking classes. She often attended these classes with her son Michael, who shared her enthusiasm for cooking from a young age. Melissa’s love for learning extends beyond familiar cuisines, as she enjoys exploring international recipes in hands-on cooking classes. Her blog features a diverse array of recipes, showcasing her expertise with various kitchen appliances such as the Instant Pot, air fryer, Slow Cooker, Ninja Foodi, Instant Vortex Plus, and more. Join Melissa on her culinary adventures as she shares tried-and-true family favorites alongside exciting new discoveries!


