Mickey and Minnie Valentine’s Cookies
Bring a little Disney magic to your Valentine’s Day celebrations with these adorable Mickey and Minnie Valentine’s cookies! Perfectly themed for the holiday, these sweet treats are as fun to make as they are to eat. Using simple ingredients like Oreos, candy melts, and sprinkles, you can create festive cookies that are sure to delight both kids and adults.

Mikey and Minnie Valentine’s Cookies
These cookies are ideal for a Valentine’s Day party, classroom exchange, or simply as a fun family activity. Each cookie is dipped, decorated, and transformed into the iconic Mickey and Minnie Mouse, complete with hearts for a seasonal touch. Plus, they’re no-bake, making them a quick and easy project!
Ready to dive into this creative and tasty treat? Gather your ingredients and follow our simple step-by-step guide to whip up a batch of these magical Valentine’s Day cookies.

What You Will Love About This Recipe
Fun and Festive: The Disney-inspired design is perfect for Valentine’s Day and makes these cookies extra special.
No-Bake Simplicity: You don’t need to turn on the oven—just dip, decorate, and enjoy!
Perfect for All Ages: This is a great activity for kids and adults to do together. Everyone will love seeing the cookies come to life.
Customizable: Swap out colors or sprinkles to suit other holidays or themes.

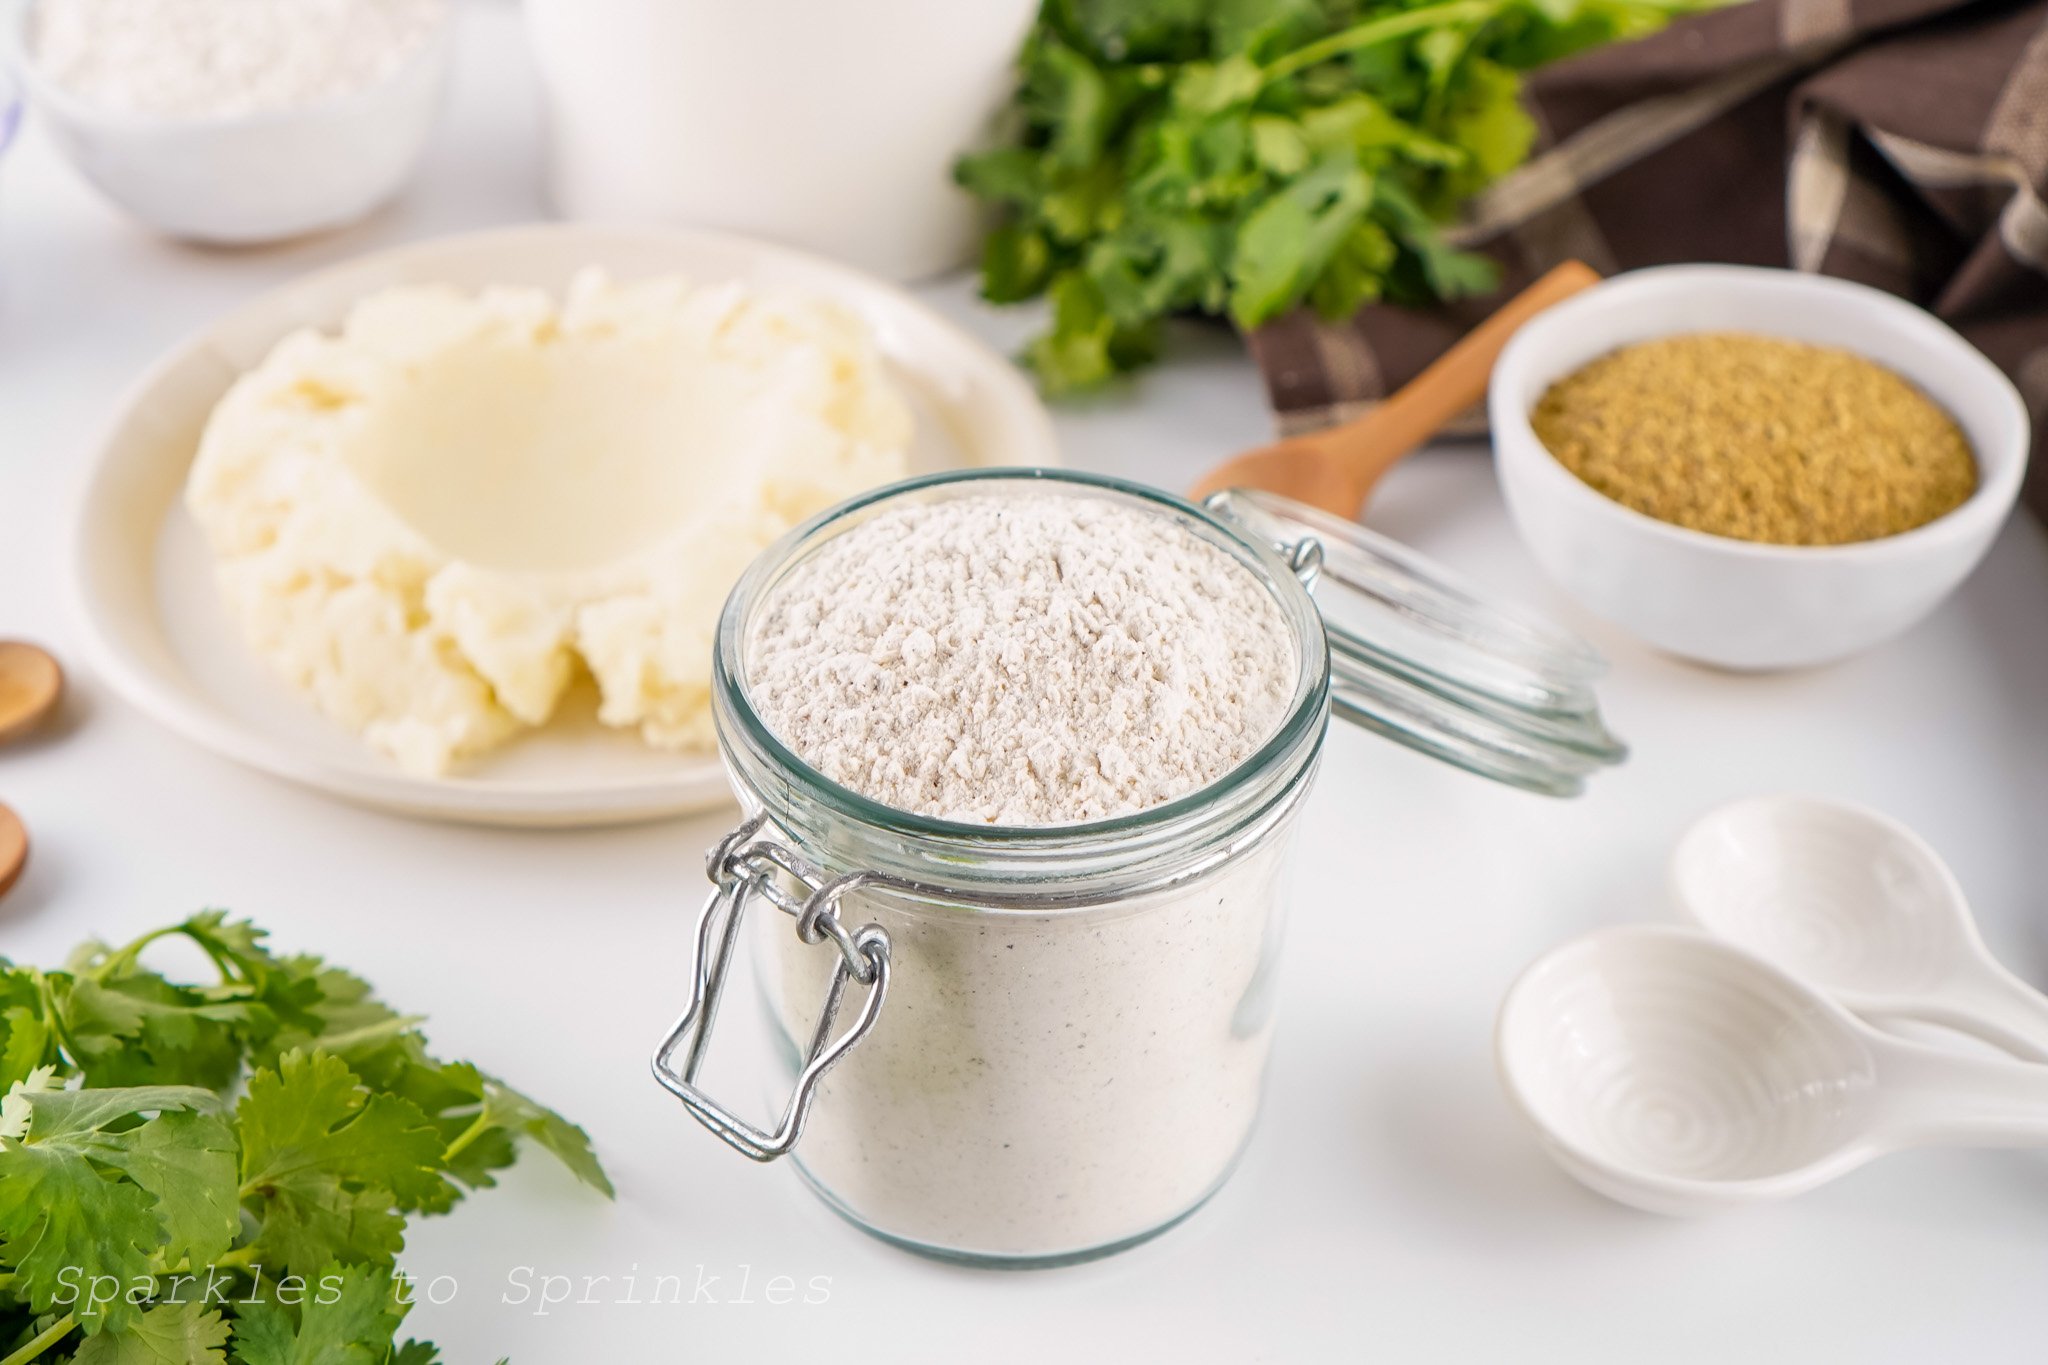
Ingredients:
● Oreo cookies
● Mini Oreo cookies
● Red candy melts
● Pink candy melts
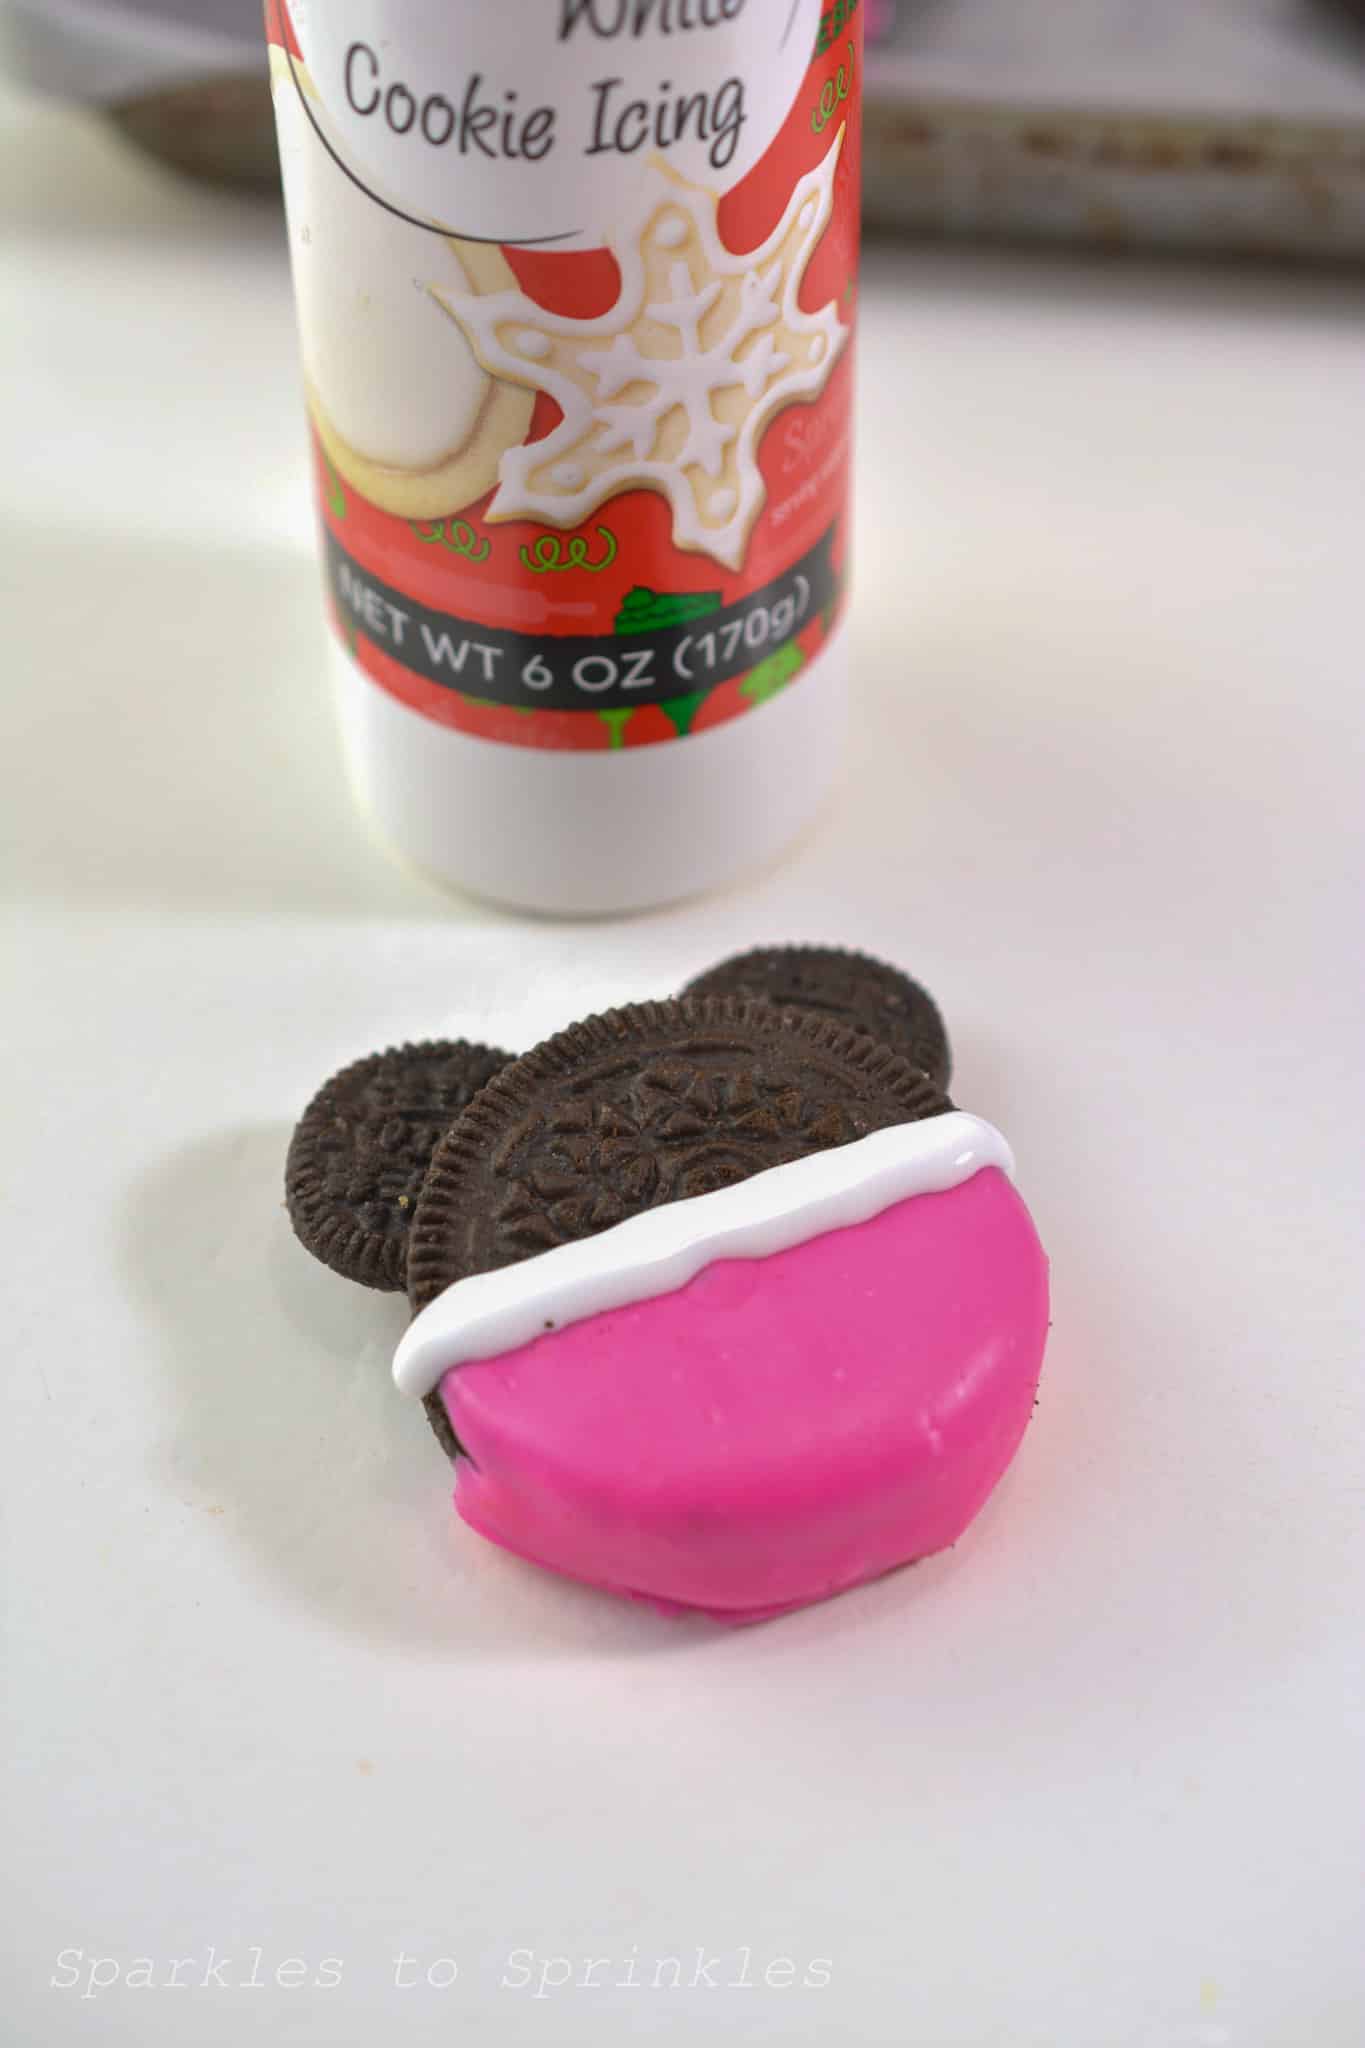
● White cookie icing
● Small pink heart-shaped sprinkles
● Large red heart-shaped sprinkles or candies

How to Make Mickey and Minnie Valentine’s Cookies
1. Place the red candy melts and pink candy melts in microwave safe bowls. Heat them
each on defrost mode for 1 minute at a time, stopping to stir in between, until they
are completely melted.

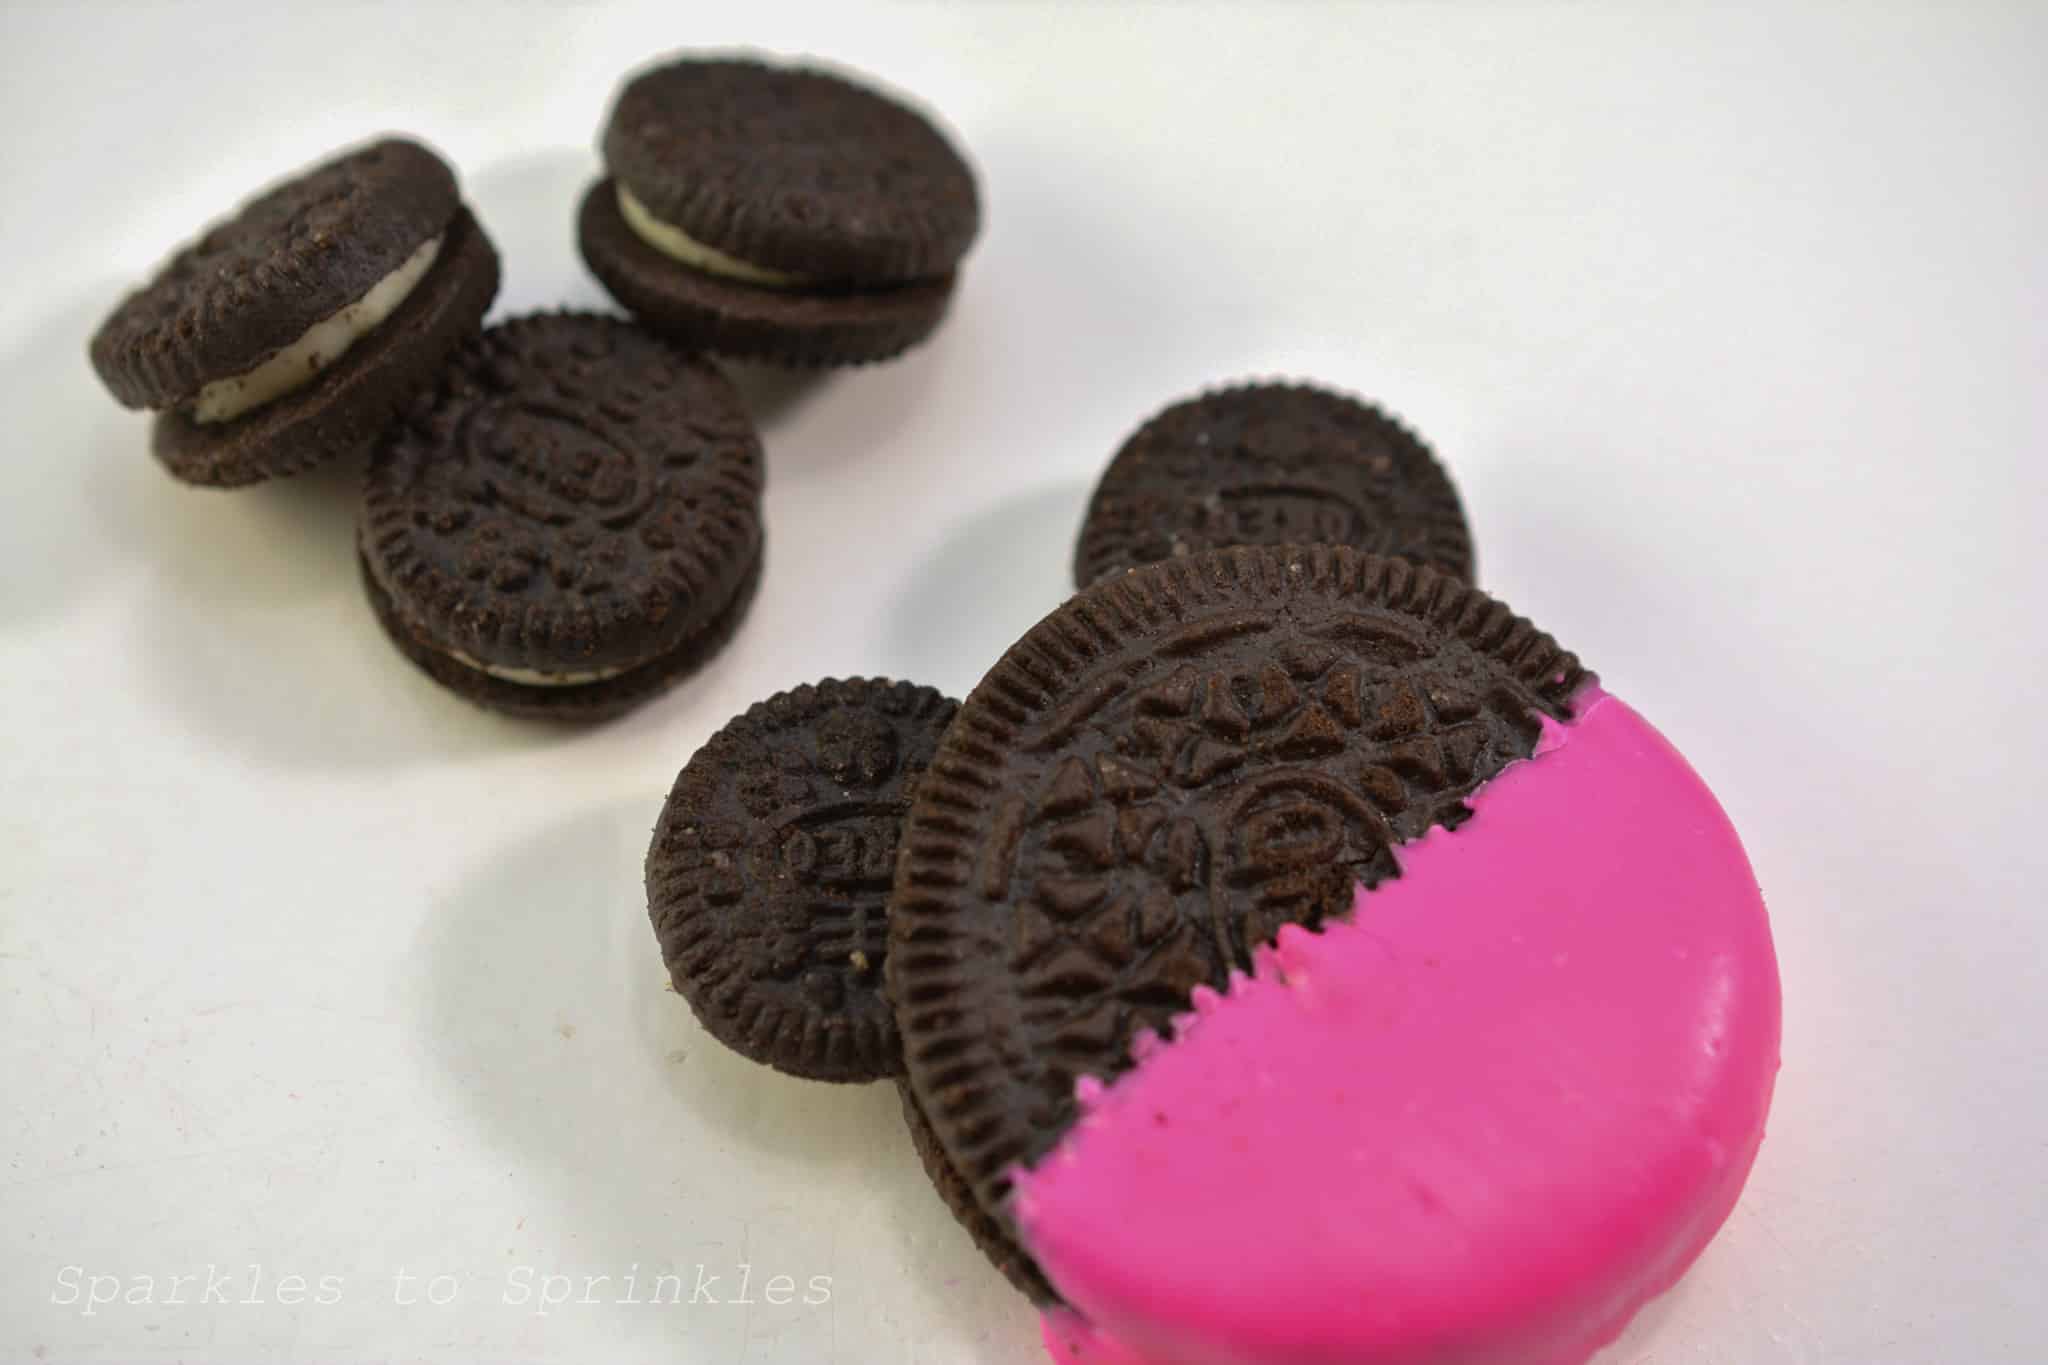
2. Dip the bottom half of each regular sized Oreo cookie into either the pink melted
candy or the red. Set the dipped Oreos on a wax paper lined cookie sheet, and allow
the candy to harden.


3. Open the mini Oreo cookies, and remove the icing from the middle. Place one mini
Oreo cookie half on each side of the larger candy dipped Oreos. Press the mini
Oreos into the top of the regular sized Oreos gently so you do not break them. These
will be Minnie and Mickey’s ears.
4. Once dry, use white cookie icing to draw a straight line across the center of each
cookie overlapping the place where the cookie has been dipped in the candy.

5. On the pink Minnie Mouse cookies, place a dab of white icing on the back of a large
heart-shaped sprinkle or candy, and press it to the top of the Oreo, slightly off to the
side. This will take the place of Minnie’s usual bow.

6. On the red Mickey Mouse cookies, place a tiny dab of icing on the back of two small
pink heart-shaped sprinkles and apply them to the front of the regular-sized Oreos in
the red candy dipped portion. These will be the buttons on Mickey’s pants.

7. Allow the cookie icing to harden, and store the cookies in an airtight container, or
serve immediately.

Tips & Tricks
- Use Wax Paper: Lining your cookie sheet with wax paper makes cleanup a breeze and prevents the candy coating from sticking.
- Melt Candy Slowly: Use the defrost setting on your microwave to avoid overheating and seizing the candy melts. Stir frequently for smooth results.
- Be Gentle: When attaching the mini Oreo “ears,” press lightly to avoid breaking the cookies.
- Let Everything Dry: Make sure the candy coating and icing are fully hardened before moving or storing the cookies to keep the decorations intact.
- Get Creative: Try experimenting with different colors of candy melts or sprinkles to make the cookies uniquely yours.
FAQs


Mickey and Minnie Valentine’s Cookies
These Mickey and Minnie Valentine's Cookies are sure to be a hit this year. As it takes chocolate dipped Oreos and transforms them into fun Minnie and Mickey treats that everyone will love. Enjoy them this Valentine’s Day or throughout the entire year.
Ingredients
- ● Oreo cookies
- ● Mini Oreo cookies
- ● Red candy melts
- ● Pink candy melts
- ● White cookie icing
- ● Small pink heart-shaped sprinkles
- ● Large red heart-shaped sprinkles or candies
Instructions
1. Place the red candy melts and pink candy melts in microwave safe bowls. Heat them
each on defrost mode for 1 minute at a time, stopping to stir in between, until they
are completely melted.
2. Dip the bottom half of each regular sized Oreo cookie into either the pink melted
candy or the red. Set the dipped Oreos on a wax paper lined cookie sheet, and allow
the candy to harden.
3. Open the mini Oreo cookies, and remove the icing from the middle. Place one mini
Oreo cookie half on each side of the larger candy dipped Oreos. Press the mini
Oreos into the top of the regular sized Oreos gently so you do not break them. These
will be Minnie and Mickey’s ears.
4. Once dry, use white cookie icing to draw a straight line cross the center of each
cookie overlapping the place where the cookie has been dipped in the candy.
5. On the pink Minnie Mouse cookies, place a dab of white icing on the back of a large
heart-shaped sprinkle or candy, and press it to the top of the Oreo, slightly off to the
side. This will take the place of Minnie’s usual bow.
6. On the red Mickey Mouse cookies, place a tiny dab of icing on the back of two small
pink heart-shaped sprinkles, and apply them to the front of the regular-sized Oreos in
the red candy dipped portion. These will be the buttons on Mickey’s pants.
7. Allow the cookie icing to harden, and store the cookies in an airtight container, or
serve immediately.
I’m Melissa, the imaginative force behind Sparkles to Sprinkles, where creativity comes to life, and sprinkles of joy are scattered generously. Melissa is a proud Jersey girl who found love with a New York boy. As a mom to four wonderful boys and a few fur babies, her journey into the world of blogging began after making the life-changing decision to stay home and raise her children. Previously a dedicated workaholic, Melissa’s blog became her creative outlet and passion project. Inspired by her mother-in-law, a masterful cook renowned for her delicious home-cooked meals and legendary holiday feasts (think mouthwatering sausage stuffing), Melissa honed her culinary skills through a combination of family recipes and countless cooking classes. She often attended these classes with her son Michael, who shared her enthusiasm for cooking from a young age. Melissa’s love for learning extends beyond familiar cuisines, as she enjoys exploring international recipes in hands-on cooking classes. Her blog features a diverse array of recipes, showcasing her expertise with various kitchen appliances such as the Instant Pot, air fryer, Slow Cooker, Ninja Foodi, Instant Vortex Plus, and more. Join Melissa on her culinary adventures as she shares tried-and-true family favorites alongside exciting new discoveries!