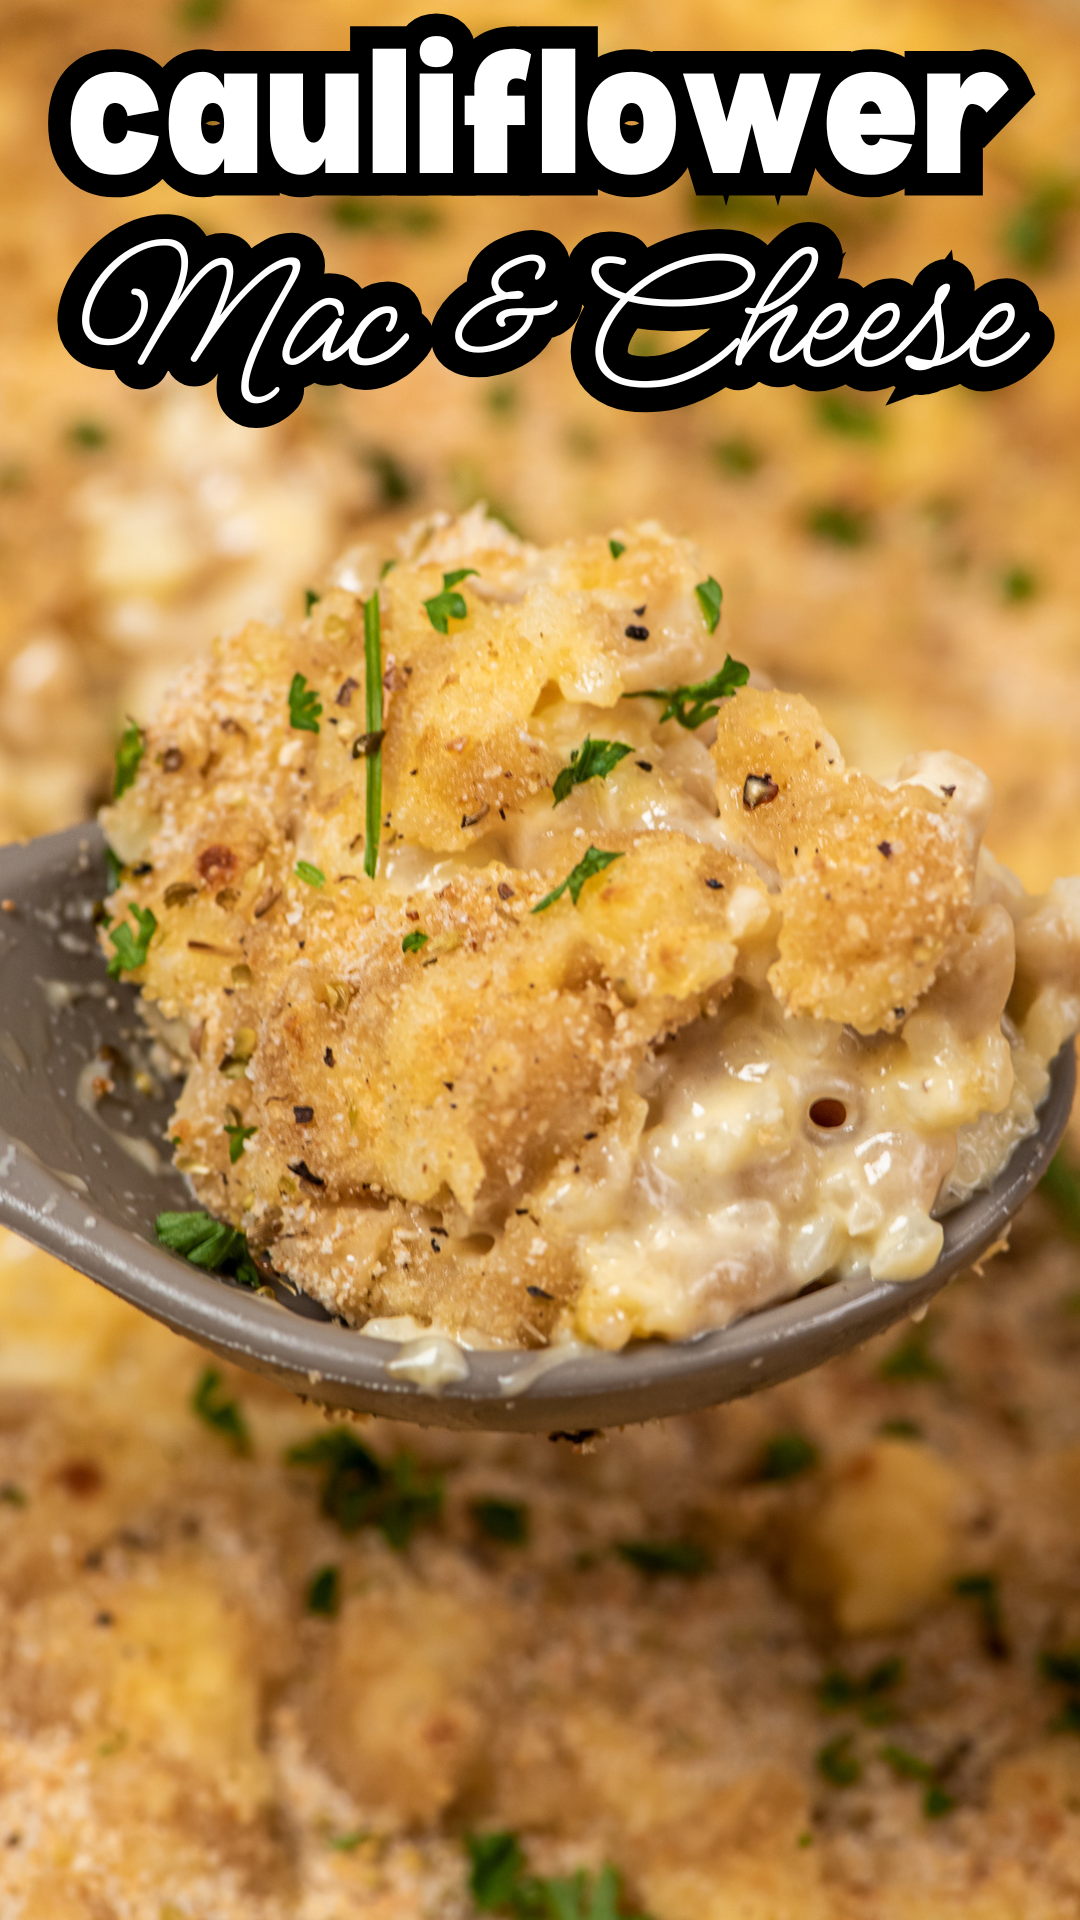
Cheesy Cauliflower Mac and Cheese ~ Even the Kids Will Love It
Cauliflower mac and cheese is one of those perfect in-between recipes—it’s cozy, cheesy, and comforting, but it sneaks in a little veggie goodness, too. Whether you’re trying to eat more vegetables or just love creamy pasta bakes, this dish is a hit with picky eaters and veggie lovers alike. It has the golden, bubbling cheese crust we all crave, the smooth sauce of classic mac and cheese, and a subtle boost from cauliflower rice that makes it feel a bit lighter (but still totally indulgent).

Cauliflower Mac and Cheese
If you like this recipe, you’ll probably also love Cracker Barrel Mac and cheese and Instant Pot Garlic Parmesan Whole Roasted Cauliflower. They’re both super simple and crowd-pleasing. You could even pair this with air fryer copycat Chick-fil-A Chicken Nuggets for a dinner that tastes like comfort food but still sneaks in a few healthier swaps.
This cauliflower mac and cheese is perfect as a weeknight dinner, a side dish for holidays, or something to bring to a potluck. You don’t have to tell anyone there’s cauliflower in it—just let the melted fontina and cheddar do the talking. And it’s great for using up what you have, too. You can swap cheeses, use frozen or fresh cauliflower, or even skip the pasta if you’re going low-carb.

What You Will Love About This Recipe
Sneaky veggies – It blends cauliflower into the sauce, which boosts nutrition without sacrificing flavor.
Ultra creamy – Thanks to two types of cheese, you get a silky, gooey texture in every bite.
Versatile – You can use fresh or frozen cauliflower rice, switch up the cheeses, or adjust the spice level to your taste.
Kid-approved – The cheesy goodness makes it a hit even with picky eaters.
One pot – If you’re using a dutch oven, this entire dish goes from stovetop to oven with minimal cleanup.

Ingredients
- ½ pound macaroni
- 4 tablespoons butter
- 1 (12 ounces) bag frozen or fresh cauliflower rice (or 2 cups if making your own)
- 3 cloves garlic, minced
- 2 tablespoons all-purpose flour
- Salt & pepper
- 2 cups shredded cheddar cheese
- 2 ½ cups shredded fontina cheese
- 1 ½ cups whole milk or half-and-half
- ⅓ cup breadcrumbs
- 1 teaspoon dried oregano
- 1 teaspoon garlic salt
- Fresh parsley for garnish (optional)
How to Make Cauliflower Mac and Cheese
- Cook pasta until al dente. Drain and set aside.
- Preheat oven to 400°F.
- In an oven safe pot or dutch oven over medium-low heat, melt 2 tablespoons butter. Stir in the garlic and cook for one minute. Add in riced cauliflower. If using frozen, allow to thaw in the pot, stirring occasionally. Once cauliflower is thawed, increase heat to medium high and cook until it is beginning to brown. Season with salt and pepper. Remove cauliflower from pot and set aside. (I put it right into the colander on top of the draining pasta.)

- Turn heat on stove back down to medium-low. Melt remaining 2 tablespoons butter. Whisk in the flour and cook for 2 minutes. Whisk in the milk to form a sauce and cook until it thickens, about 2 minutes. Be careful to not let it boil!
- Turn heat down to lowest setting and stir in the cheeses, one handful at a time.

- When all the cheese is melted, stir in the cauliflower and pasta.

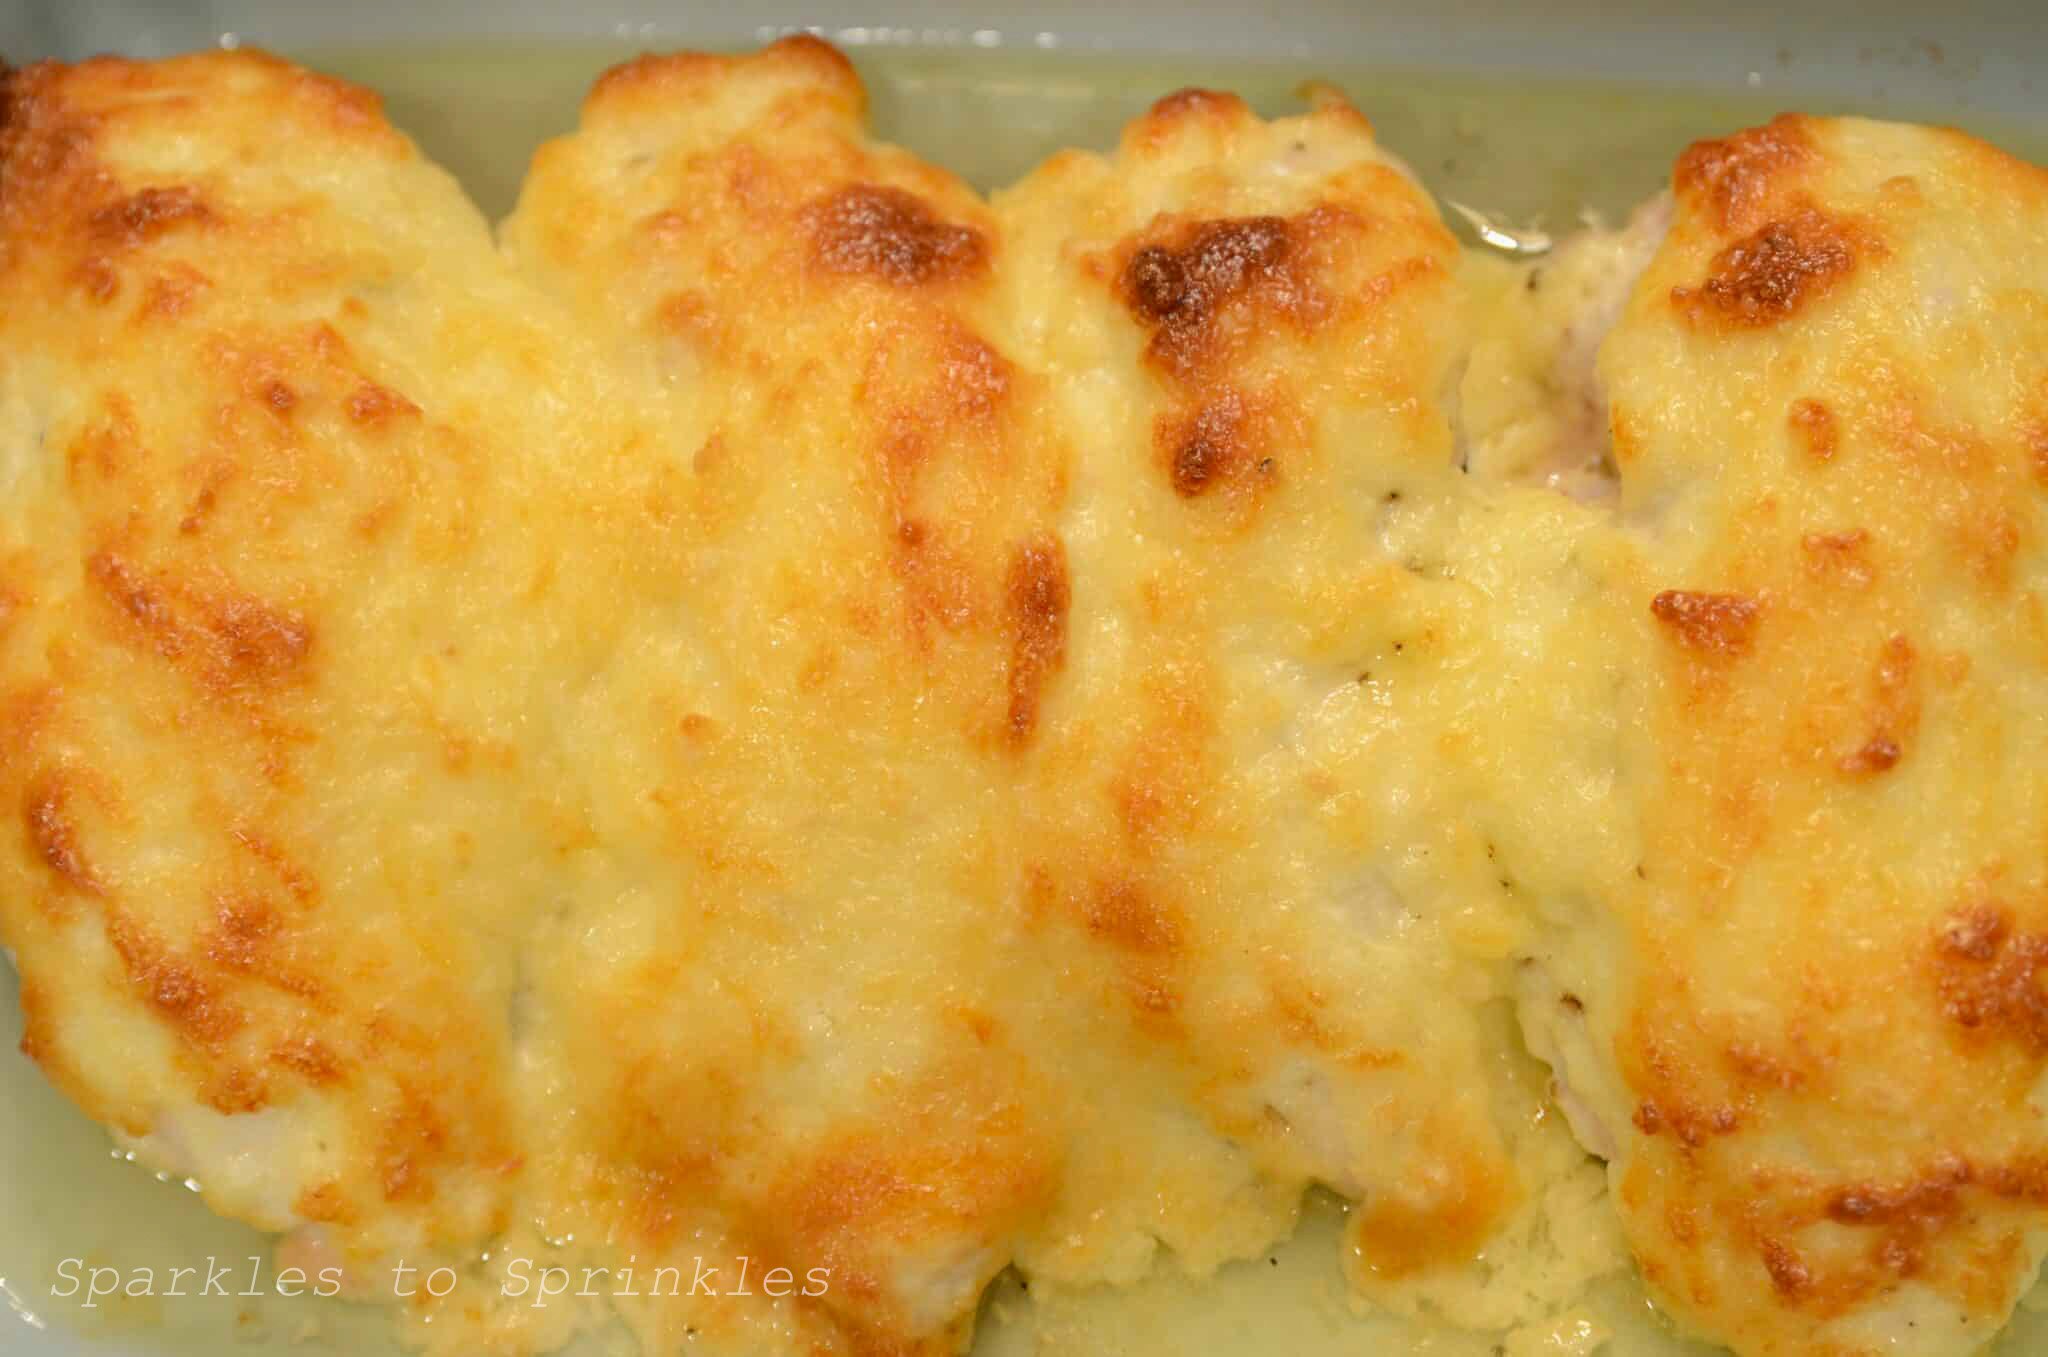
- Top with breadcrumbs and sprinkle with oregano and garlic salt evenly over the top of everything.

- Bake in the oven for about 10 to 15 minutes, until crumbs are browning and cheese is bubbling.

- Garnish with fresh parsley and a crack of pepper if desired. Serve warm.

Tips & Tricks
- Use a box grater to shred your own cheese—it melts better than pre-shredded cheese, which often contains anti-caking agents.
- Don’t skip browning the cauliflower. It adds flavor and gives it a slightly nutty taste that pairs perfectly with the cheese.
- Taste the sauce before baking. You can always add more garlic salt, pepper, or even a dash of hot sauce if you like heat.
- Make it gluten-free by using GF pasta and a 1:1 GF flour blend for the roux.
- For extra crunch, mix a bit of parmesan or melted butter into your breadcrumb topping.

FAQs

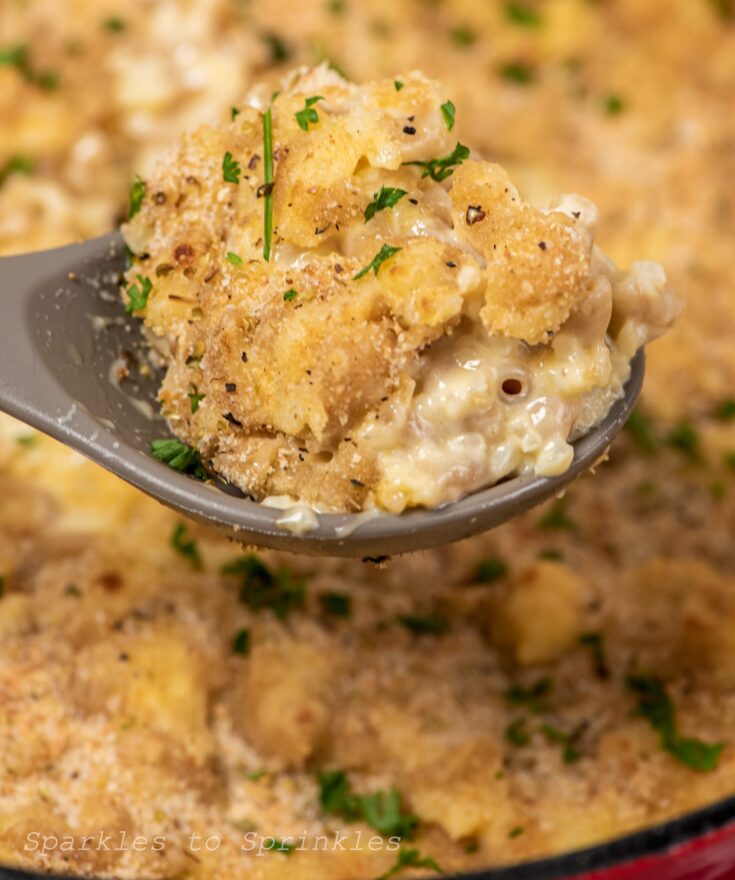
Cauliflower Mac and Cheese
Cauliflower Mac and Cheese is cheesy and delicious and is the perfect healthy substitute for traditional macaroni and cheese. Made with real cheese, pasta, and riced cauliflower you will be ready to enjoy this dish in under an hour from start to finish.
Ingredients
- ½ pound macaroni
- 4 tablespoons butter
- 1 (12 ounces) bag frozen or fresh cauliflower rice (or 2 cups if making your own)
- 3 cloves garlic, minced
- 2 tablespoons all-purpose flour
- Salt & pepper
- 2 cups shredded cheddar cheese
- 2 ½ cups shredded fontina cheese
- 1 ½ cups whole milk or half-and-half
- ⅓ cup breadcrumbs
- 1 teaspoon dried oregano
- 1 teaspoon garlic salt
- Fresh parsley for garnish (optional)
Instructions
- Cook pasta until al dente. Drain and set aside.
- Preheat oven to 400°F.
- In an oven-safe pot or dutch oven over medium-low heat, melt 2 tablespoons of butter. Stir in the garlic and cook for one minute. Add in riced cauliflower. If using frozen, allow thawing in the pot, stirring occasionally. Once cauliflower is thawed, increase heat to medium-high and cook until it is beginning to brown. Season with salt and pepper. Remove cauliflower from the pot and set aside. (I put it right into the colander on top of the draining pasta.)
- Turn heat on stove back down to medium-low. Melt remaining 2 tablespoons butter. Whisk in the flour and cook for 2 minutes. Whisk in the milk to form a sauce and cook until it thickens, about 2 minutes. Be careful to not let it boil!
- Turn heat down to the lowest setting and stir in the cheeses, one handful at a time. When all the cheese is melted, stir in the cauliflower and pasta. Top with breadcrumbs and sprinkle with oregano and garlic salt evenly over the top of everything.
- Bake in the oven for about 10 to 15 minutes, until crumbs are browning and cheese is bubbling.
- Garnish with fresh parsley and a crack of pepper if desired. Serve warm.
Nutrition Information:
Yield:
6Serving Size:
1Amount Per Serving: Calories: 556Total Fat: 39gSaturated Fat: 23gTrans Fat: 1gUnsaturated Fat: 13gCholesterol: 123mgSodium: 1098mgCarbohydrates: 25gFiber: 2gSugar: 5gProtein: 27g
I’m Melissa, the imaginative force behind Sparkles to Sprinkles, where creativity comes to life, and sprinkles of joy are scattered generously. Melissa is a proud Jersey girl who found love with a New York boy. As a mom to four wonderful boys and a few fur babies, her journey into the world of blogging began after making the life-changing decision to stay home and raise her children. Previously a dedicated workaholic, Melissa’s blog became her creative outlet and passion project. Inspired by her mother-in-law, a masterful cook renowned for her delicious home-cooked meals and legendary holiday feasts (think mouthwatering sausage stuffing), Melissa honed her culinary skills through a combination of family recipes and countless cooking classes. She often attended these classes with her son Michael, who shared her enthusiasm for cooking from a young age. Melissa’s love for learning extends beyond familiar cuisines, as she enjoys exploring international recipes in hands-on cooking classes. Her blog features a diverse array of recipes, showcasing her expertise with various kitchen appliances such as the Instant Pot, air fryer, Slow Cooker, Ninja Foodi, Instant Vortex Plus, and more. Join Melissa on her culinary adventures as she shares tried-and-true family favorites alongside exciting new discoveries!