
Kool-Aid Pie
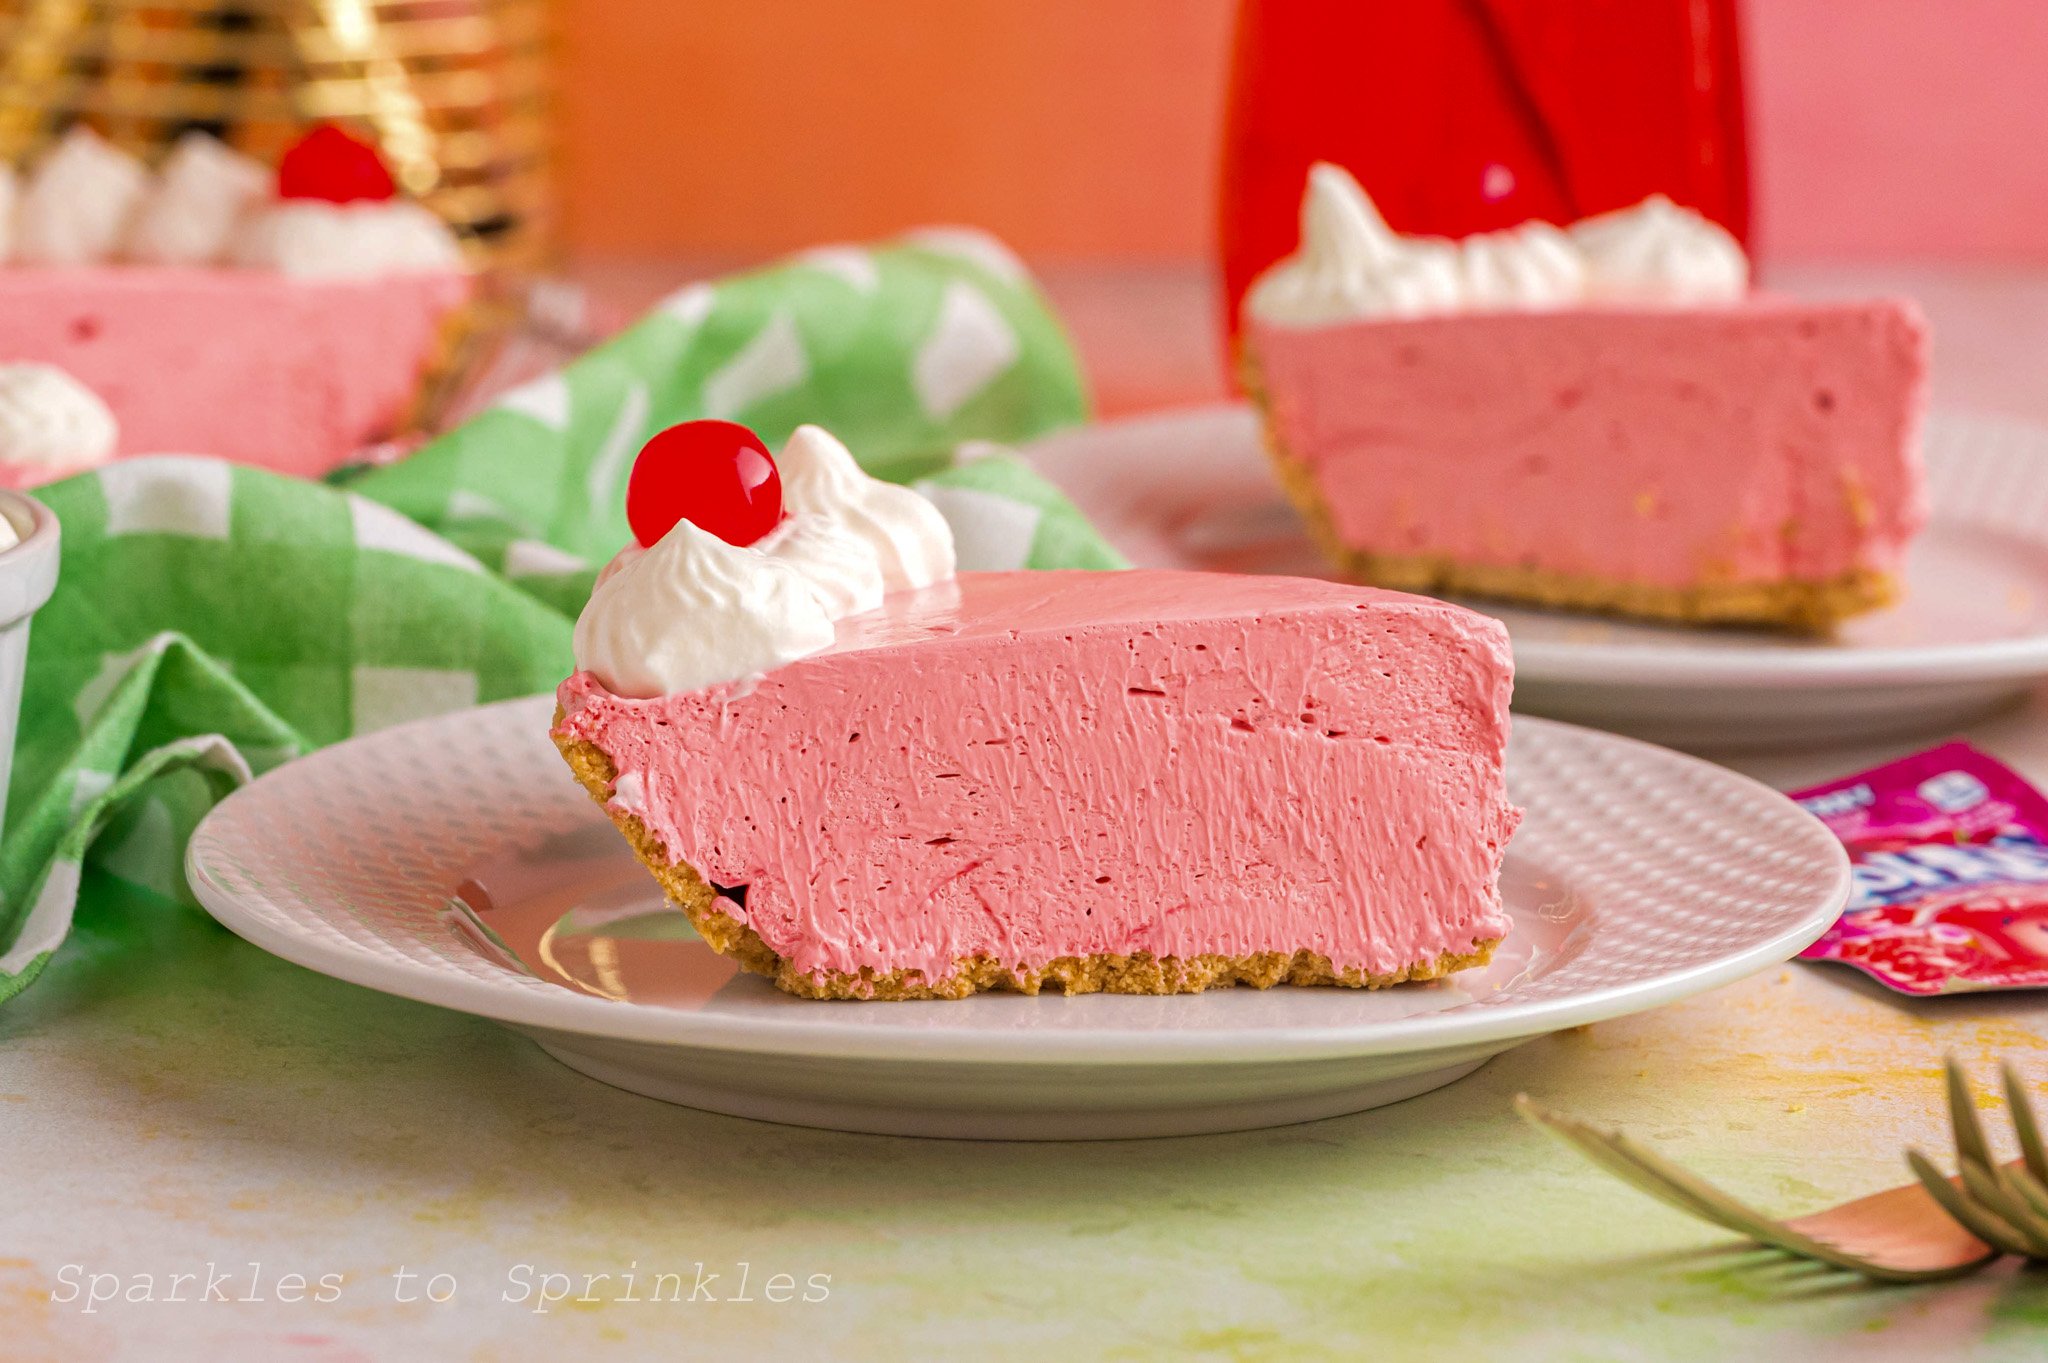
Kool-Aid pie is one of those nostalgic no bake desserts that instantly takes you back to childhood. It is creamy, colorful, and incredibly easy to make with just a few simple ingredients. This classic dessert has been around for generations and for good reason. It is budget friendly, quick to put together, and always a hit at potlucks, holidays, and summer gatherings.

Kool-Aid Pie
If you love easy no-bake desserts like this, you may also enjoy Peanut Butter Oreo Pie, lemon lush, and chocolate lasagna. These types of simple dessert recipes are perfect when you want something sweet without turning on the oven or spending hours in the kitchen.
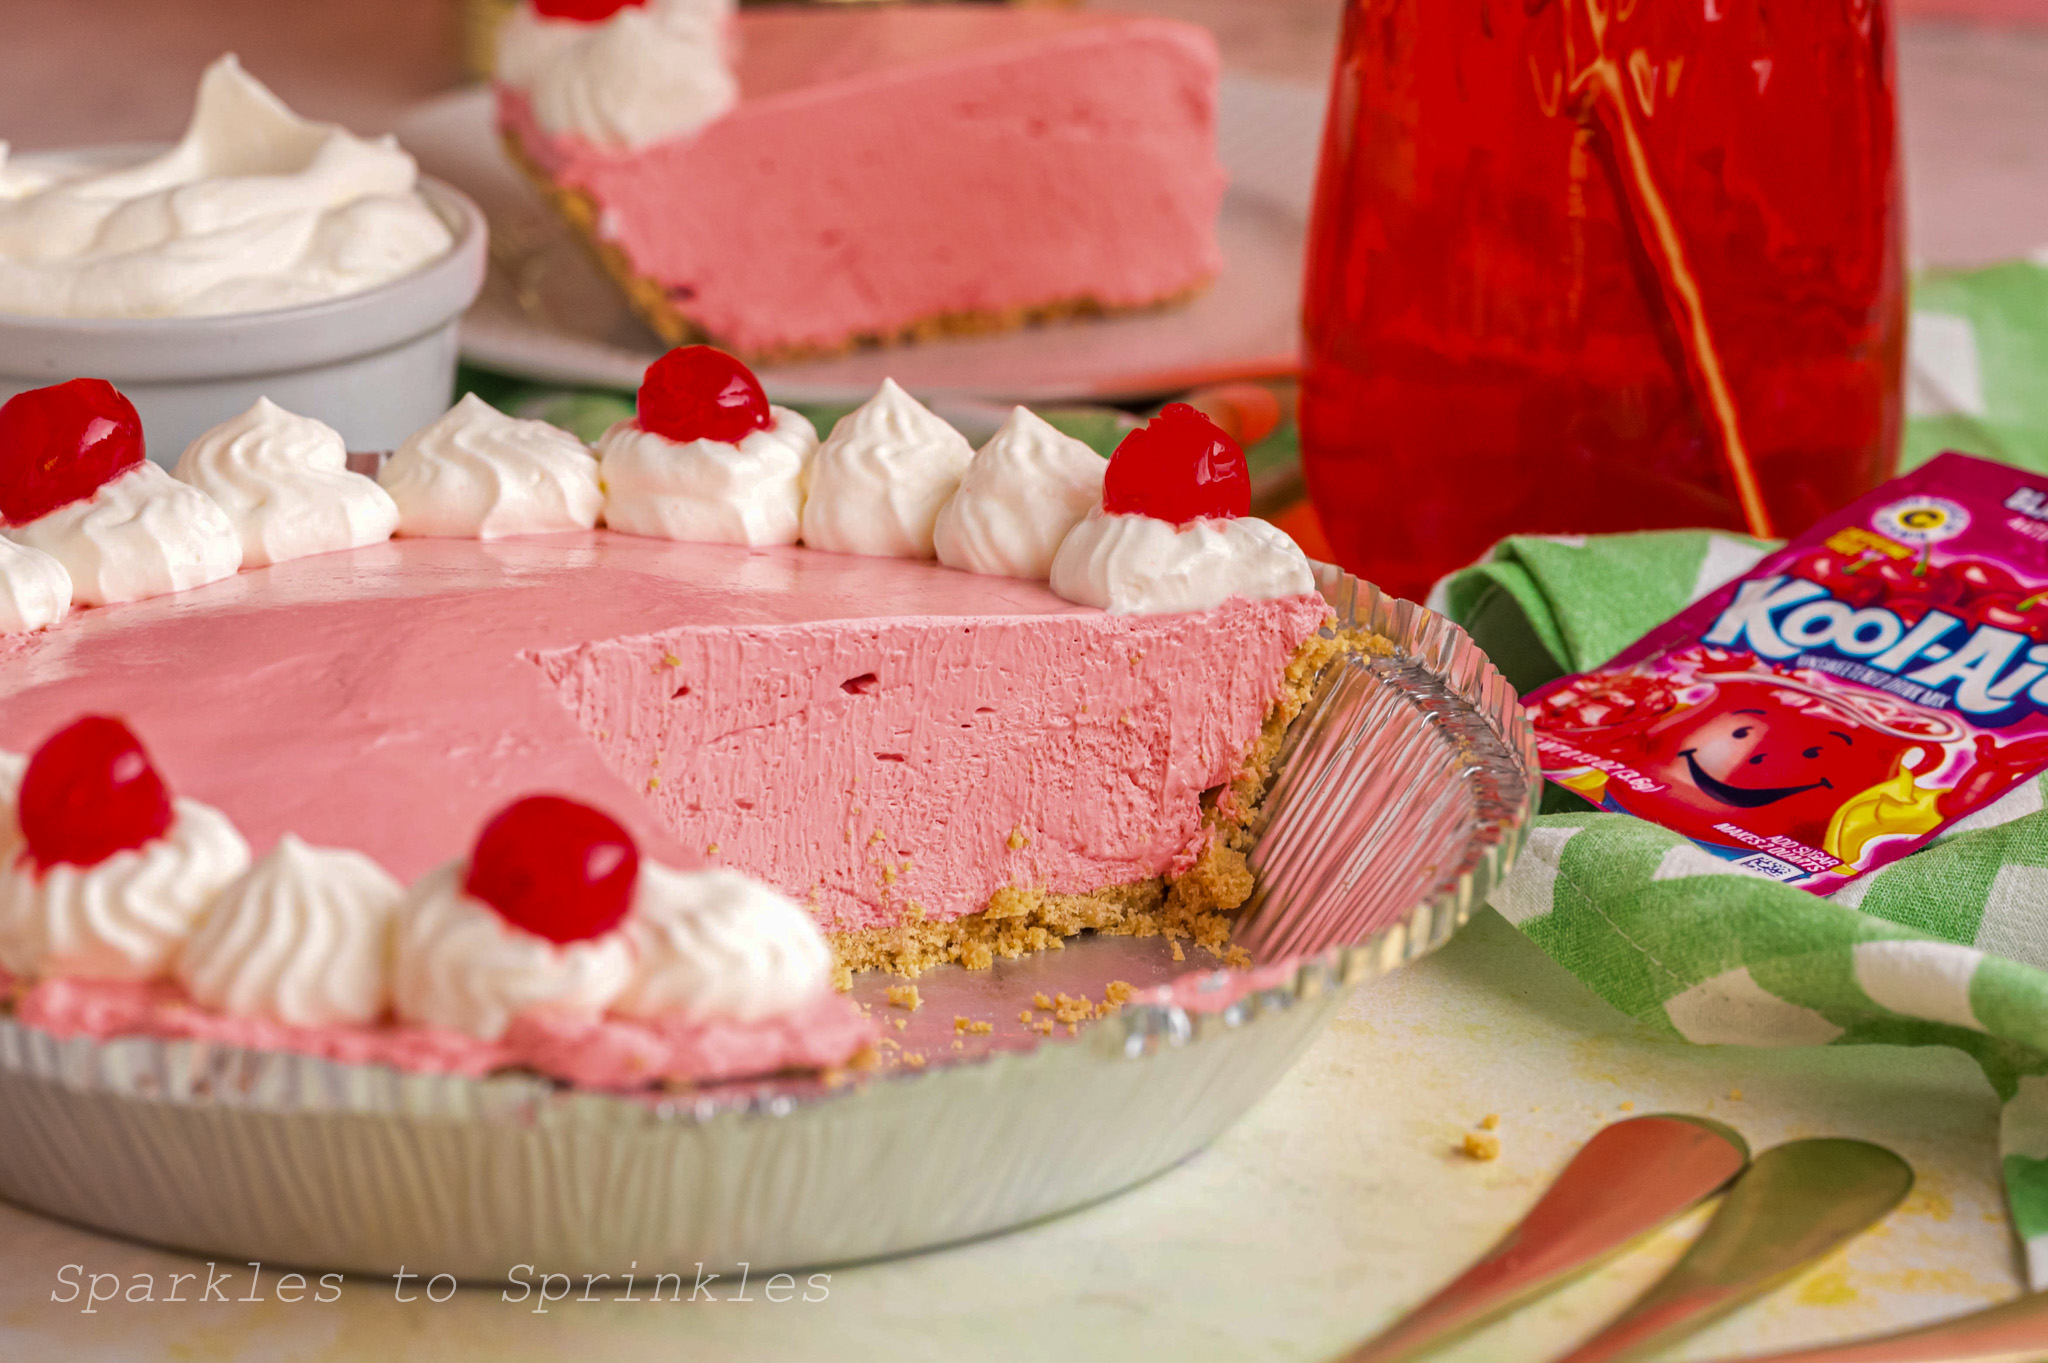
What makes Kool-Aid pie so special is how customizable it is. You can use any flavor of Kool-Aid you love, which means endless flavor possibilities. From bright cherry and classic grape to tropical flavors, this pie can be tailored to fit any occasion or color theme. It sets up beautifully in the refrigerator and slices clean, making it just as pretty as it is delicious.
Handy tip: Prepare Ahead!
*It is a no bake dessert that comes together in minutes
*Only a few inexpensive ingredients are needed
*You can change the flavor easily using different Kool Aid packets
*It is light, creamy, and perfectly sweet
*Great make ahead dessert for parties and holidays
Ingredients:
- 1 (14-Ounce) Can Sweetened Condensed Milk
- 1 (0.13-Ounce) Packet Kool-Aid (Any Flavor)
- 1 (8-Ounce) Container Frozen Whipped Topping, Thawed (Cool Whip)
- 1 9” Prepared Graham Cracker Pie Crust

How to Make Kool-Aid Pie
- In a large mixing bowl, whisk together the sweetened condensed milk and the packet of Kool-Aid until well combined.


- Fold in the whipped topping using a rubber spatula until there are no more white streaks and it is well combined.


- Add the Kool-Aid mixture to the prepared pie crust and smooth it out using a rubber spatula.

- Place the pie in the refrigerator and chill for 2-4 hours or until well set.

- Slice and serve, or decorate with more whipped cream and maraschino cherries if desired. Enjoy!

Tips & Tricks
- Make sure your whipped topping is fully thawed before folding it into the mixture so everything blends smoothly.
- Use a rubber spatula and fold gently to keep the pie light and fluffy.
- Chill the pie for at least two hours so it sets properly before slicing.
- For extra fun, garnish with whipped cream, maraschino cherries, or colorful sprinkles before serving.
- A graham cracker crust works perfectly, but you can also use an Oreo or vanilla wafer crust if desired.

FAQs

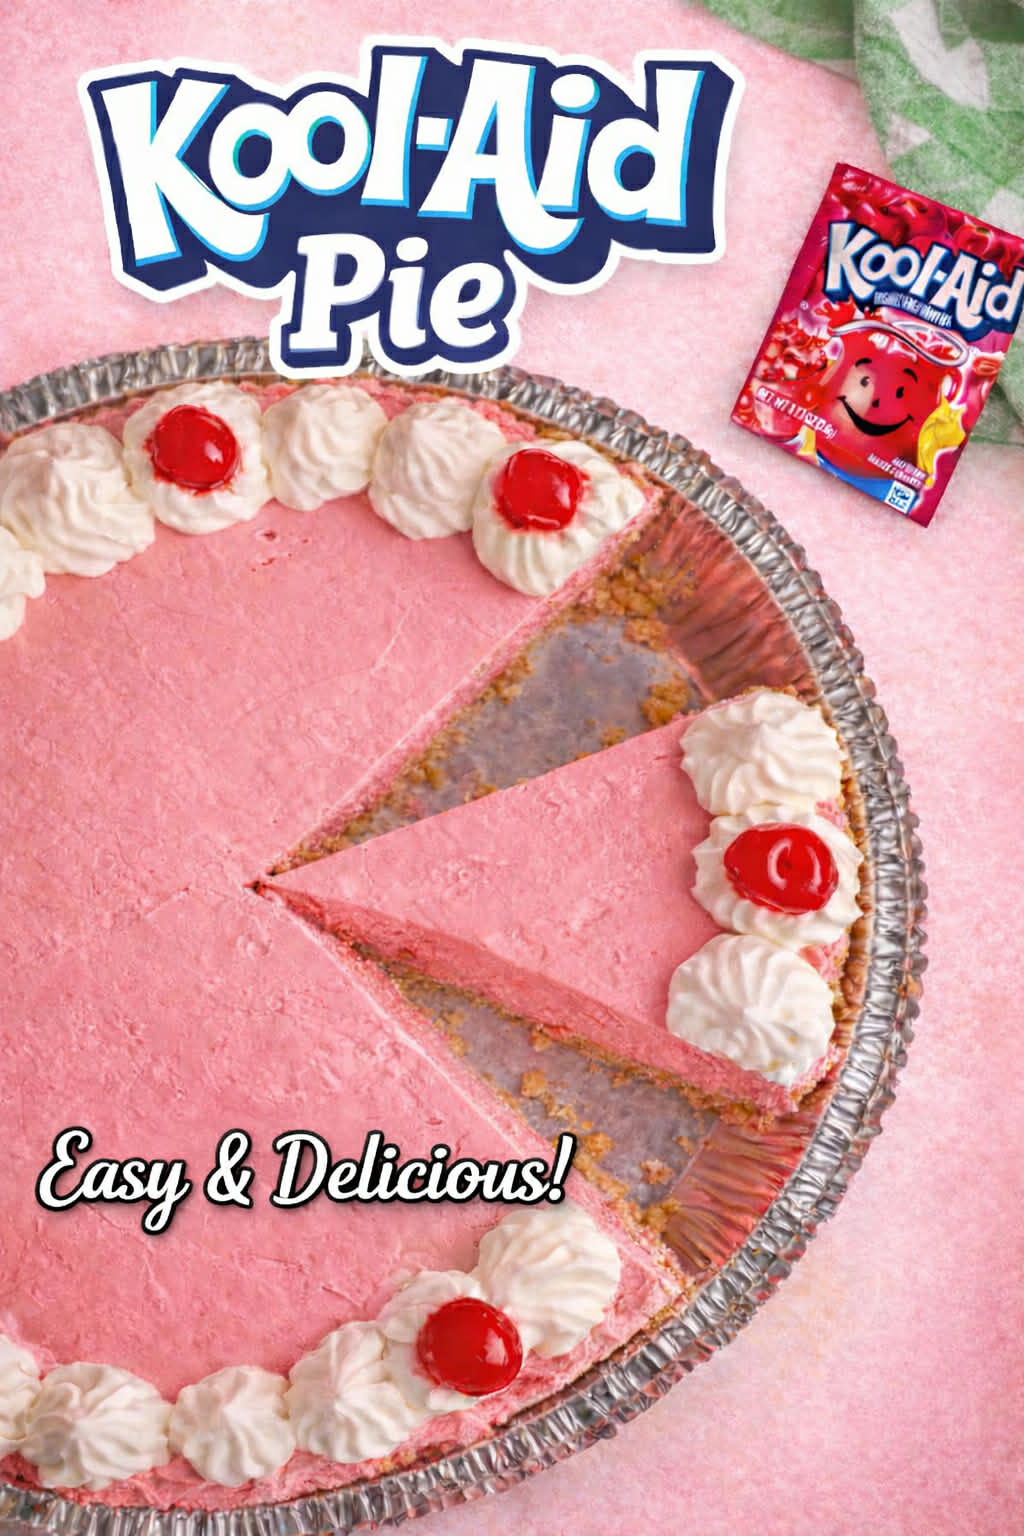

Kool-Aid Pie
Kool-Aid Pie is a super quick dessert that uses minimal ingredients. It is creamy and delicious and quickly became a family favorite in our home. All you need is about 10 minutes to prepare this dessert and 2-4 hours chilling time and you will be ready to enjoy this no-bake pie! Perfect for holidays, gatherings and more!
Ingredients
- 1 (14-Ounce) Can Sweetened Condensed Milk
- 1 (0.13-Ounce) Packet Kool-Aid (Any Flavor)
- 1 (8-Ounce) Container Frozen Whipped Topping, Thawed (Cool Whip)
- 1 9” Prepared Graham Cracker Pie Crust
Instructions
- In a large mixing bowl, whisk together the sweetened condensed milk and the packet of Kool-Aid until well combined.
- Fold in the whipped topping using a rubber spatula until there are no more white streaks and it is well combined.
- Add the kool-aid mixture to the prepared pie crust and smooth it out using a rubber spatula.
- Place the pie in the refrigerator and chill for 2-4 hours or until well set.
- Slice and serve, or decorate with more whipped cream and maraschino cherries if desired.
- Enjoy!
Notes
Prep time: 10 Minutes
Refrigeration time: 2-4 Hours
Total time: 2-4 Hours 10 Minutes (including chilling time)
I’m Melissa, the imaginative force behind Sparkles to Sprinkles, where creativity comes to life, and sprinkles of joy are scattered generously. Melissa is a proud Jersey girl who found love with a New York boy. As a mom to four wonderful boys and a few fur babies, her journey into the world of blogging began after making the life-changing decision to stay home and raise her children. Previously a dedicated workaholic, Melissa’s blog became her creative outlet and passion project. Inspired by her mother-in-law, a masterful cook renowned for her delicious home-cooked meals and legendary holiday feasts (think mouthwatering sausage stuffing), Melissa honed her culinary skills through a combination of family recipes and countless cooking classes. She often attended these classes with her son Michael, who shared her enthusiasm for cooking from a young age. Melissa’s love for learning extends beyond familiar cuisines, as she enjoys exploring international recipes in hands-on cooking classes. Her blog features a diverse array of recipes, showcasing her expertise with various kitchen appliances such as the Instant Pot, air fryer, Slow Cooker, Ninja Foodi, Instant Vortex Plus, and more. Join Melissa on her culinary adventures as she shares tried-and-true family favorites alongside exciting new discoveries!


