Lucky Charms Rice Krispie Treats – A Magical, Marshmallowy Delight
If you love classic Rice Krispie treats but want to take them to the next level, these Lucky Charms Rice Krispie Treats are pure magic! They’re soft, gooey, and loaded with those nostalgic Lucky Charms marshmallows that we all love. Whether you’re making them for St. Patrick’s Day, a fun weekend snack, or just because, this easy, no-bake treat will bring out your inner kid.

Lucky Charms Rice Krispie Treats
These aren’t your average cereal bars—they’re a rainbow of marshmallowy goodness! The combination of buttery melted marshmallows, crunchy Lucky Charms cereal, and extra Lucky Charms marshmallows makes each bite sweet, crispy, and ultra-chewy. The best part? They come together in just minutes with only six simple ingredients!
Perfect for Kids and Adults Alike
Whether you’re making these treats with your kids or whipping up a batch to satisfy your own sweet tooth, they’re guaranteed to be a hit. The pops of color from the Lucky Charms marshmallows make them extra festive, and they store well for a grab-and-go treat. Plus, they’re way better than store-bought cereal bars—homemade always wins!

What You Will Love About This Recipe
Super Easy & Quick – No baking required! Just melt, mix, and press into a pan.
Perfectly Chewy & Sweet – The right balance of butter, marshmallows, and cereal keeps these treats soft and delicious.
A Fun Twist on a Classic – Lucky Charms marshmallows make these extra colorful and nostalgic.
Great for Any Occasion – Perfect for holidays, lunchboxes, bake sales, or just because!

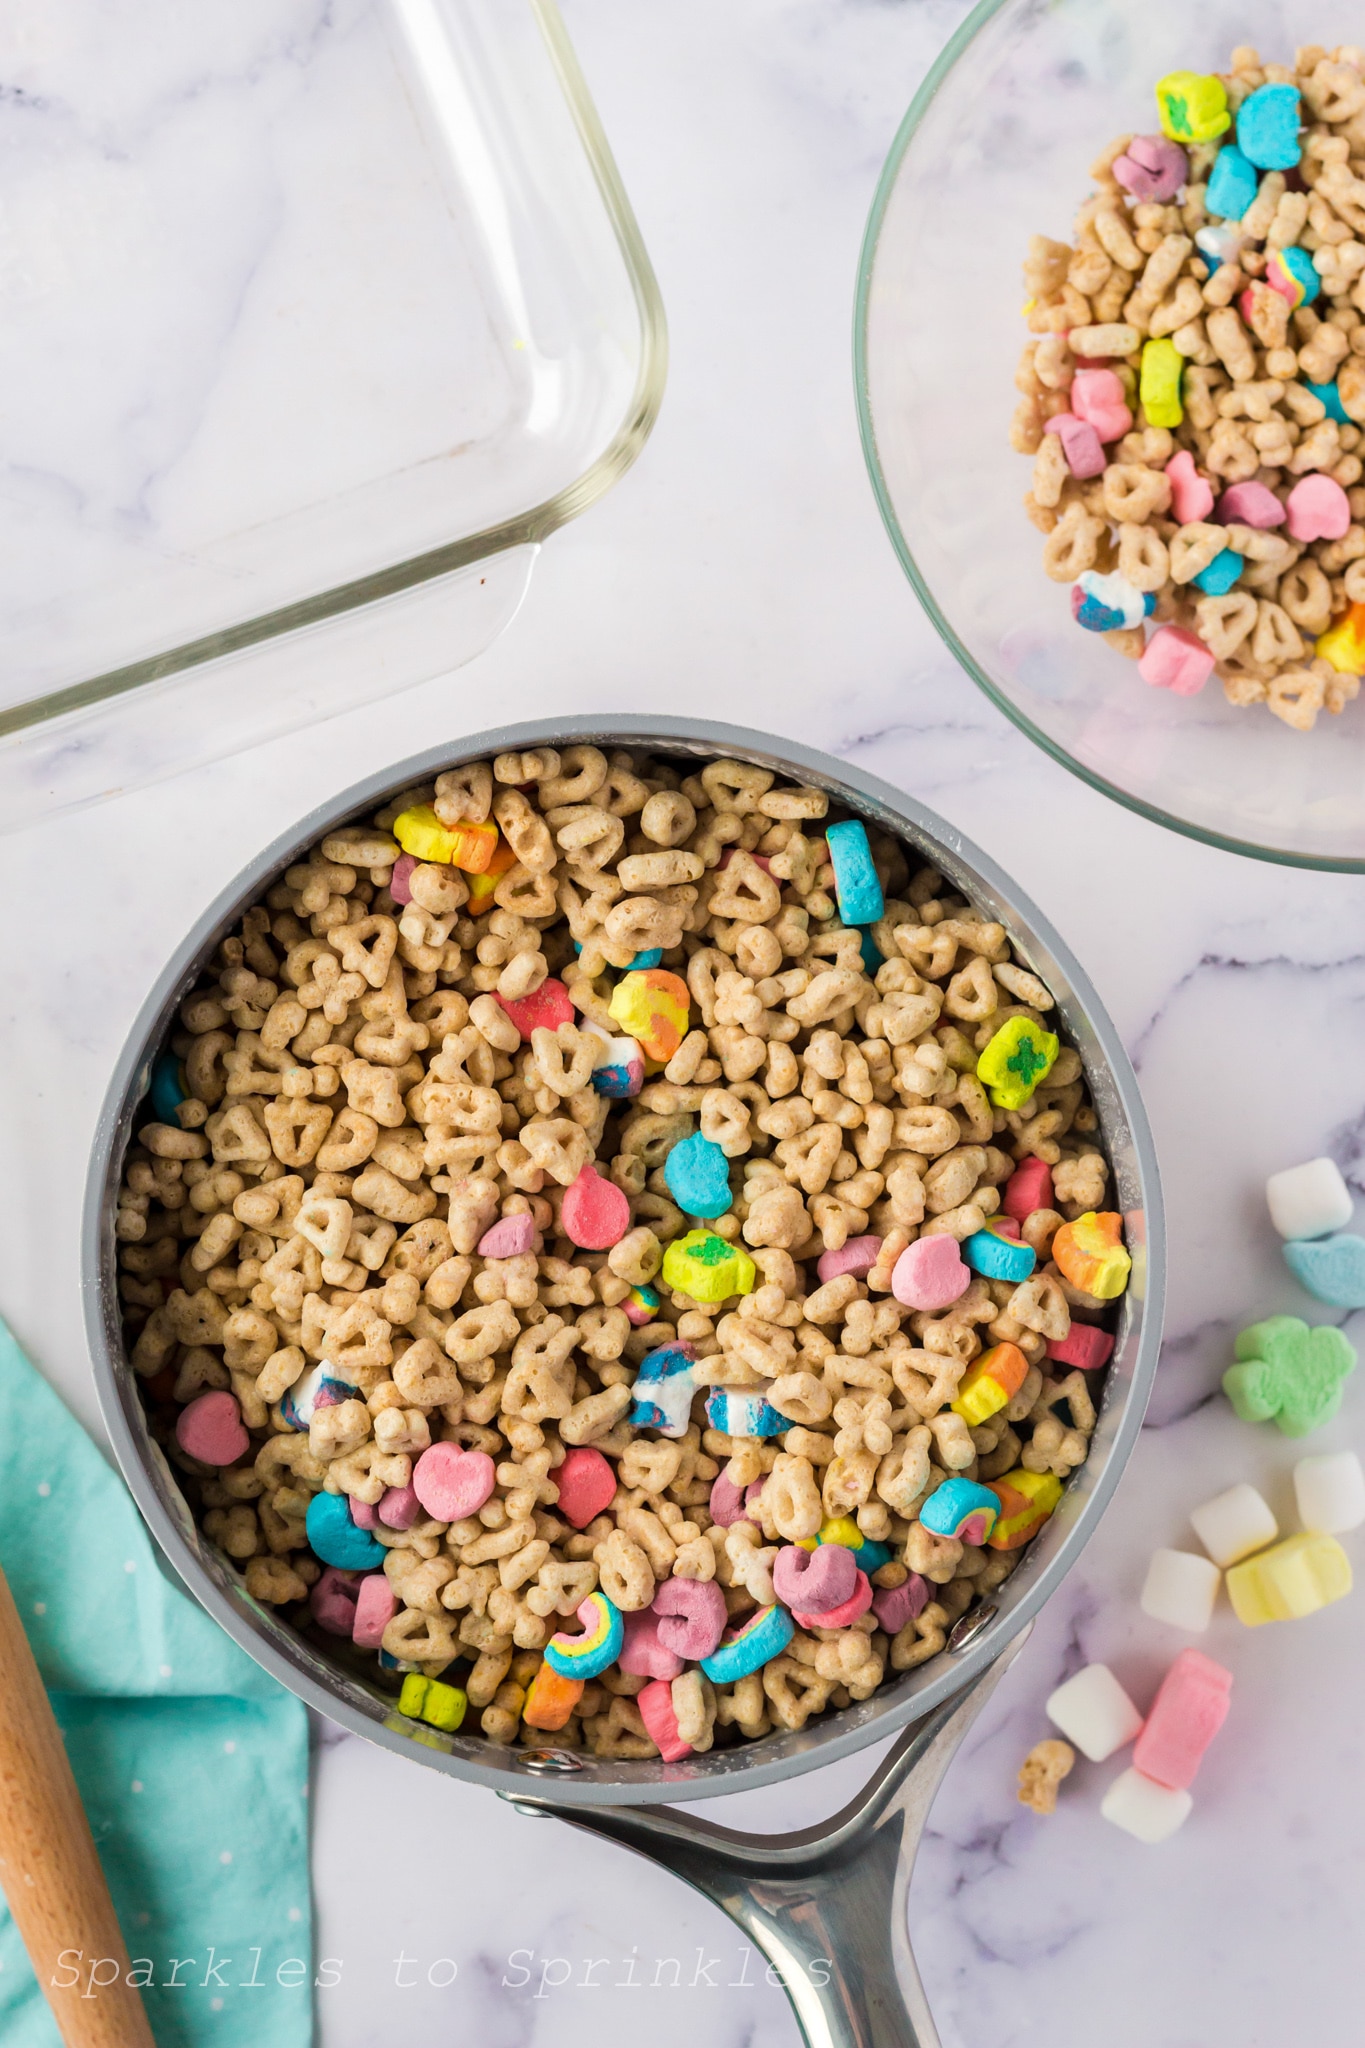
How to Make Lucky Charms Rice Krispie Treats
- Melt the butter in a large saucepan.
- Once the butter has melted, add the marshmallows and vanilla extract to the saucepan. Stir the marshmallows constantly until they are completely melted.

- Fold the cereal until it is evenly distributed throughout the marshmallow mixture.
- Pour the mixture into an 8×8 dish and place in the fridge for 1 hour to set.

- Slice into bars, serve, and enjoy!

Tips & Tricks
- ✔ Use Fresh Marshmallows – Stale marshmallows won’t melt as smoothly, so always use a fresh bag for that soft, gooey texture.
- ✔ Don’t Overheat the Marshmallows – Melt them on low heat and stir constantly to keep the mixture silky smooth.
- ✔ Press Gently into the Pan – Packing them too tightly can make the treats hard instead of chewy. Use a greased spatula or your hands (lightly buttered) to press them evenly.
- ✔ Add Extra Marshmallows on Top – Sprinkle some Lucky Charms marshmallows on top before the treats set for extra color and crunch.

FAQs


Lucky Charms Rice Krispie Treats
Lucky Charms Rice Krispie Treats are the perfect treat to enjoy with the kids. It combines Lucky Charms cereal, Lucky Charms marshmallows, and mini marshmallows for a crunchy buttery treat that everyone will enjoy.
Ingredients
- 6 Tbsp salted butter
- 1 tsp vanilla extract
- 1 16 oz bag of mini marshmallows
- 1 cup Lucky Charms marshmallows
- 6 cups Lucky Charms cereal
Instructions
- Melt the butter in a large saucepan.
- Once the butter has melted, add the marshmallows and vanilla extract to the saucepan. Stir the marshmallows constantly until they are completely melted.
- Fold the cereal until it is evenly distributed throughout the marshmallow mixture.
- Pour the mixture into an 8x8 dish and place in the fridge for 1 hour to set.
- Slice into bars, serve, and enjoy!
Nutrition Information:
Yield:
9Serving Size:
1Amount Per Serving: Calories: 338Total Fat: 9gSaturated Fat: 5gTrans Fat: 0gUnsaturated Fat: 3gCholesterol: 20mgSodium: 283mgCarbohydrates: 64gFiber: 1gSugar: 40gProtein: 3g
I’m Melissa, the imaginative force behind Sparkles to Sprinkles, where creativity comes to life, and sprinkles of joy are scattered generously. Melissa is a proud Jersey girl who found love with a New York boy. As a mom to four wonderful boys and a few fur babies, her journey into the world of blogging began after making the life-changing decision to stay home and raise her children. Previously a dedicated workaholic, Melissa’s blog became her creative outlet and passion project. Inspired by her mother-in-law, a masterful cook renowned for her delicious home-cooked meals and legendary holiday feasts (think mouthwatering sausage stuffing), Melissa honed her culinary skills through a combination of family recipes and countless cooking classes. She often attended these classes with her son Michael, who shared her enthusiasm for cooking from a young age. Melissa’s love for learning extends beyond familiar cuisines, as she enjoys exploring international recipes in hands-on cooking classes. Her blog features a diverse array of recipes, showcasing her expertise with various kitchen appliances such as the Instant Pot, air fryer, Slow Cooker, Ninja Foodi, Instant Vortex Plus, and more. Join Melissa on her culinary adventures as she shares tried-and-true family favorites alongside exciting new discoveries!