
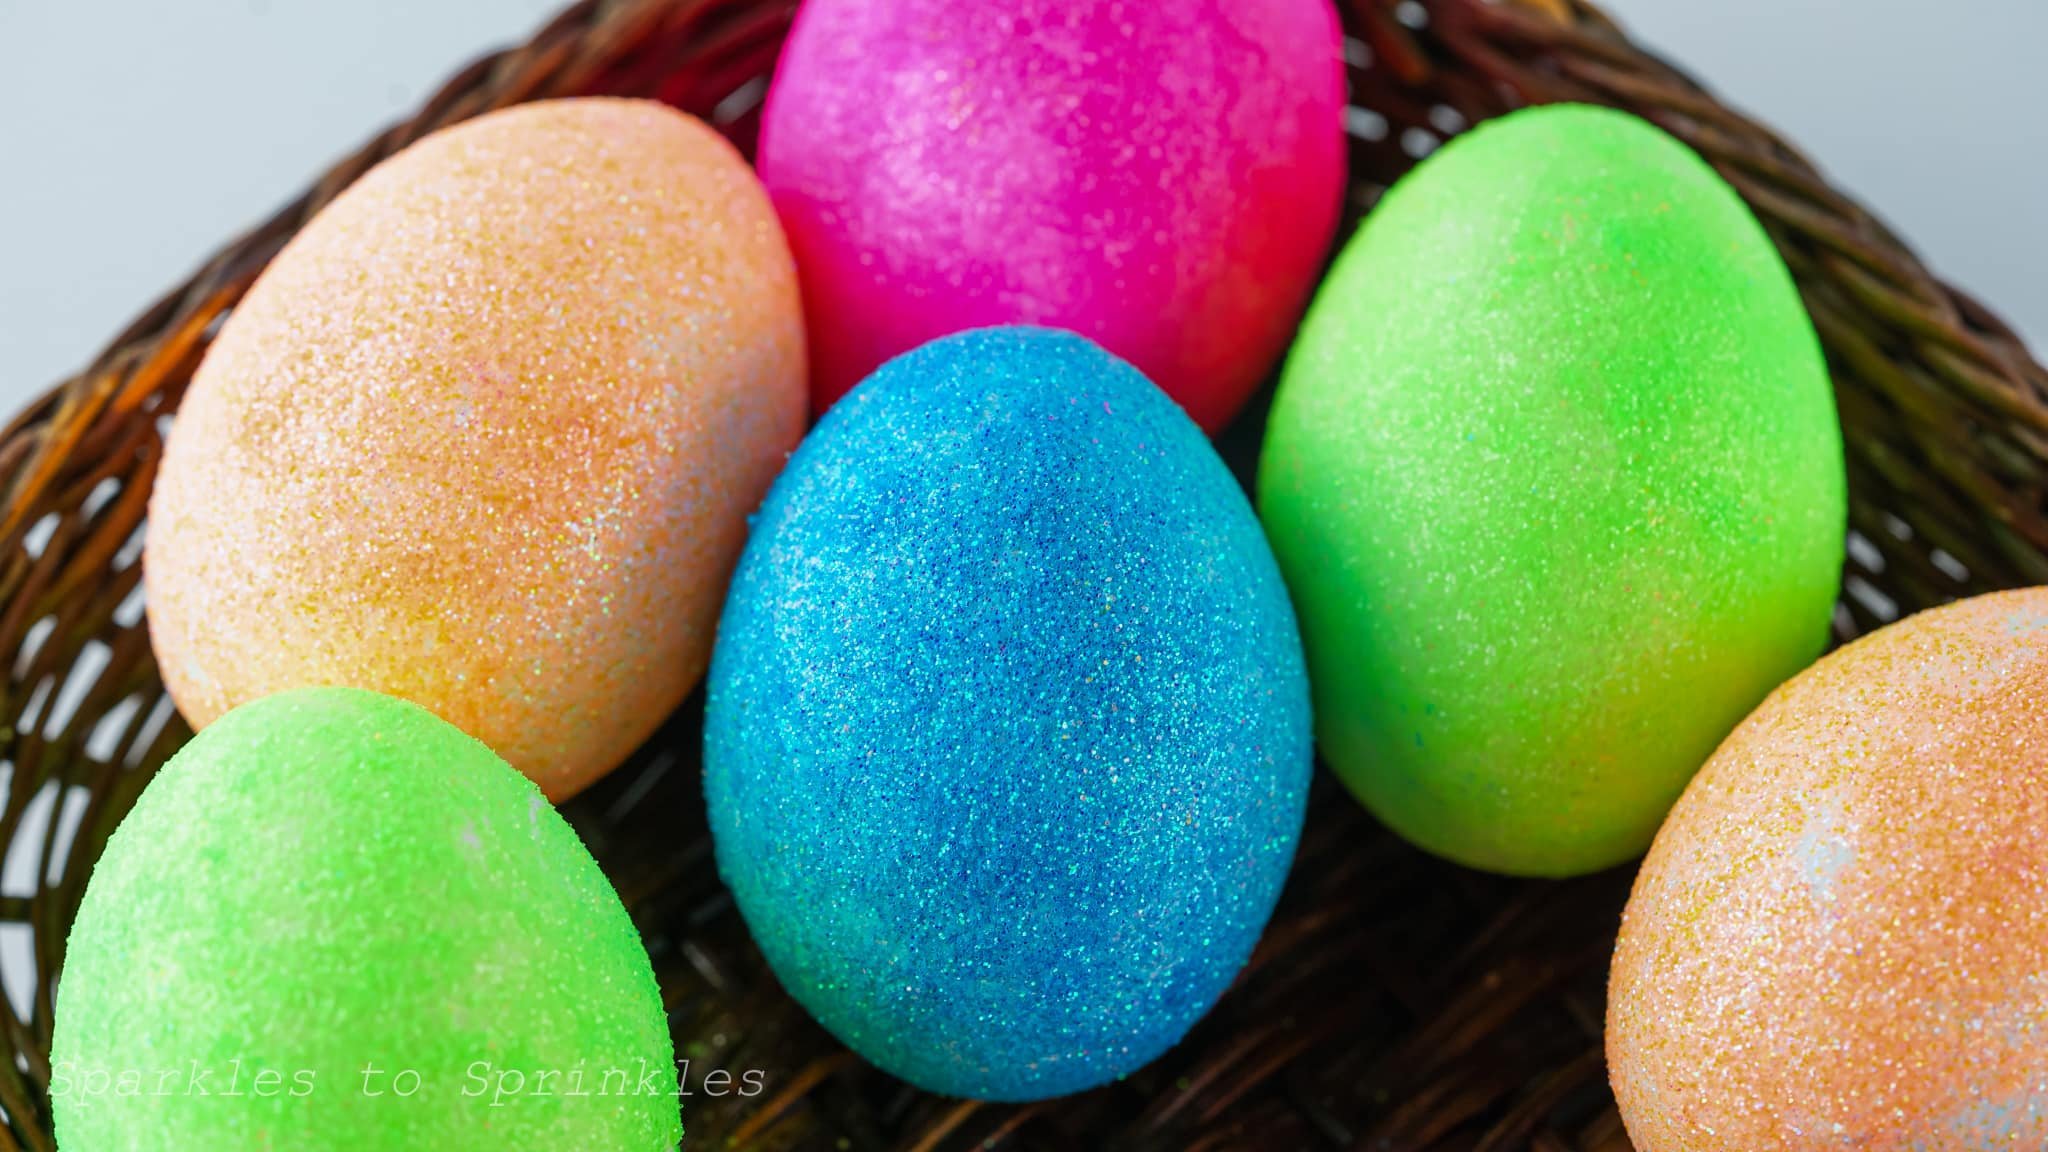
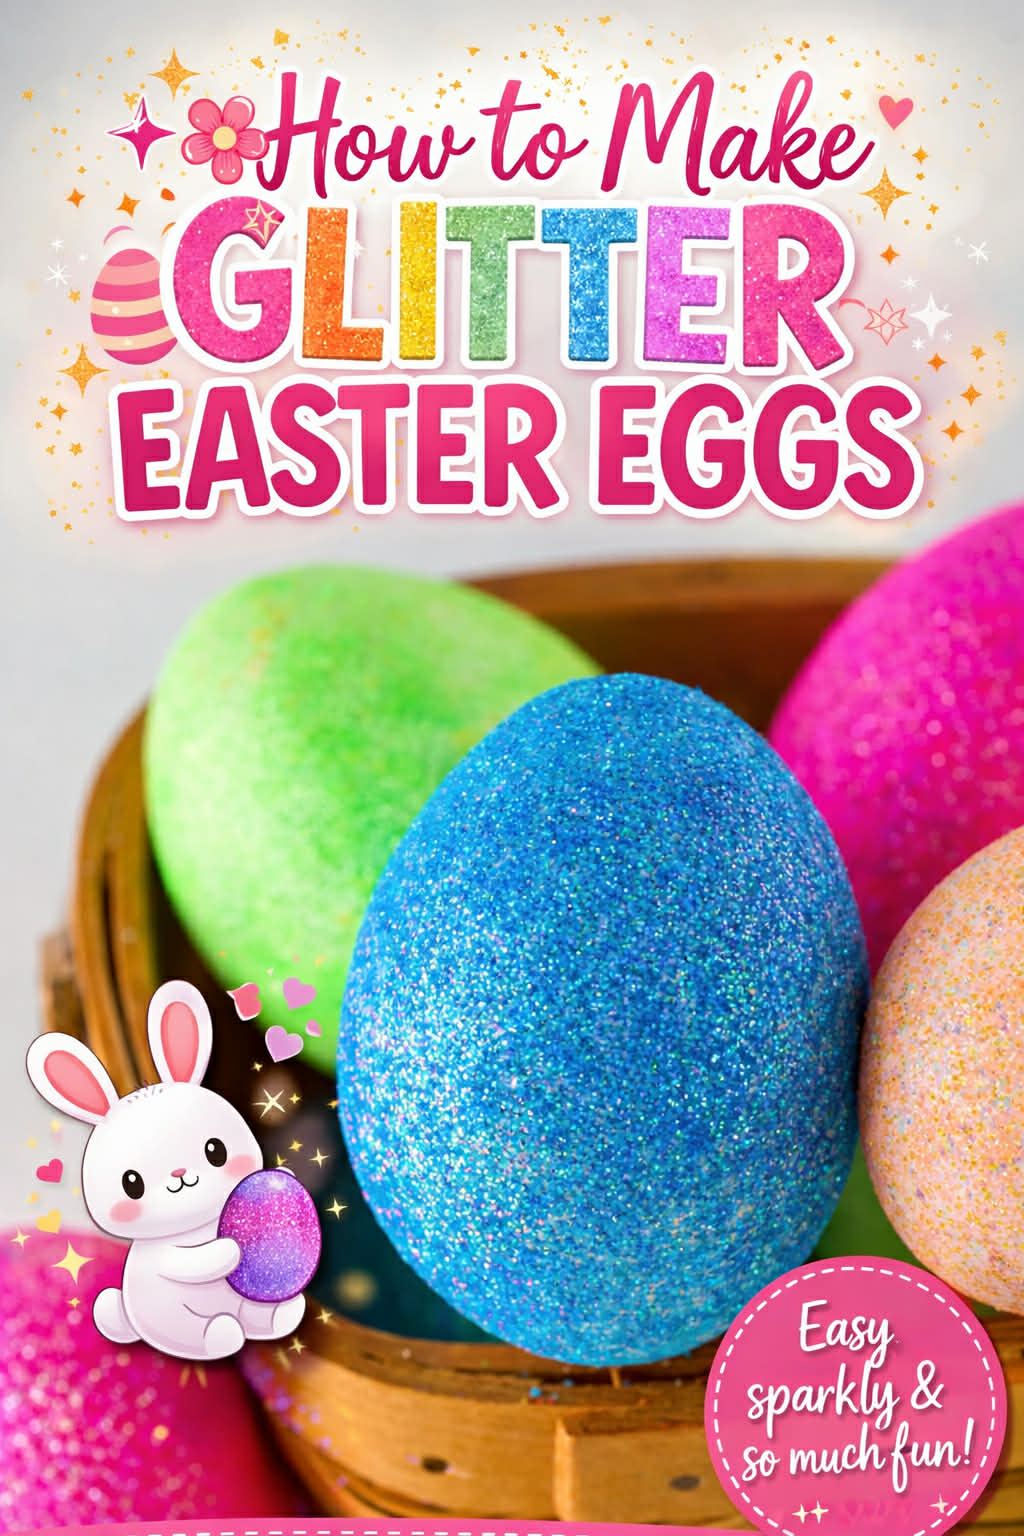
How To Make Glitter Easter Eggs
Are you ready to learn how to make glitter Easter eggs and sparkle this year? Look no further than these beautiful glitter Easter eggs! Not only are they super fun to make with the kids, but they will also be the perfect addition to your Easter decoration. It’s time to put your crafting skills to the test and make some unique Easter eggs that you won’t find anywhere else. So get ready for a fun family time crafting these sparkly Easter eggs that are sure to make the season brighter! Keep reading to learn how to make glitter Easter eggs.

How To Make Glitter Easter Eggs
In our house, we love to dye Easter Eggs, even with the kids being older now. We moved past the traditional dying easter eggs with food coloring this year to some fun new ways like dying eggs with rice and also making these fun glitter Easter eggs! Sure this method is a little messy, but the end results wow you and the kids. It is the perfect egg for the Easter bunny to hide!
What You Will Love About Making Glitter Easter Eggs
- Creative Expression: Making Glitter Eggs allows for endless creativity and personalization. You can mix and match glitter colors to create unique designs that reflect your style and preferences.
- Fun for All Ages: This activity is enjoyable for both kids and adults. It’s a great way to involve the whole family in Easter preparations and bonding time.
- Unique Decor: Glitter Eggs add a touch of sparkle and glam to your Easter decor. Whether displayed in a basket or as part of a centerpiece, they instantly elevate the festive atmosphere.
- Versatile: Glitter Eggs can be used in various ways, from Easter egg hunts to table decorations. They’re versatile enough to fit any Easter celebration theme or style.

Looking for more ways to dye easter eggs, try these methods as well.
How to Dye Easter Eggs with Food coloring
Instant Pot Easter Eggs + Natural Easter Egg Dye
How to Dye Easter Eggs with Rice

Mix up that traditional egg dying and make these Glitter Easter Eggs! Still slightly messy, but skip all the dye, without skipping all the fun! Sparky and delightful spring fun.

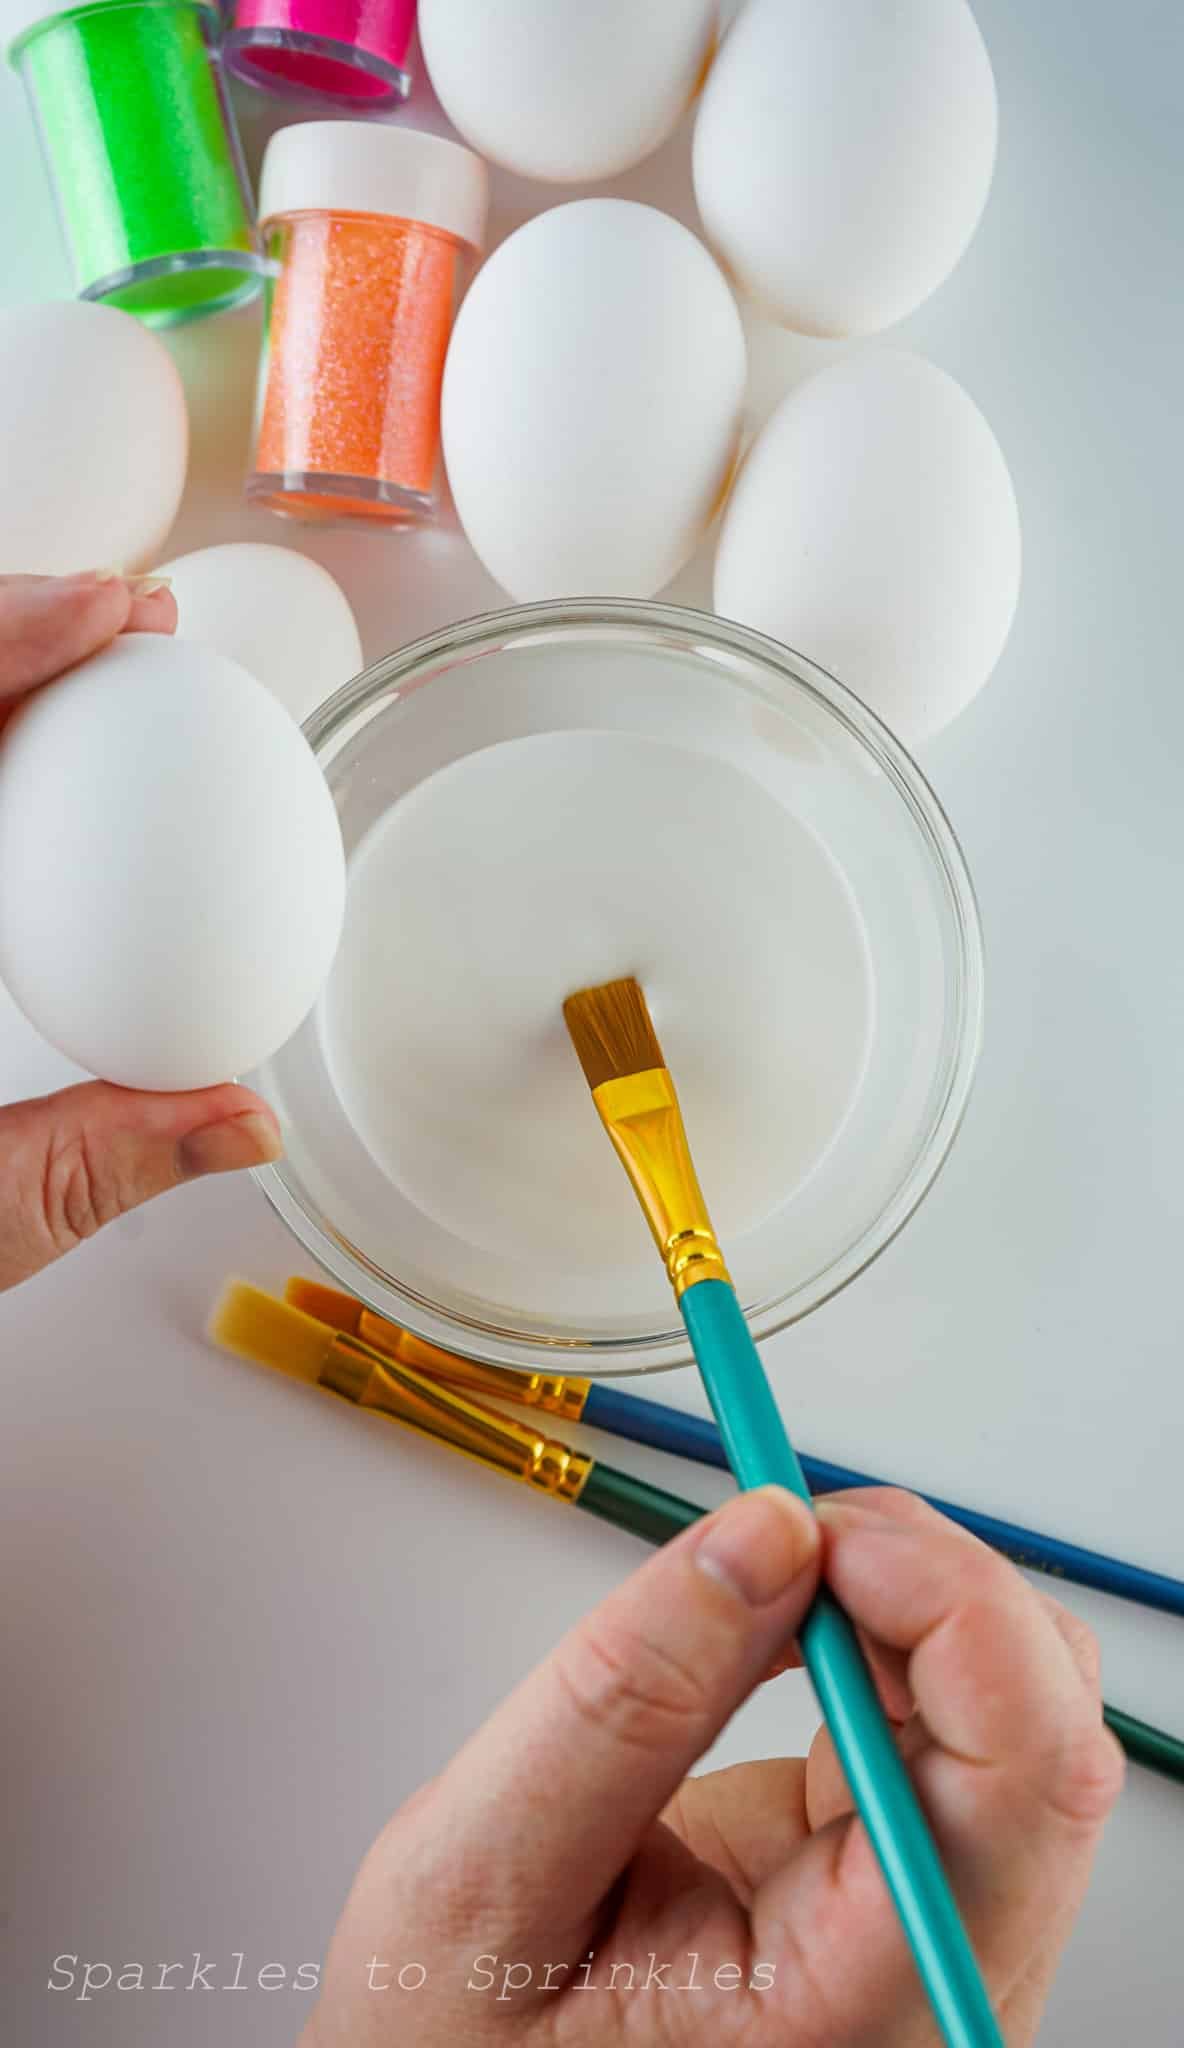
Items Needed:
- Boiled Eggs
- Fine Glitter
- Elmer’s Glue
- Paint Brush
- Quart Baggies
- Hairspray (optional)

How To Make Glitter Easter Eggs
- Place a bit of Elmer’s glue or white craft glue in a small bowl.
- Make sure your boiled eggs are nice and dry.
- Add some of each color of glitter to a quart baggie. Do not mix the colors. I added only a couple of tablespoons, but filling the bag up a bit more, if possible, would definitely be better.

- Use the paint brushes to coat one egg at a time in glue. Make sure you don’t miss a spot!

- Gently drop the coated egg in the bag of glitter of your choosing and gently roll it around in the glitter, being careful to not scrape it against the sides of the bag too much.

- Once the egg is nice and coated, leave it in the bag and lay it flat for about 2 minutes.

- Gently remove the egg from the bag. If there are any spots that didn’t get coated, gently apply glue in just those spots and place it back in the back and repeat the process.

- Once coated to your liking, spray the egg with hairspray, if you’re using it and gently sit it down without scraping the sides and let it dry for about 8 minutes. The hairspray helps the glitter to not shed near as much. Enjoy your glitter eggs!

Tips & Tricks
- Prepare Work Area: Lay down newspaper or a plastic tablecloth to protect your work surface from glue and glitter mess.
- Use Fine Glitter: Fine glitter works best for this project as it adheres more easily to the eggs and provides a smoother finish.
- Apply Glue Evenly: Use a paintbrush to apply the glue evenly onto the surface of the egg. Make sure to cover the entire egg to ensure the glitter adheres uniformly.
- Handle with Care: Be gentle when handling the eggs after applying the glue and glitter to avoid smudging or removing the glitter prematurely.
- Allow Drying Time: Let the eggs dry completely before handling or displaying them. This ensures that the glue and glitter set properly and minimizes the risk of glitter shedding.
- Seal with Hairspray: For added durability and to prevent glitter from shedding, lightly spray the finished eggs with hairspray. Allow them to dry completely before handling.
- Touch Up as Needed: If any spots on the eggs are missed or if you want to add more glitter in certain areas, you can touch up the eggs with additional glue and glitter before sealing with hairspray.
- Experiment with Colors: Mix and match different colors of glitter to create unique and vibrant designs. You can also layer glitter colors for a more dynamic effect.
- Store Carefully: To preserve your Glitter Eggs, store them in a cool, dry place away from direct sunlight. Avoid stacking them to prevent the glitter from rubbing off.

FAQ’s For Making Glitter Easter Eggs
- Can I use regular glue instead of Elmer’s glue?
- Yes, you can use white craft glue or any other glue suitable for crafts. Just ensure it dries clear for a clean finish.
- Can I reuse the glitter after making the eggs?
- Yes, you can reuse the glitter that remains in the baggies for future projects. Just make sure to seal the bags tightly to prevent spills.
- Will the hairspray affect the color or shine of the glitter?
- No, hairspray is typically clear and won’t affect the color or shine of the glitter. It’s mainly used to seal the glitter in place and minimize shedding.
- Are Glitter Eggs safe to eat?
- Glitter Eggs are purely decorative and not meant for consumption. Make sure to use hard-boiled eggs that are still in their shell.
- Can I use different types of glitter, such as chunky or holographic?
- While fine glitter works best for this project, you can experiment with different types of glitter for unique effects. Just keep in mind that chunkier glitters may not adhere as well.
- How do I clean up glitter spills or excess glue?
- Use a damp paper towel or lint roller to pick up any stray glitter or excess glue. You can also use tape to lift glitter off surfaces.
- Can I add other decorations to the Glitter Eggs?
- Yes, you can embellish the eggs further with stickers, rhinestones, or ribbon for added flair. Just make sure to apply them after the glitter has dried completely.

Storage
Once your glitter Easter Eggs dry, you will want to keep them in the fridge. These will keep for about 1 week.

How To Make Glitter Easter Eggs
Are you ready to make Easter sparkle this year? Look no further than these beautiful glitter Easter eggs! Not only are they super fun to make with the kids, but they will also be the perfect addition to your Easter decoration.
Materials
- Boiled Eggs
- Fine Glitter
- Elmer’s Glue
- Paint Brush
- Quart Baggies
- Hairspray (optional)
Instructions
- Place a bit of Elmer’s glue or white craft glue in a small bowl.
- Make sure your boiled eggs are nice and dry.
- Add some of each color of glitter to a quart baggie. Do not mix the colors. I added only a couple tablespoons, but filling the bag up a bit more, if possible, would definitely be better.
- Use the paint brushes to coat one egg at a time in glue. Make sure you don’t miss a spot!
- Gently drop the coated egg in the bag of glitter of your choosing and gently roll it around in the glitter, being careful to not scrape it against the sides of the bag too much.
- Once the egg is nice and coated, leave it in the bag and lay it flat for about 2 minutes.
- Gently remove the egg from the bag. If there are any spots that didn’t get coated, gently apply glue in just those spots and place it back in the back and repeat the process.
- Once coated to your liking, spray the egg with hairspray, if you’re using it and gently sit it down without scraping the sides and let it dry for about 8 minutes. The hairspray helps the glitter to not shed near as much. Enjoy your glitter eggs!
Notes
Prep Time: 10 Minutes
Dry Time: 10 Minutes
Yields: As many as you like!

Hi there, I am Melissa
Meet Melissa, the creative mind behind Sparkles to Sprinkles, where imagination thrives and joy abounds. A proud Jersey girl who fell in love with a New York boy, Melissa is a dedicated mom to four boys and a few fur babies. Her journey into blogging began when she chose to stay home and nurture her children. Formerly a workaholic, Melissa found solace and passion in blogging, inspired by her mother-in-law’s culinary prowess. Through family recipes and cooking classes, Melissa honed her skills, often attending with her son Michael, who shares her love for cooking. Her blog showcases diverse recipes, from beloved family classics to global cuisines, featuring her expertise with kitchen appliances like the Instant Pot and air fryer. Join Melissa on her culinary journey, where tried-and-true favorites meet exciting new discoveries!
I’m Melissa, the imaginative force behind Sparkles to Sprinkles, where creativity comes to life, and sprinkles of joy are scattered generously. Melissa is a proud Jersey girl who found love with a New York boy. As a mom to four wonderful boys and a few fur babies, her journey into the world of blogging began after making the life-changing decision to stay home and raise her children. Previously a dedicated workaholic, Melissa’s blog became her creative outlet and passion project. Inspired by her mother-in-law, a masterful cook renowned for her delicious home-cooked meals and legendary holiday feasts (think mouthwatering sausage stuffing), Melissa honed her culinary skills through a combination of family recipes and countless cooking classes. She often attended these classes with her son Michael, who shared her enthusiasm for cooking from a young age. Melissa’s love for learning extends beyond familiar cuisines, as she enjoys exploring international recipes in hands-on cooking classes. Her blog features a diverse array of recipes, showcasing her expertise with various kitchen appliances such as the Instant Pot, air fryer, Slow Cooker, Ninja Foodi, Instant Vortex Plus, and more. Join Melissa on her culinary adventures as she shares tried-and-true family favorites alongside exciting new discoveries!


