How to Dye Easter Eggs With Food Coloring
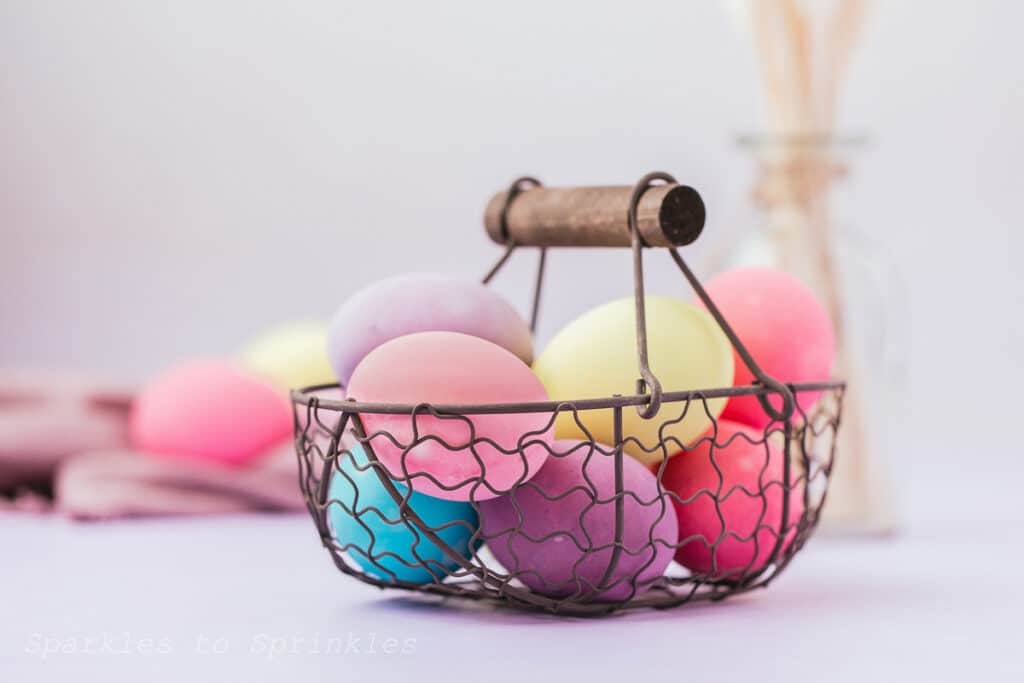
Looking to add a splash of color to your Easter celebrations? Dyeing eggs with food coloring is a fun and easy way to create vibrant and beautiful Easter eggs right at home. With just a few simple ingredients and some creativity, you can transform ordinary eggs into colorful works of art that will delight both kids and adults alike. In this article, we’ll walk you through the step-by-step process of how to dye Easter eggs with food coloring, so you can add a pop of color to your holiday festivities. Let’s get cracking!
How To Dye Easter Eggs With Food Coloring
First things first, gather your supplies. You’ll need hard-boiled eggs, food coloring in various colors, white vinegar, cups or bowls for each color of dye, and spoons for stirring. For a mess-free setup, consider covering your work surface with newspaper or paper towels to catch any drips or spills. Once you have everything you need, it’s time to get creative with your egg designs!

If you’re looking for a fun and easy way to add some color to your Easter celebration, dyeing eggs with food coloring is the perfect activity. Not only is it budget-friendly and customizable, but it’s also a great way to involve the whole family in the holiday festivities. Plus, with just a few simple steps, you’ll have beautifully dyed eggs that are sure to impress everyone at your Easter gathering.
Can you use regular food coloring to dye eggs?
Yes, you can use regular food coloring to dye eggs. Food coloring is a popular choice for dyeing eggs because it comes in a variety of vibrant colors and is readily available at most grocery stores. To use food coloring, simply mix it with water and vinegar (or another acidic substance) to create a dye solution. Then, immerse the eggs in the dye solution and let them soak until they reach the desired color. Keep in mind that food coloring may produce slightly different results compared to traditional egg dyes, but it’s a convenient option for dyeing eggs at home.
What You Will Love About Dying Easter Eggs With Food Coloring
What makes dyeing Easter eggs with food coloring so enjoyable is the creative freedom it offers. With a wide range of colors and techniques to choose from, you can let your imagination run wild and create unique and vibrant designs on each egg. Whether you prefer traditional pastel hues or bold and bright colors, the possibilities are endless. Additionally, dyeing eggs with food coloring is a kid-friendly activity that can spark joy and excitement in children of all ages. It’s a wonderful way to spend quality time together as a family and create cherished memories that will last a lifetime.

Do you have to use vinegar when dying eggs?
Vinegar is commonly used when dyeing eggs because it helps the dye adhere to the eggshell more effectively, resulting in brighter and more vibrant colors. However, it’s not strictly necessary to use vinegar. You can still dye eggs without vinegar, but the colors may not turn out as vibrant, and the dye may not adhere to the eggshell as well. If you prefer not to use vinegar, you can experiment with other acidic substances like lemon juice or citric acid to achieve similar results.
How to Dye Eggs for Easter With Food Coloring
1. Fill a large saucepan with a couple of inches of cold water then add the eggs. Top up with cold water so that the eggs are covered by 3 inches of water.
2. Put the saucepan on the heat source then bring to a boil. When the water is boiling add the salt and a splash of white vinegar. Turn off the heat and put a lid on the pan. Set a timer for 12 minutes.
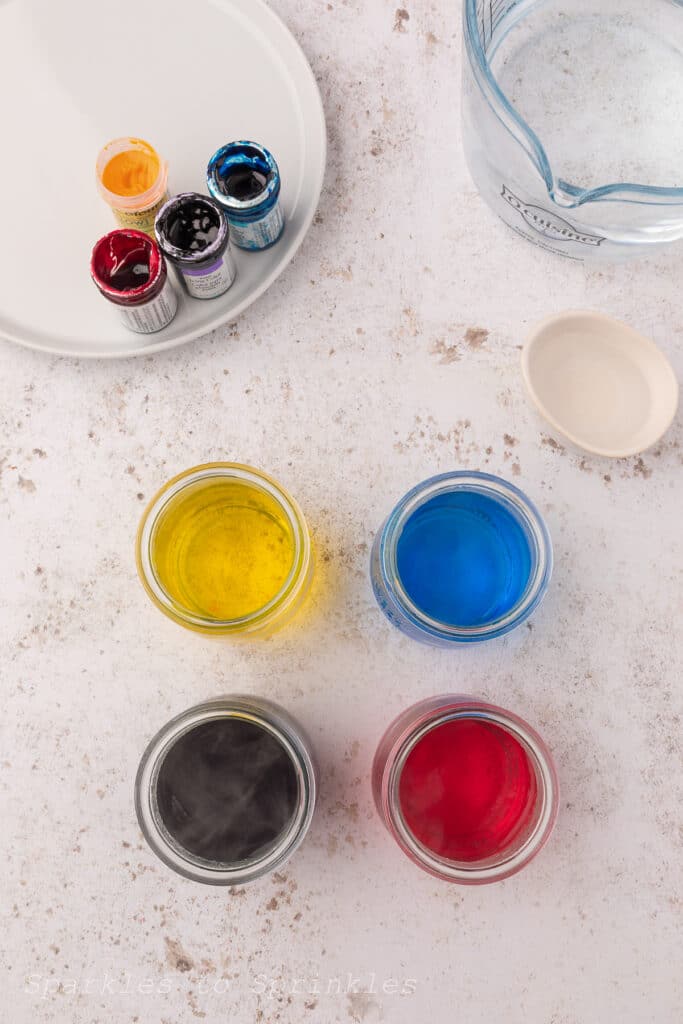
3. Meanwhile, boil a kettle. Fill your jars halfway with boiling water and add 2 teaspoons of white vinegar.
4. Next, add the food coloring. How much you add is up to you! For a deeper, more intense color add more and for a lighter pastel shade add less. You can experiment as you go and switch out the water/food coloring to get the desired shade.
5. When the 12 minute timer is up, add the hard-boiled eggs to the jars (you will probably need to do one at a time unless you have a very large jar) and leave them for 5 minutes to absorb the color. Keep an eye on them and remove them from the jars when they have reached a color that you are happy with.
6. Remove the eggs from the jars using tongs, or pour the water out into the sink and catch the egg in your hand!
7. Put the dyed eggs on some kitchen paper to dry.
8. Repeat the dyeing process for all the hard-boiled eggs.


Tips & Tricks
- Use white vinegar: Adding 2 teaspoon of white vinegar to each dye bath helps the color adhere better to the eggshell, resulting in more vibrant and long-lasting colors.
- Start with room temperature eggs: To prevent cracking, it’s best to use eggs that are at room temperature before dyeing them. Allow them to sit out for about 30 minutes before starting the dyeing process.
- Create custom colors: Experiment with mixing different food coloring shades to create custom colors. You can mix primary colors (red, blue, and yellow) to create a wide range of hues.
- Use a variety of techniques: Try different techniques like dipping, swirling, or splattering to create unique patterns and designs on your eggs. You can also use stickers, rubber bands, or crayons to create fun resist patterns.
- Dry eggs thoroughly: After dyeing the eggs, place them on a drying rack or paper towels to dry completely before handling them. This will prevent smudging and ensure that the colors stay vibrant.
- Store eggs properly: Once the eggs are dry, store them in the refrigerator until you’re ready to use or display them. This will help preserve their freshness and prevent them from spoiling.
By following these tips and getting creative with your dyeing techniques, you’ll be able to create beautiful and colorful Easter eggs that are sure to impress!

Storage
Once you dye your eggs with food coloring they will keep in the fridge for about 3 days.
Are Eggs still edible after dying them with food coloring?
Yes! Dyed hard-boiled eggs are still editable after dying them.


FAQs about cheesecloth
Are there any other ways I can make my hard-boiled eggs?
Yes, there are two really fun methods to make hard-boiled eggs, that you can opt to use rather than boiling them on the stove. One method is making hard boiled eggs in your air fryer. Another fun method which is one of my favorite ways to make hard-boiled eggs, is making them in my instant pot. Follow my directions for using the simple 5+5+5 method to make them.
What can I do with my hard-boiled eggs once they are dyed?
In our house, we will eat hard-boiled eggs as snacks. They are full of protein and so good for you!
On Easter, we will use the remaining eggs to make deviled eggs to serve with dinner.


How to Dye Easter Eggs With Food Coloring
If you are looking to make bright vibrant colorful eggs this Easter, then you are going to want to pull out your food coloring. We are giving you all the tips you need to dye Easter Eggs with food coloring! No need to go buy the store-bought kits, you probably already have everything on hand that you need to color Easter eggs with food coloring.
Ingredients
- • 12 white shell eggs
- • Pinch salt
- • 1/2 cup white vinegar
- • food coloring in various colors • water
- You will also need glass jars or containers to dye the eggs in.
Instructions
1. Fill a large saucepan with a couple of inches of cold water then add the eggs. Top up with cold water so that the eggs are covered by 3 inches of water.
2. Put the saucepan on the heat source then bring to a boil. When the water is boiling add the salt and a splash of white vinegar. Turn off the heat and put a lid on the pan. Set a timer for 12 minutes.
3. Meanwhile, boil a kettle. Fill your jars halfway with boiling water and add 2 teaspoons of white vinegar.
4. Next, add the food coloring. How much you add is up to you! For a deeper, more intense color add more and for a lighter pastel shade add less. You can experiment as you go and switch out the water/food coloring to get the desired shade.
5. When the 12 minute timer is up, add the hard-boiled eggs to the jars (you will probably need to do one at a time unless you have a very large jar) and leave them for 5 minutes to absorb the color. Keep an eye on them and remove them from the jars when they have reached a color that you are happy with.
6. Remove the eggs from the jars using tongs, or pour the water out into the sink and catch the egg in your hand!
7. Put the dyed eggs on some kitchen paper to dry.
8. Repeat the dyeing process for all the hard-boiled eggs.
I’m Melissa, the imaginative force behind Sparkles to Sprinkles, where creativity comes to life, and sprinkles of joy are scattered generously. Melissa is a proud Jersey girl who found love with a New York boy. As a mom to four wonderful boys and a few fur babies, her journey into the world of blogging began after making the life-changing decision to stay home and raise her children. Previously a dedicated workaholic, Melissa’s blog became her creative outlet and passion project. Inspired by her mother-in-law, a masterful cook renowned for her delicious home-cooked meals and legendary holiday feasts (think mouthwatering sausage stuffing), Melissa honed her culinary skills through a combination of family recipes and countless cooking classes. She often attended these classes with her son Michael, who shared her enthusiasm for cooking from a young age. Melissa’s love for learning extends beyond familiar cuisines, as she enjoys exploring international recipes in hands-on cooking classes. Her blog features a diverse array of recipes, showcasing her expertise with various kitchen appliances such as the Instant Pot, air fryer, Slow Cooker, Ninja Foodi, Instant Vortex Plus, and more. Join Melissa on her culinary adventures as she shares tried-and-true family favorites alongside exciting new discoveries!


