Easy Strawberry Cobbler with a Golden, Buttery Crust
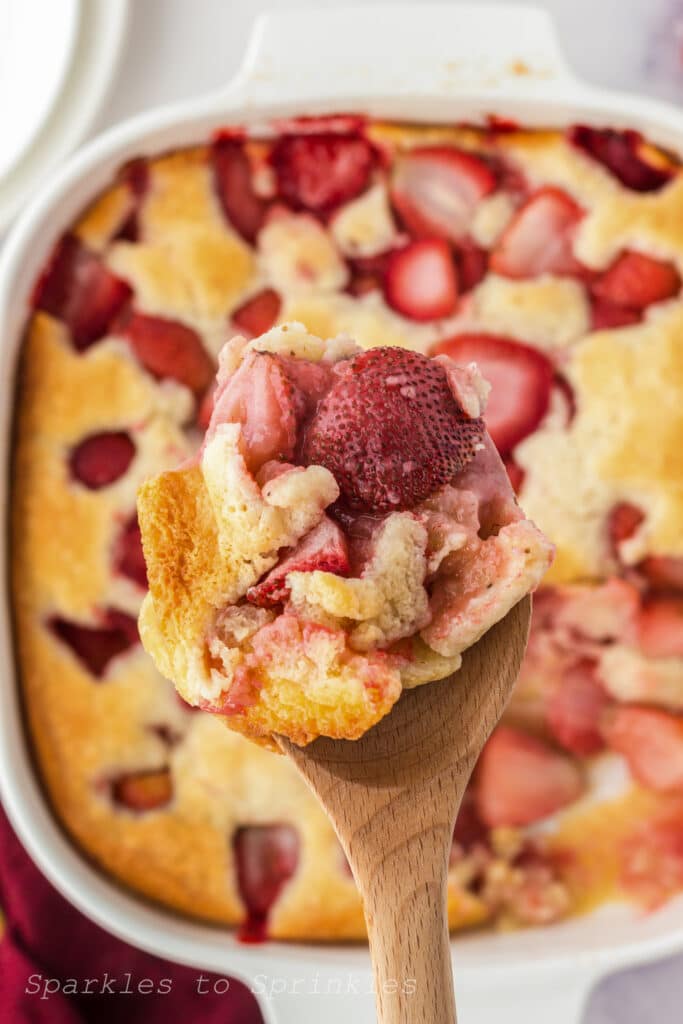
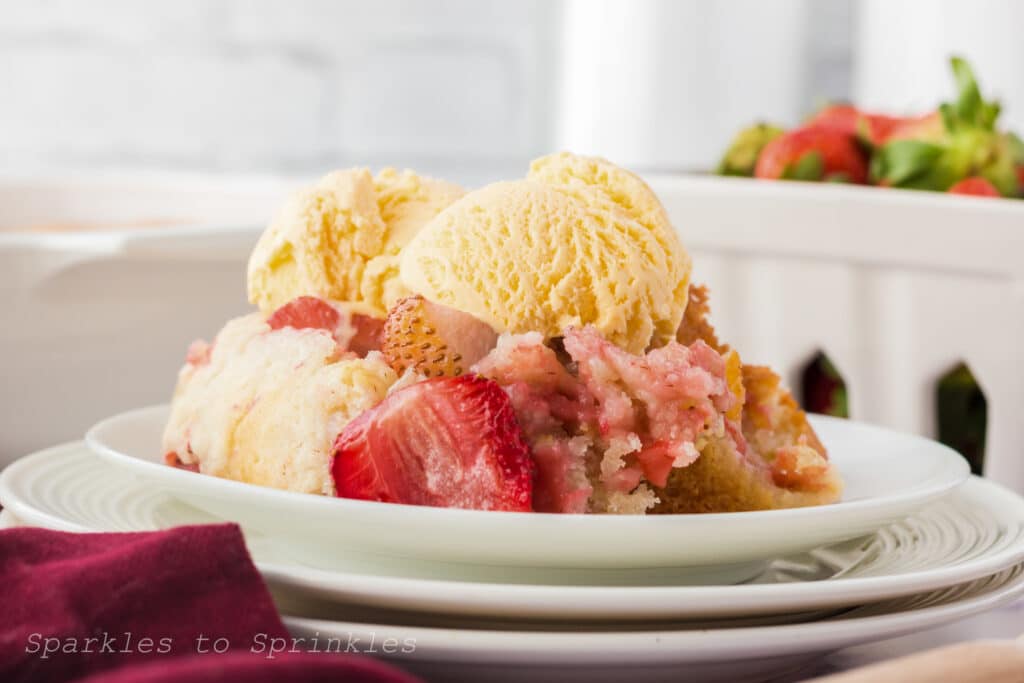
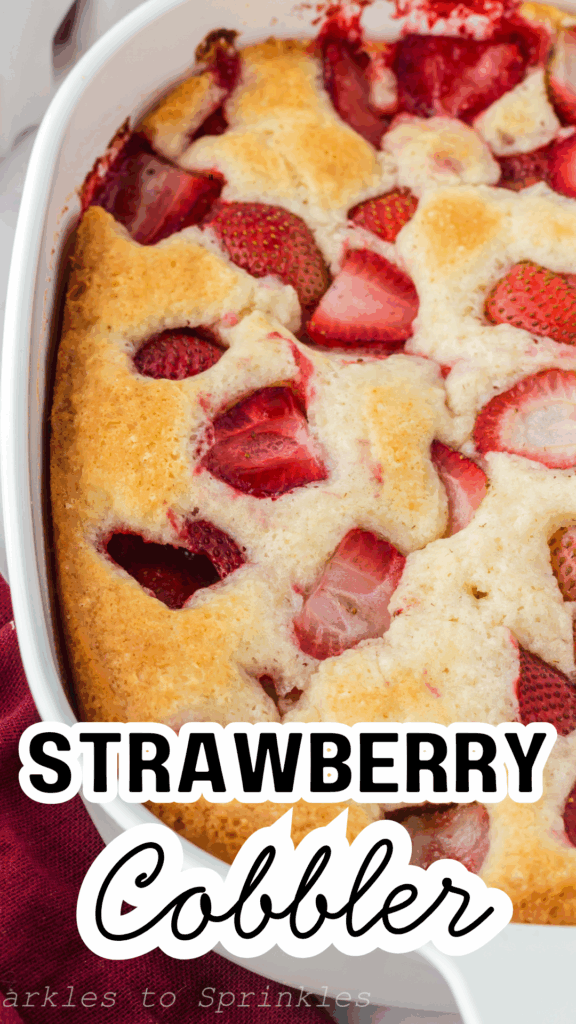
There’s something about warm strawberry cobbler fresh from the oven that just feels like summer in a dish. This easy strawberry cobbler recipe is buttery, fruity, and beautifully golden on top—with a gooey, sweet center that practically begs for a scoop of vanilla ice cream. It’s made with simple pantry staples and fresh strawberries, so you can whip it up whenever that dessert craving hits.
Strawberry Cobbler
If you’re a fan of easy fruit desserts like this, be sure to check out some of my other reader-favorite recipes like lemon dump cake, blueberry dump cake, or even my sheet pan pancakes for a berry-packed brunch option. The best part about this cobbler is that there’s no complicated dough or fancy techniques—just melt, mix, pour, and bake.
This recipe uses the classic Southern method of pouring batter over melted butter, which creates a slightly crispy, caramelized edge around the fluffy cobbler topping. It’s a little rustic, super comforting, and a guaranteed crowd-pleaser.

What You Will Love About This Recipe
Only 6 basic ingredients
No mixer or fancy tools required
Ready to bake in just minutes
The perfect use for fresh summer strawberries
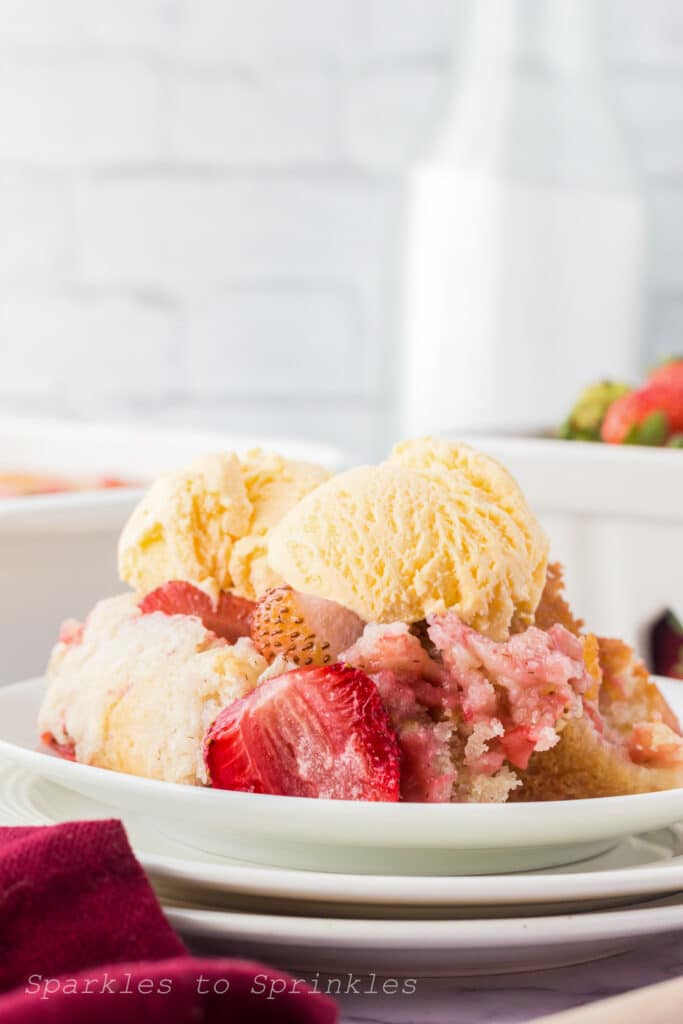
Delicious with a scoop of ice cream or a dollop of whipped cream
What do I need to get started?
- All purpose flour.
- Granulated sugar. The amount of sugar is completely for the biscuit topping – strawberries are such a sweet fruit and don’t need more sugar.
- Baking powder.
- Whole milk.
- Salted butter. I prefer using this to unsalted, for the flavor boost.
- Strawberries. I used fresh strawberries, but frozen strawberries will work just as well – just let them thaw before using.
How to make Strawberry Cobbler
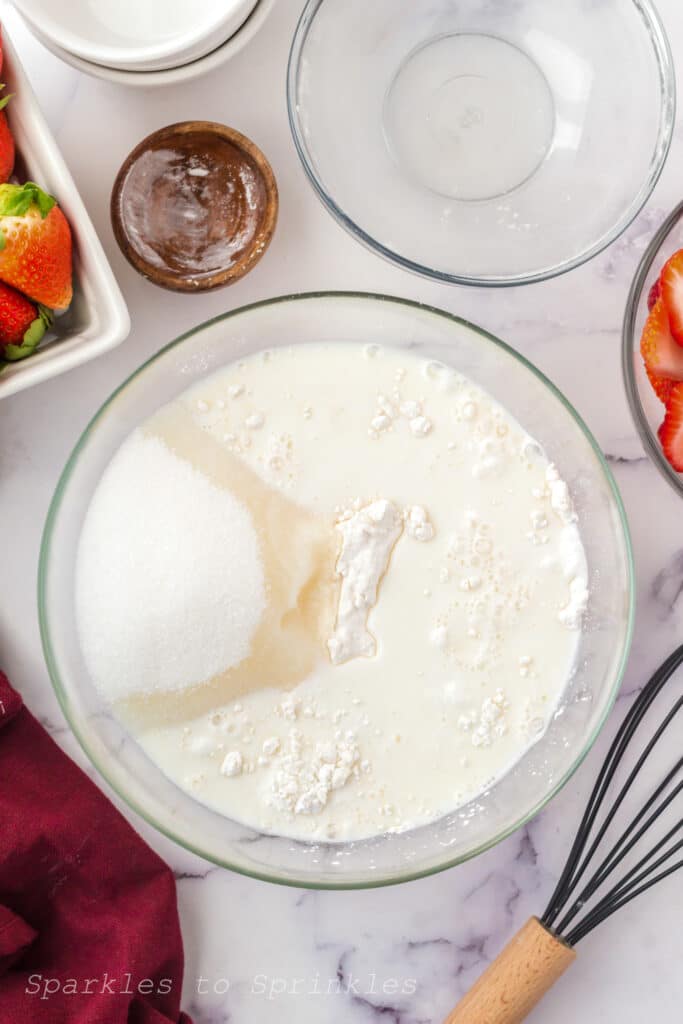
In a medium bowl, whisk together the flour, sugar, baking powder, and milk until the batter is smooth and totally lump-free.
Cut the butter into small cubes and place them into your baking dish, taking care to spread them out evenly. Bake until the butter has melted. This could take from 5 to 15 minutes depending on how small of chunks you cut and how evenly they were spread on the baking dish.
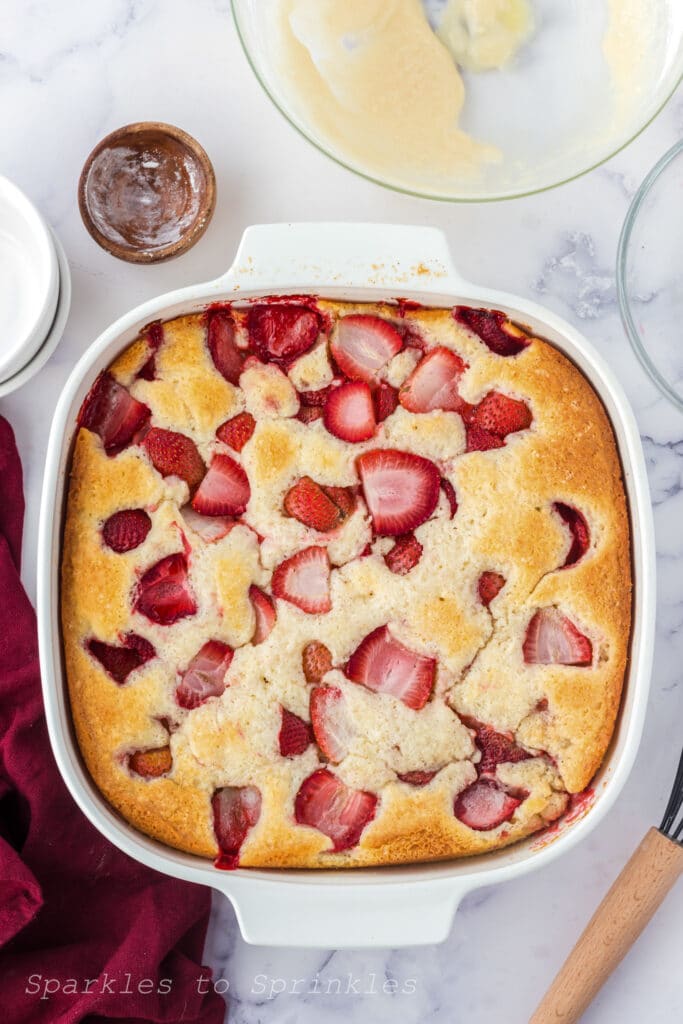
Remove the pan and pour the batter over the top of the melted butter. Scatter the sliced strawberries on top of the batter and bake.
The batter will rise in the oven above the strawberries to give it that nice crackly golden brown top – it will take about 45 minutes.

Tips & Tricks
- Don’t stir the batter once it’s poured over the butter—that’s what creates the signature cobbler texture.
- Make sure your strawberries are ripe and sweet for the best flavor. If they’re tart, sprinkle them with a little extra sugar before adding them to the pan.
- You can swap in other berries like blueberries, raspberries, or even sliced peaches.
- For a little extra flair, sprinkle the top with cinnamon sugar before baking.
- Let the cobbler cool for 10–15 minutes before serving to help it set.

FAQs

Strawberry Cobbler
Strawberry Cobbler is a sweet and tart dessert made up of strawberries and cake batter. There is no better way to bring spring back into your kitchen than whipping up this easy dessert!
Ingredients
- 1 ½ cups white flour
- 1 cup white granulated sugar
- 2 tsp baking powder
- 1 cup whole milk
- ½ cup salted butter
- 1 lb fresh strawberries, cut in half
Instructions
- Preheat the oven to 350 degrees Fahrenheit. In a mixing bowl, whisk together the flour, sugar, baking powder, and milk until the batter is smooth and no clumps of dry ingredients remain.
- Cut the butter into small cubes and place them in an 8x8 baking dish. Place the dish in the oven until the butter has completely melted.
- Remove the pan from the oven and pour the batter over the melted butter.
- Scatter the sliced strawberries on top of the batter and place the pan back in the oven for 45-50 minutes, or until the top is golden brown.
- Serve immediately with ice cream or whipped cream and enjoy!
Nutrition Information:
Yield:
8Serving Size:
1Amount Per Serving: Calories: 321Total Fat: 13gSaturated Fat: 8gTrans Fat: 0gUnsaturated Fat: 4gCholesterol: 34mgSodium: 228mgCarbohydrates: 49gFiber: 2gSugar: 29gProtein: 4g
I’m Melissa, the imaginative force behind Sparkles to Sprinkles, where creativity comes to life, and sprinkles of joy are scattered generously. Melissa is a proud Jersey girl who found love with a New York boy. As a mom to four wonderful boys and a few fur babies, her journey into the world of blogging began after making the life-changing decision to stay home and raise her children. Previously a dedicated workaholic, Melissa’s blog became her creative outlet and passion project. Inspired by her mother-in-law, a masterful cook renowned for her delicious home-cooked meals and legendary holiday feasts (think mouthwatering sausage stuffing), Melissa honed her culinary skills through a combination of family recipes and countless cooking classes. She often attended these classes with her son Michael, who shared her enthusiasm for cooking from a young age. Melissa’s love for learning extends beyond familiar cuisines, as she enjoys exploring international recipes in hands-on cooking classes. Her blog features a diverse array of recipes, showcasing her expertise with various kitchen appliances such as the Instant Pot, air fryer, Slow Cooker, Ninja Foodi, Instant Vortex Plus, and more. Join Melissa on her culinary adventures as she shares tried-and-true family favorites alongside exciting new discoveries!
