
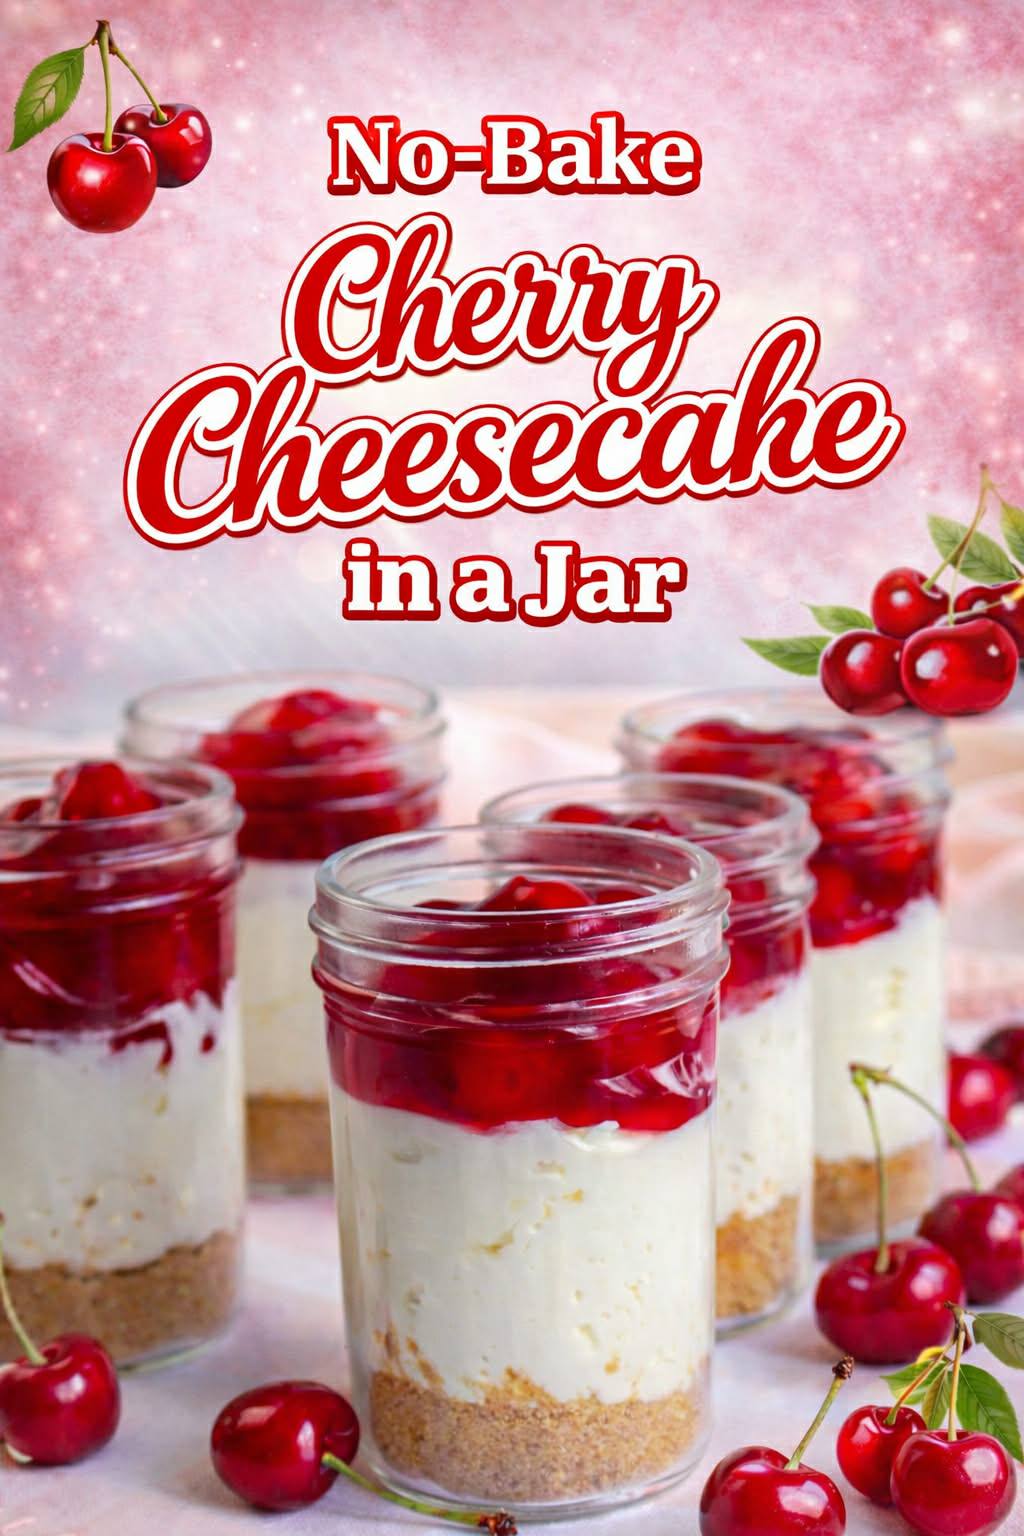
No-Bake Cherry Cheesecake in a Jar – The Perfect Make-Ahead Dessert
If you’re looking for a sweet, creamy, and perfectly portioned dessert, this No Bake Cherry Cheesecake in a Jar is for you! It’s got everything you love about classic cheesecake—a buttery graham cracker crust, silky smooth cheesecake filling, and sweet-tart cherry topping—but without the hassle of baking. Plus, serving them in jars makes them extra cute and super convenient for parties, picnics, or just a fun treat at home.

No Bake Cherry Cheesecake In A Jar
Love easy, no-bake desserts? Try my No-Bake Banana Pudding for a creamy Southern classic, or check out my Strawberry Shortcake In A Jar for another fun jarred dessert. If you love cherries, you might also like my Cherry Cheesecake Dump Cake—it’s just as simple and delicious!
These no-bake cheesecakes are the perfect make-ahead treat since they chill beautifully and let the flavors meld together overnight. Whether you’re serving them for a special occasion or just craving something sweet, they’re guaranteed to be a hit!

What You Will Love About This Recipe
✔ No Oven Needed – Perfect for hot days when you don’t want to turn on the oven!
✔ Individually Portioned – Easy to serve and great for meal prep.
✔ Make-Ahead Friendly – Tastes even better after chilling overnight.

How to Make No Bake Cherry Cheesecake in a Jar
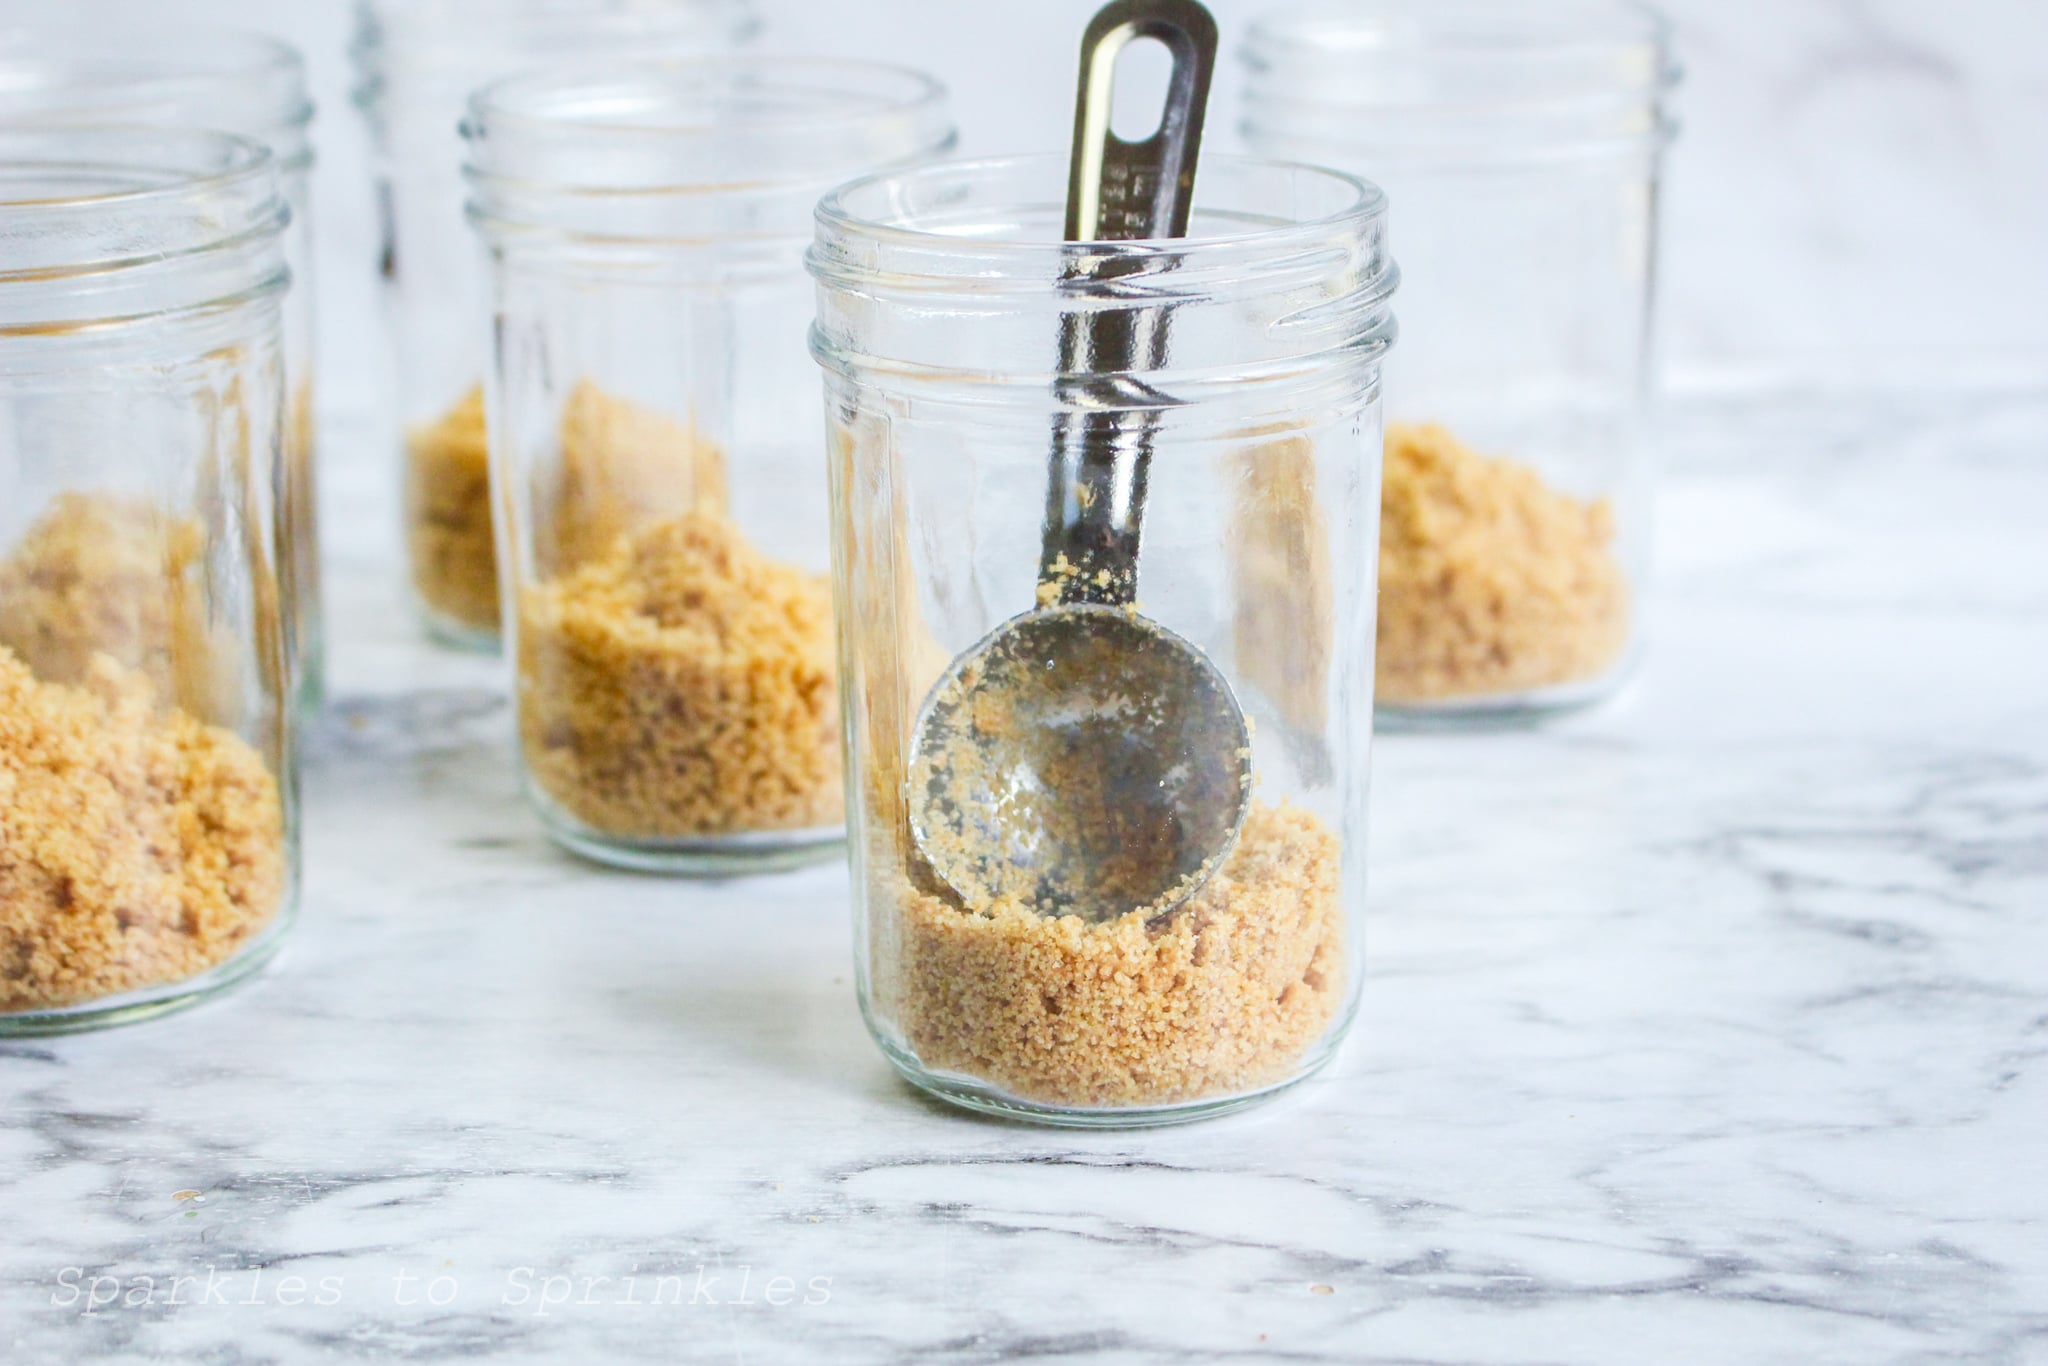
- In a food processor, place the graham crackers, sugar, and salt until the crackers are finely ground. Add the butter and pulse until the mixture comes together.
- Divide and press the graham cracker mixture into the bottom of the jars, creating an even layer.
- In a cold mixing bowl, whisk the heavy cream until stiff peaks form. Set aside.

- In a large mixing bowl, beat the cream cheese until smooth.

- Add the vanilla, sugar, lemon juice, and salt into the cream cheese. Continue mixing until completely combined.
- Into the cream cheese mixture, fold half of the whipped cream. Once that is incorporated, fold in the remaining cream.

- Divide the cream cheese between the jars. (Using a piping bag to fill the jars makes it easier.)

- To make the cherry pie filling, place cherries into a saucepan and cover. Cook over medium heat until the cherries begin to break down and release their juice. Add the sugar and cornstarch, stirring to combine. Return the cherries to a simmer and reduce the heat too low. Continue cooking until the sauce has thickened, approximately 2 minutes. Cool completely before spooning over the cheesecake.

- Cover and refrigerate the jars until ready to serve or overnight.
Tips & Tricks
- Use a piping bag to easily fill the jars with the cheesecake mixture.
- Let the cherry topping cool completely before adding it to prevent melting the cheesecake layer.
- Swap the cherries for blueberries, raspberries, or even a store-bought pie filling for a quicker version.

FAQs
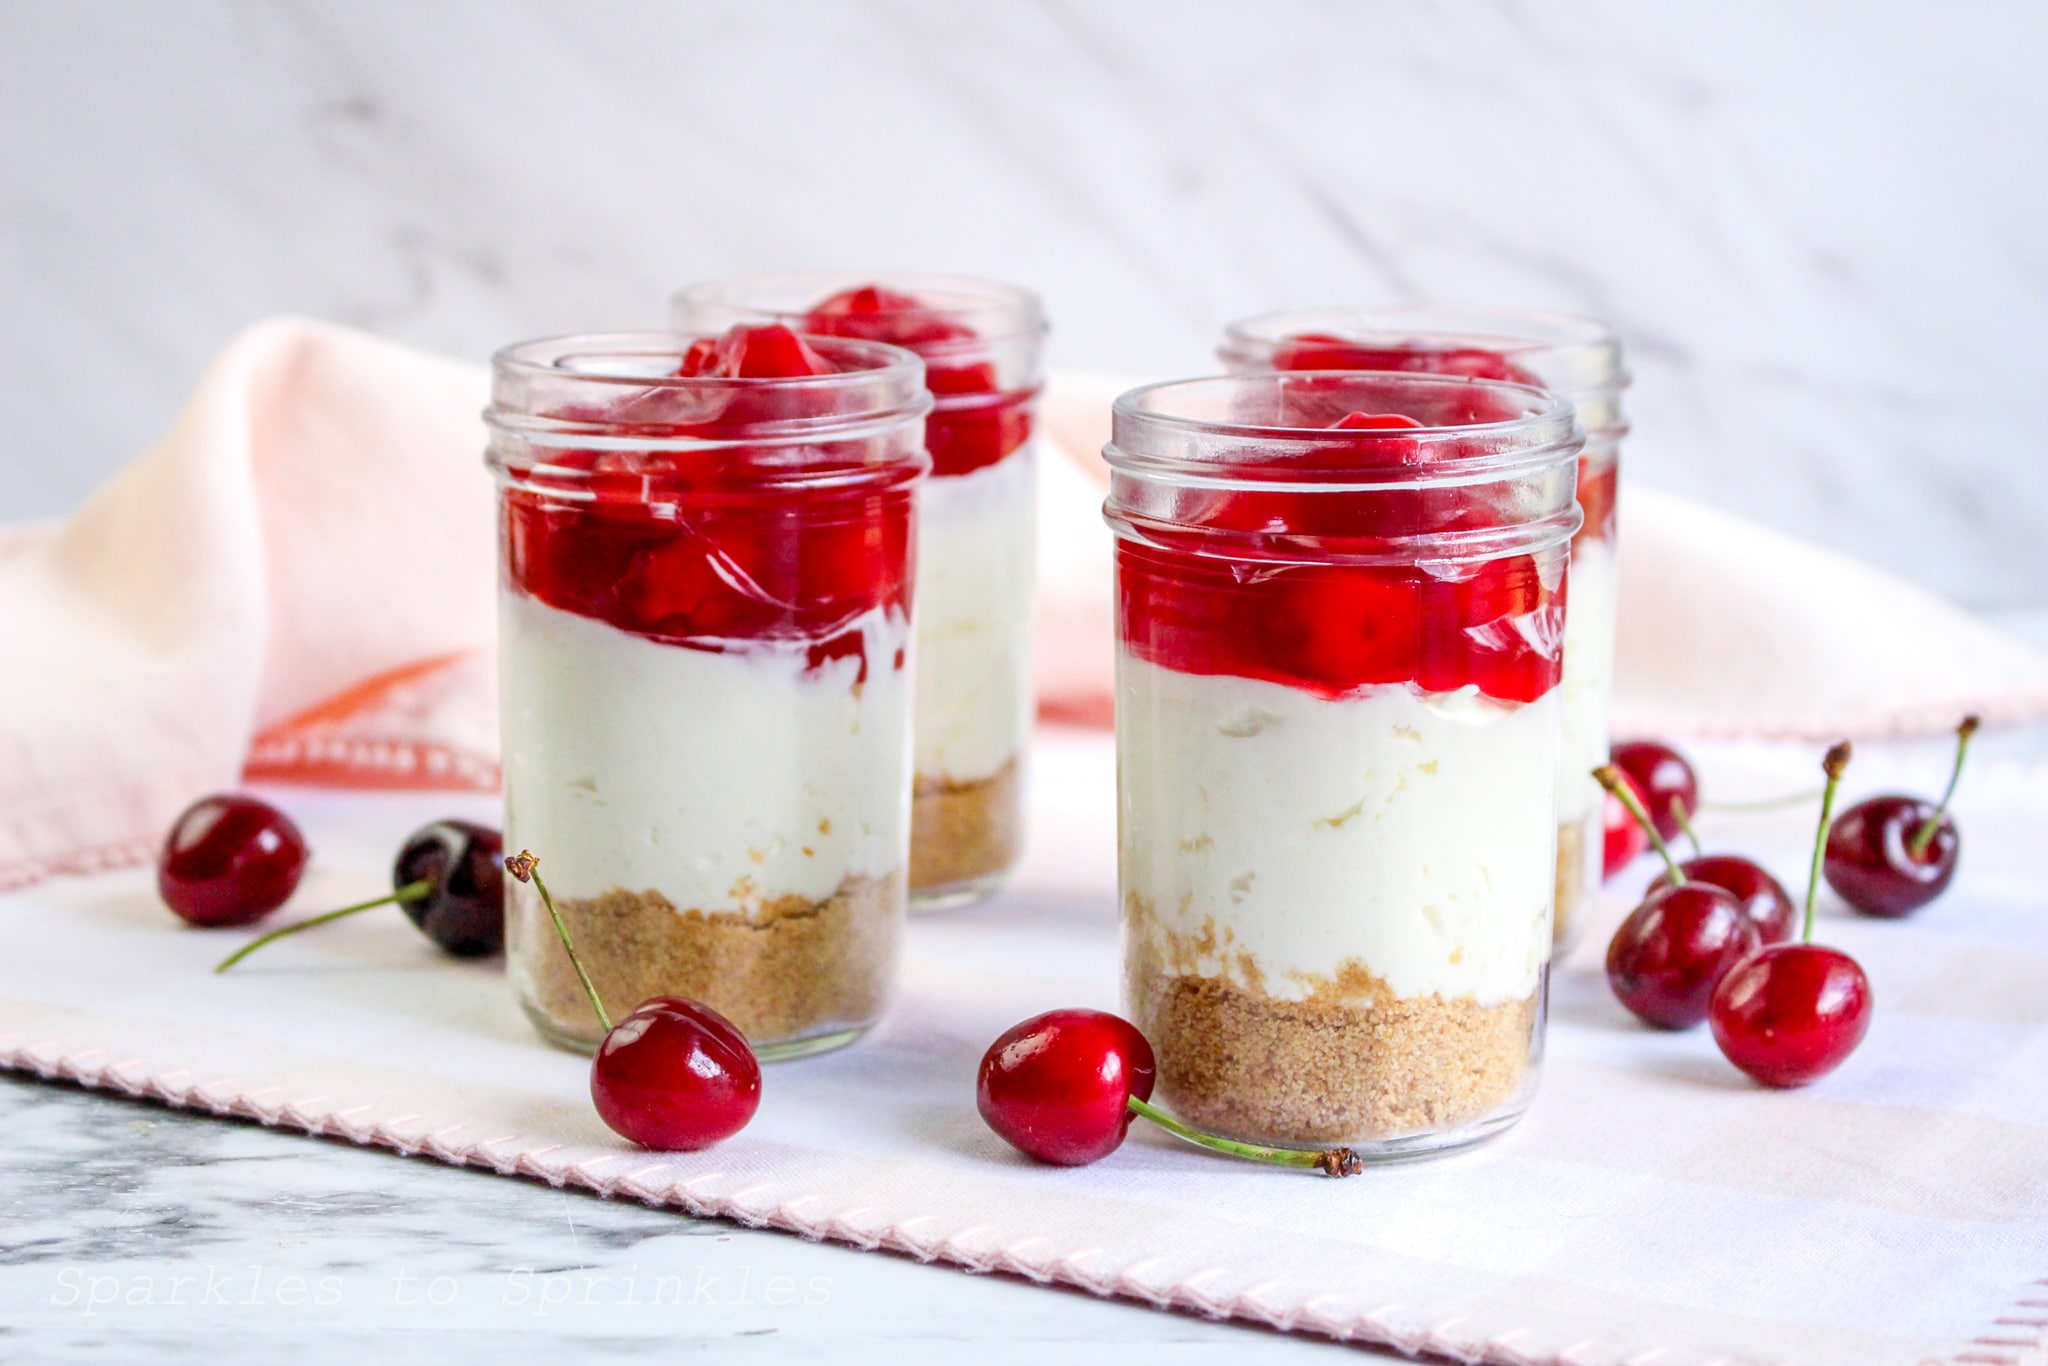

No Bake Cherry Cheesecake in a Jar
No Bake Cherry Cheesecake in a Jar is a deliciously creamy dessert that is ready in just 30 minutes as it combines a graham cracker crust, a creamy layer of cheesecake filling that is then topped with a delicious homemade cherry pie filling. This is the perfect dessert to make for all your summer BBQs this year.
Ingredients
- For the crust:
- 1 sleeve graham crackers
- 4 tablespoons butter, melted
- 2 teaspoons sugar
- Pinch salt
- For the cream cheese layer:
- 1 cup heavy whipping cream
- 1 (8 ounce) packages cream cheese, room temperature
- ⅓ cup powdered sugar
- 1 teaspoon vanilla extract
- 1 teaspoon fresh lemon juice
- For the cherry pie filling:
- 4 cups tart cherries, pitted
- 1 cup sugar
- ¼ cup cornstarch
Instructions
- In a food processor, place the graham crackers, sugar, and salt until the crackers are finely ground. Add the butter and pulse until the mixture comes together.
- Divide and press the graham cracker mixture into the bottom of the jars, creating an even layer.
- In a cold mixing bowl, whisk the heavy cream until stiff peaks form. Set aside.
- In a large mixing bowl, beat the cream cheese until smooth.
- Add the vanilla, sugar, lemon juice, and salt into the cream cheese. Continue mixing until completely combined.
- Into the cream cheese mixture, fold half of the whipped cream. Once that is incorporated, fold in the remaining cream.
- Divide the cream cheese between the jars. (Using a piping bag to fill the jars makes it easier.)
- To make the cherry pie filling, place cherries into a saucepan and cover. Cook over medium heat until the cherries begin to break down and release their juice. Add the sugar and cornstarch, stirring to combine. Return the cherries to a simmer and reduce the heat too low. Continue cooking until the sauce has thickened, approximately 2 minutes. Cool completely before spooning over the cheesecake.
- Cover and refrigerate the jars until ready to serve or overnight.
Notes
Makes 6 pint-sized dessert jars
Nutrition Information:
Yield:
6Serving Size:
1Amount Per Serving: Calories: 552Total Fat: 30gSaturated Fat: 17gTrans Fat: 1gUnsaturated Fat: 10gCholesterol: 75mgSodium: 196mgCarbohydrates: 71gFiber: 2gSugar: 50gProtein: 4g
I’m Melissa, the imaginative force behind Sparkles to Sprinkles, where creativity comes to life, and sprinkles of joy are scattered generously. Melissa is a proud Jersey girl who found love with a New York boy. As a mom to four wonderful boys and a few fur babies, her journey into the world of blogging began after making the life-changing decision to stay home and raise her children. Previously a dedicated workaholic, Melissa’s blog became her creative outlet and passion project. Inspired by her mother-in-law, a masterful cook renowned for her delicious home-cooked meals and legendary holiday feasts (think mouthwatering sausage stuffing), Melissa honed her culinary skills through a combination of family recipes and countless cooking classes. She often attended these classes with her son Michael, who shared her enthusiasm for cooking from a young age. Melissa’s love for learning extends beyond familiar cuisines, as she enjoys exploring international recipes in hands-on cooking classes. Her blog features a diverse array of recipes, showcasing her expertise with various kitchen appliances such as the Instant Pot, air fryer, Slow Cooker, Ninja Foodi, Instant Vortex Plus, and more. Join Melissa on her culinary adventures as she shares tried-and-true family favorites alongside exciting new discoveries!


