Frightfully Fun Halloween S’mores: A Sweet Treat with a Spooky Twist
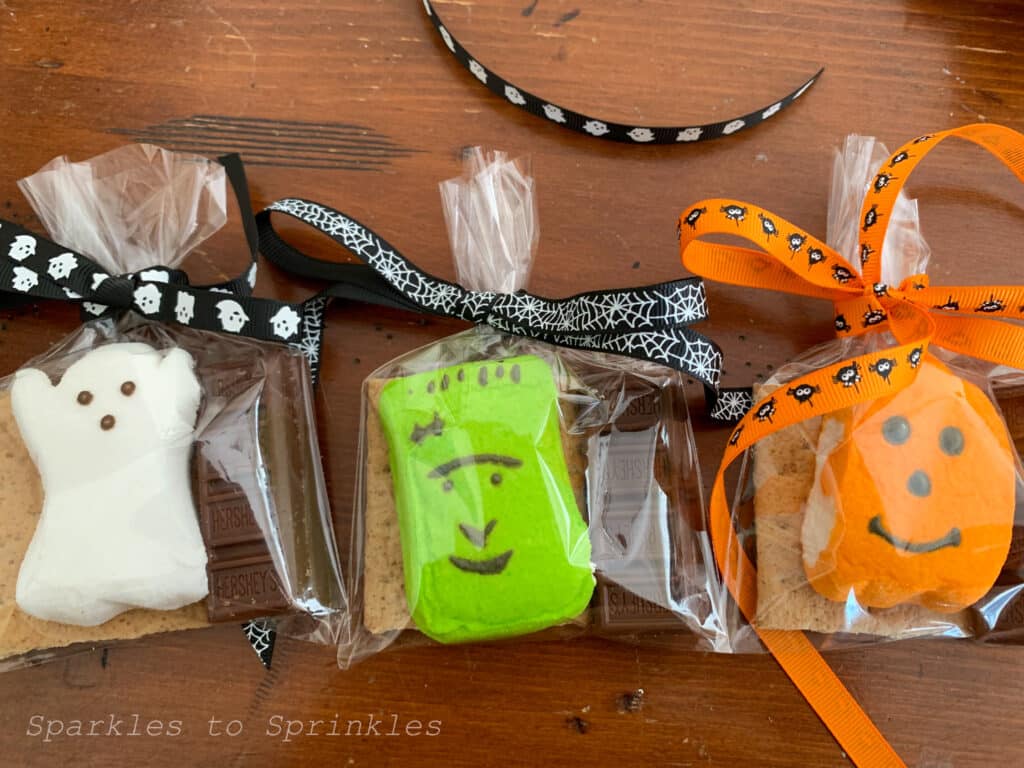
Halloween is the perfect time to get creative with treats, and what’s better than a spooky twist on a classic favorite? Halloween S’mores are a fun and festive way to add some holiday spirit to your gatherings, parties, or even as take-home gifts. Using Halloween-themed Peeps marshmallows like Ghosts, Monsters, or Pumpkins, along with graham crackers and Hershey’s chocolate, these treats are simple to assemble and a hit with both kids and adults.
Halloween S’mores
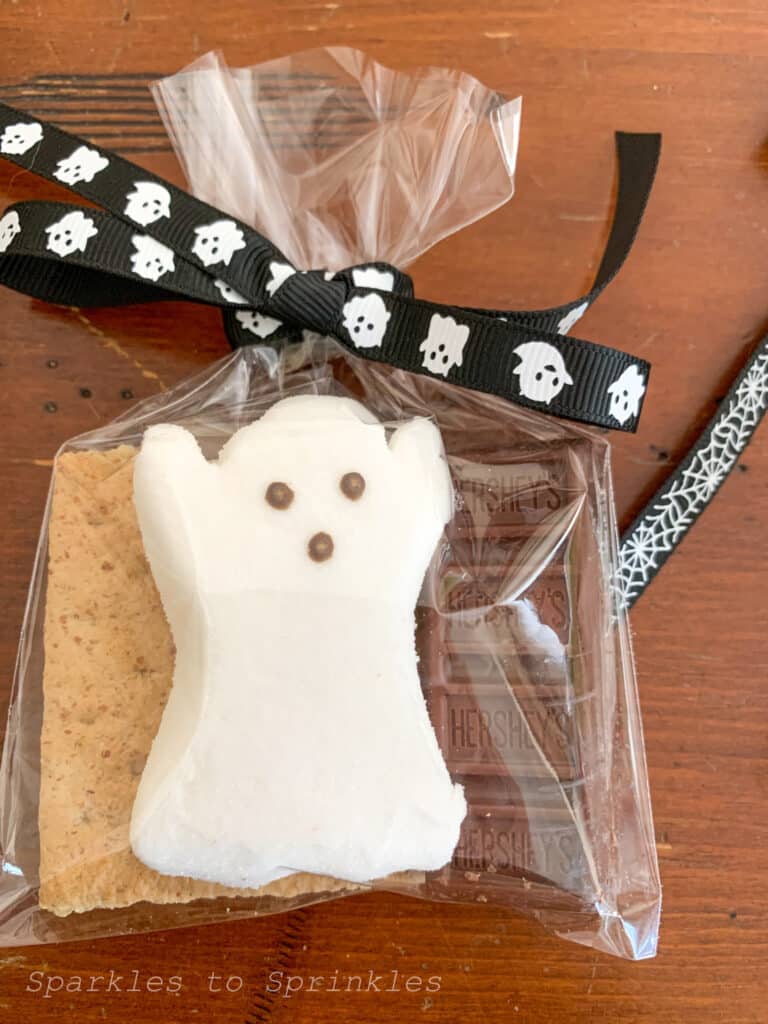
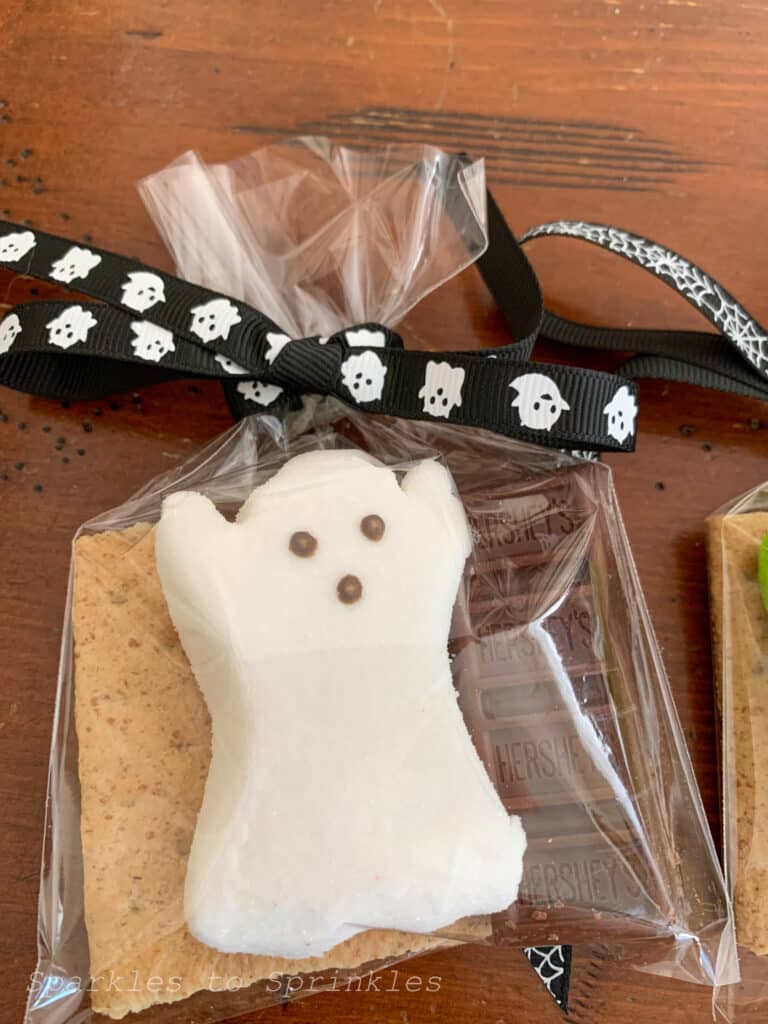
The best part? You can easily prep these s’mores kits ahead of time and package them in cute clear bags tied with Halloween-themed ribbons. Whether you’re making them as party favors or gifting them to neighbors, they’ll be a standout. You can even add a fun note or label for a personal touch.
When it’s time to enjoy the s’mores, they’re just as easy to make as the traditional version! Whether you roast them over an open flame or pop them in the air fryer, the combination of melty chocolate and gooey marshmallow is always a crowd-pleaser. Let’s dive into how you can create these fun and festive treats!
What You Will Love About Making Halloween S’mores
What’s not to love about these Halloween S’mores? First, they bring a fun, spooky twist to a classic favorite with Halloween-themed Peeps marshmallows that add a festive and colorful touch. They’re super easy to assemble, making them a perfect last-minute treat or party favor. Plus, they’re individually wrapped, which makes them great for sharing at parties or handing out to trick-or-treaters.
The best part is how versatile they are! Whether you’re roasting them over an open flame or popping them in the air fryer, you’ll still get that gooey, chocolatey, nostalgic flavor everyone adores. Kids and adults alike will love the festive look, easy assembly, and, of course, the delicious end result!

Ingredients for Halloween S’mores Treat Bags:
- Graham Crackers – 2 squares per s’more (broken into individual halves)
- Hershey’s Chocolate – 2 pieces per s’more (broken to fit the graham crackers)
- Halloween Peeps Marshmallows – Ghosts, Pumpkins, Monsters, or any fun Halloween shapes
- Clear Plastic Bags – For packaging each s’more
- Halloween-Themed Ribbon – To tie the bags and add a festive touch
Optional: A note or label to make your treat bags even more personalized.
Assemble the S’mores Kit:
Take two graham cracker squares (sized for a s’more) and place them in a clear plastic treat bag.
Next, add two pieces of Hershey’s chocolate, broken to the right size, next to the graham crackers.

Place a Halloween-themed Peeps marshmallow (Ghost, Monster, or Pumpkin) on top of the chocolate inside the bag.

Wrap It Up: Tie the bag with a cute Halloween-themed ribbon to seal it, making sure everything stays in place.
Ready to Gift or Enjoy: These s’mores kits are ready to hand out as treats, party favors, or gifts!
How to Make Halloween S’mores
When you’re ready to enjoy your s’more, you can toast it the traditional way over an open flame.
Or, pop it in the air fryer for a quick and easy option—just assemble the s’more and heat until the chocolate melts and the marshmallow gets gooey!

Hershey’s milk chocolate of course! Feel free to play around and swap it if you would like. You could even use Reese’s peanut butter cup for a twist in the classic s’mores chocolate!
Why Is It Called S’mores
S’more is a contraction of the phrase “some more”. The actual origination is not really known but it first appeared in a cookbook in the early 1920s and it was actually called a “graham cracker sandwich” that was popular with both boy scouts and girl scouts.

Tips & Tricks for the Perfect Halloween S’mores:
-
Choose the Right Peeps: There are so many fun Halloween-themed Peeps like ghosts, pumpkins, and monsters. Mix and match different shapes to make your s’mores even more festive!
-
Pre-Size Your Ingredients: Before assembling, break your graham crackers and Hershey’s chocolate into s’more-sized pieces. This makes the process smoother and ensures a perfect balance of gooey marshmallow, crispy graham cracker, and melted chocolate.
-
Air Fryer Magic: If you’re not near a campfire, you can easily make these in the air fryer! Just assemble your s’more with the marshmallow and chocolate between graham crackers, pop it in at 350°F for 3-4 minutes, and enjoy the same melty deliciousness without the hassle of building a fire.
-
Use Cute Packaging: Clear plastic bags tied with a fun Halloween ribbon add an extra special touch, making these s’mores perfect for gifting or party favors.
-
Add a Personal Touch: Include a little note or custom label with instructions on how to enjoy the s’mores, or a fun Halloween message. This makes them extra personal and festive for any spooky gathering!
Looking for more s’mores recipes
- S’mores Bark | A cute and tasty treat that kids will smile ear to ear for! A super easy after school treat.
- Air Fryer S’mores | Skip a campfire and make s’mores at home any time of the year! So easy and such a sweet and tasty dessert!
- Don’t forget to check out my School Approved Frankenstein!
Halloween S’mores FAQ’s
- Can I use other types of chocolate? Absolutely! While Hershey’s chocolate is a classic, you can use any type of chocolate bar or chocolate chips. Dark chocolate, white chocolate, or even flavored varieties can add a fun twist to your Halloween s’mores.
- Can I make these ahead of time? Yes! You can assemble the s’mores in their bags with the graham crackers, chocolate, and Peeps and store them for a few days. Just make sure to keep them in a cool, dry place until you’re ready to hand them out or enjoy them.
- Do I need a campfire to make them? Nope! While a campfire is great, you can make Halloween s’mores in an air fryer, microwave, or even in the oven. Each method will give you that melty marshmallow and gooey chocolate combo.
- Can I use homemade marshmallows instead of Peeps? Yes, homemade marshmallows will work just as well. They might not have the fun shapes, but you can get creative with colors or flavors to fit the Halloween theme.
- What if I don’t have clear plastic bags? You can use small treat boxes, mason jars, or any fun Halloween-themed containers to package the s’mores. Just make sure they’re sealed well to keep everything fresh.
- Can I include other treats in the bag? Absolutely! You can add a small piece of candy or a Halloween sticker to make the treat bags extra special.

Halloween S'mores
Materials
- Graham Crackers – 2 squares per s'more (broken into individual halves)
- Hershey’s Chocolate – 2 pieces per s'more (broken to fit the graham crackers)
- Halloween Peeps Marshmallows – Ghosts, Pumpkins, Monsters, or any fun Halloween shapes
- Clear Plastic Bags – For packaging each s'more
- Halloween-Themed Ribbon – To tie the bags and add a festive touch
- Optional: A note or label to make your treat bags even more personalized.
Instructions
- Assemble the S’mores Kit:
- Take two graham cracker squares (sized for a s’more) and place them in a clear plastic treat bag.
- Next, add two pieces of Hershey’s chocolate, broken to the right size, next to the graham crackers.
- Place a Halloween-themed Peeps marshmallow (Ghost, Monster, or Pumpkin) on top of the chocolate inside the bag.
- Wrap It Up: Tie the bag with a cute Halloween-themed ribbon to seal it, making sure everything stays in place.
Ready to Gift or Enjoy: These s’mores kits are ready to hand out as treats, party favors, or gifts!
How to Make: - When you're ready to enjoy your s’more, you can toast it the traditional way over an open flame.
- Or, pop it in the air fryer for a quick and easy option—just assemble the s’more and heat until the chocolate melts and the marshmallow gets gooey!
I’m Melissa, the imaginative force behind Sparkles to Sprinkles, where creativity comes to life, and sprinkles of joy are scattered generously. Melissa is a proud Jersey girl who found love with a New York boy. As a mom to four wonderful boys and a few fur babies, her journey into the world of blogging began after making the life-changing decision to stay home and raise her children. Previously a dedicated workaholic, Melissa’s blog became her creative outlet and passion project. Inspired by her mother-in-law, a masterful cook renowned for her delicious home-cooked meals and legendary holiday feasts (think mouthwatering sausage stuffing), Melissa honed her culinary skills through a combination of family recipes and countless cooking classes. She often attended these classes with her son Michael, who shared her enthusiasm for cooking from a young age. Melissa’s love for learning extends beyond familiar cuisines, as she enjoys exploring international recipes in hands-on cooking classes. Her blog features a diverse array of recipes, showcasing her expertise with various kitchen appliances such as the Instant Pot, air fryer, Slow Cooker, Ninja Foodi, Instant Vortex Plus, and more. Join Melissa on her culinary adventures as she shares tried-and-true family favorites alongside exciting new discoveries!


One Comment