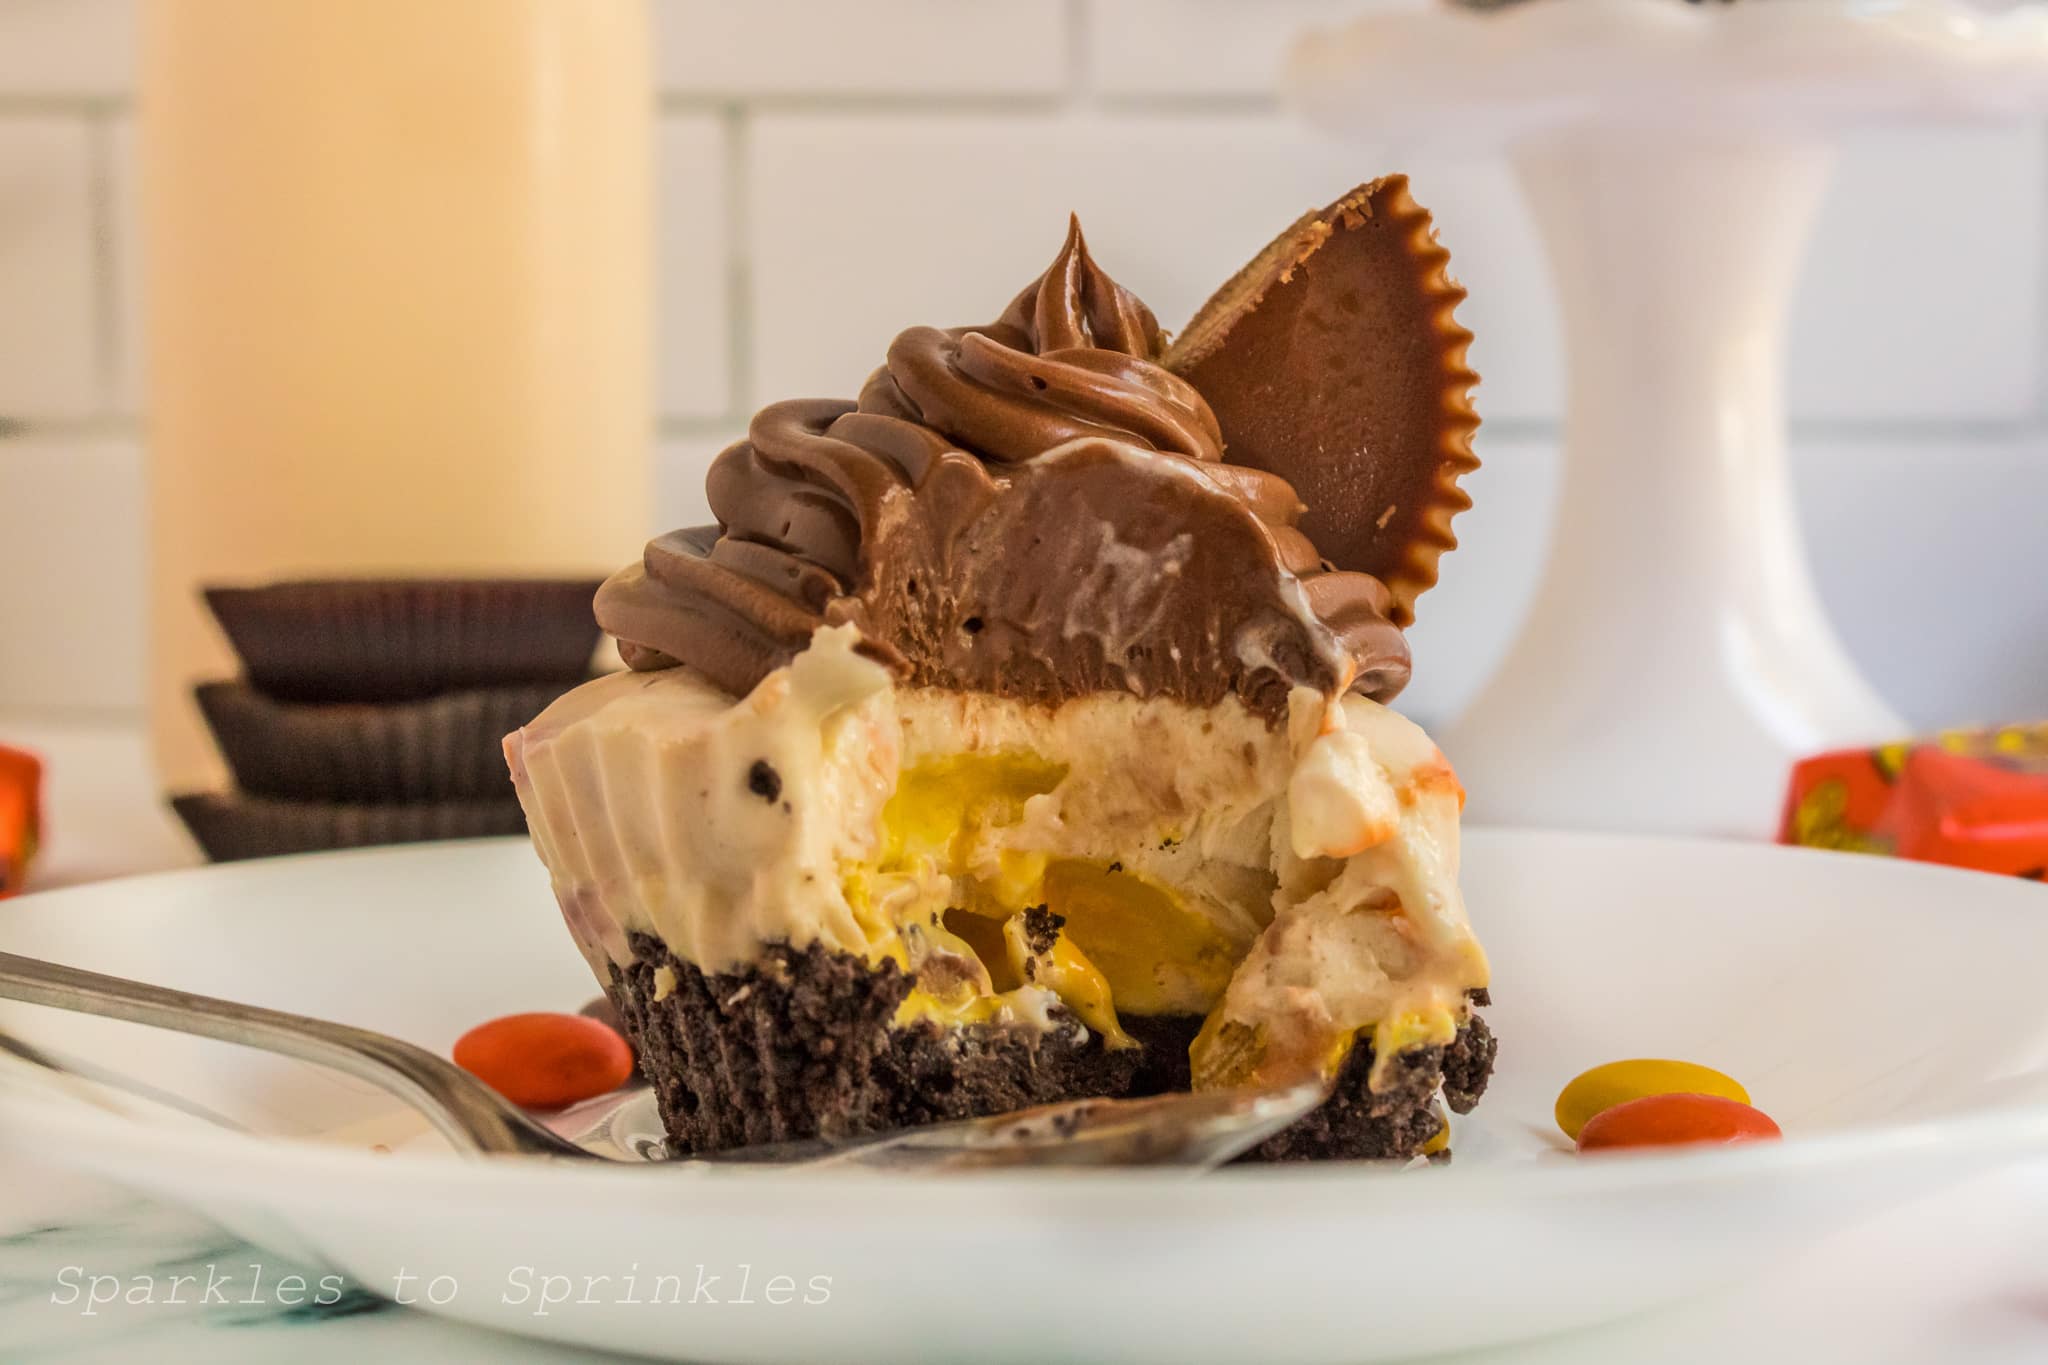
Reese’s Mini Cheesecakes
Craving the perfect sweet treat for the upcoming party? Look no further because No-bake Reese’s Mini Cheesecakes offer the perfect combination of cream cheese, peanut butter, sugar, milk, and cool whip to create a decadent creamy dessert that will please everyone!
Calling all Peanut butter chocolate lovers, you are going to want to try these mini Reese’s Cheesecakes ASAP! They are creamy and rich and loaded with so much peanut butter and chocolate goodness. At first bite, you and your guests will fall in love with this easy-to-make treat that you will find yourself making again and again.
If you love peanut butter, be sure to try our peanut butter balls and our peanut butter cup ice cream.

How to Make Reese’s Mini Cheesecakes
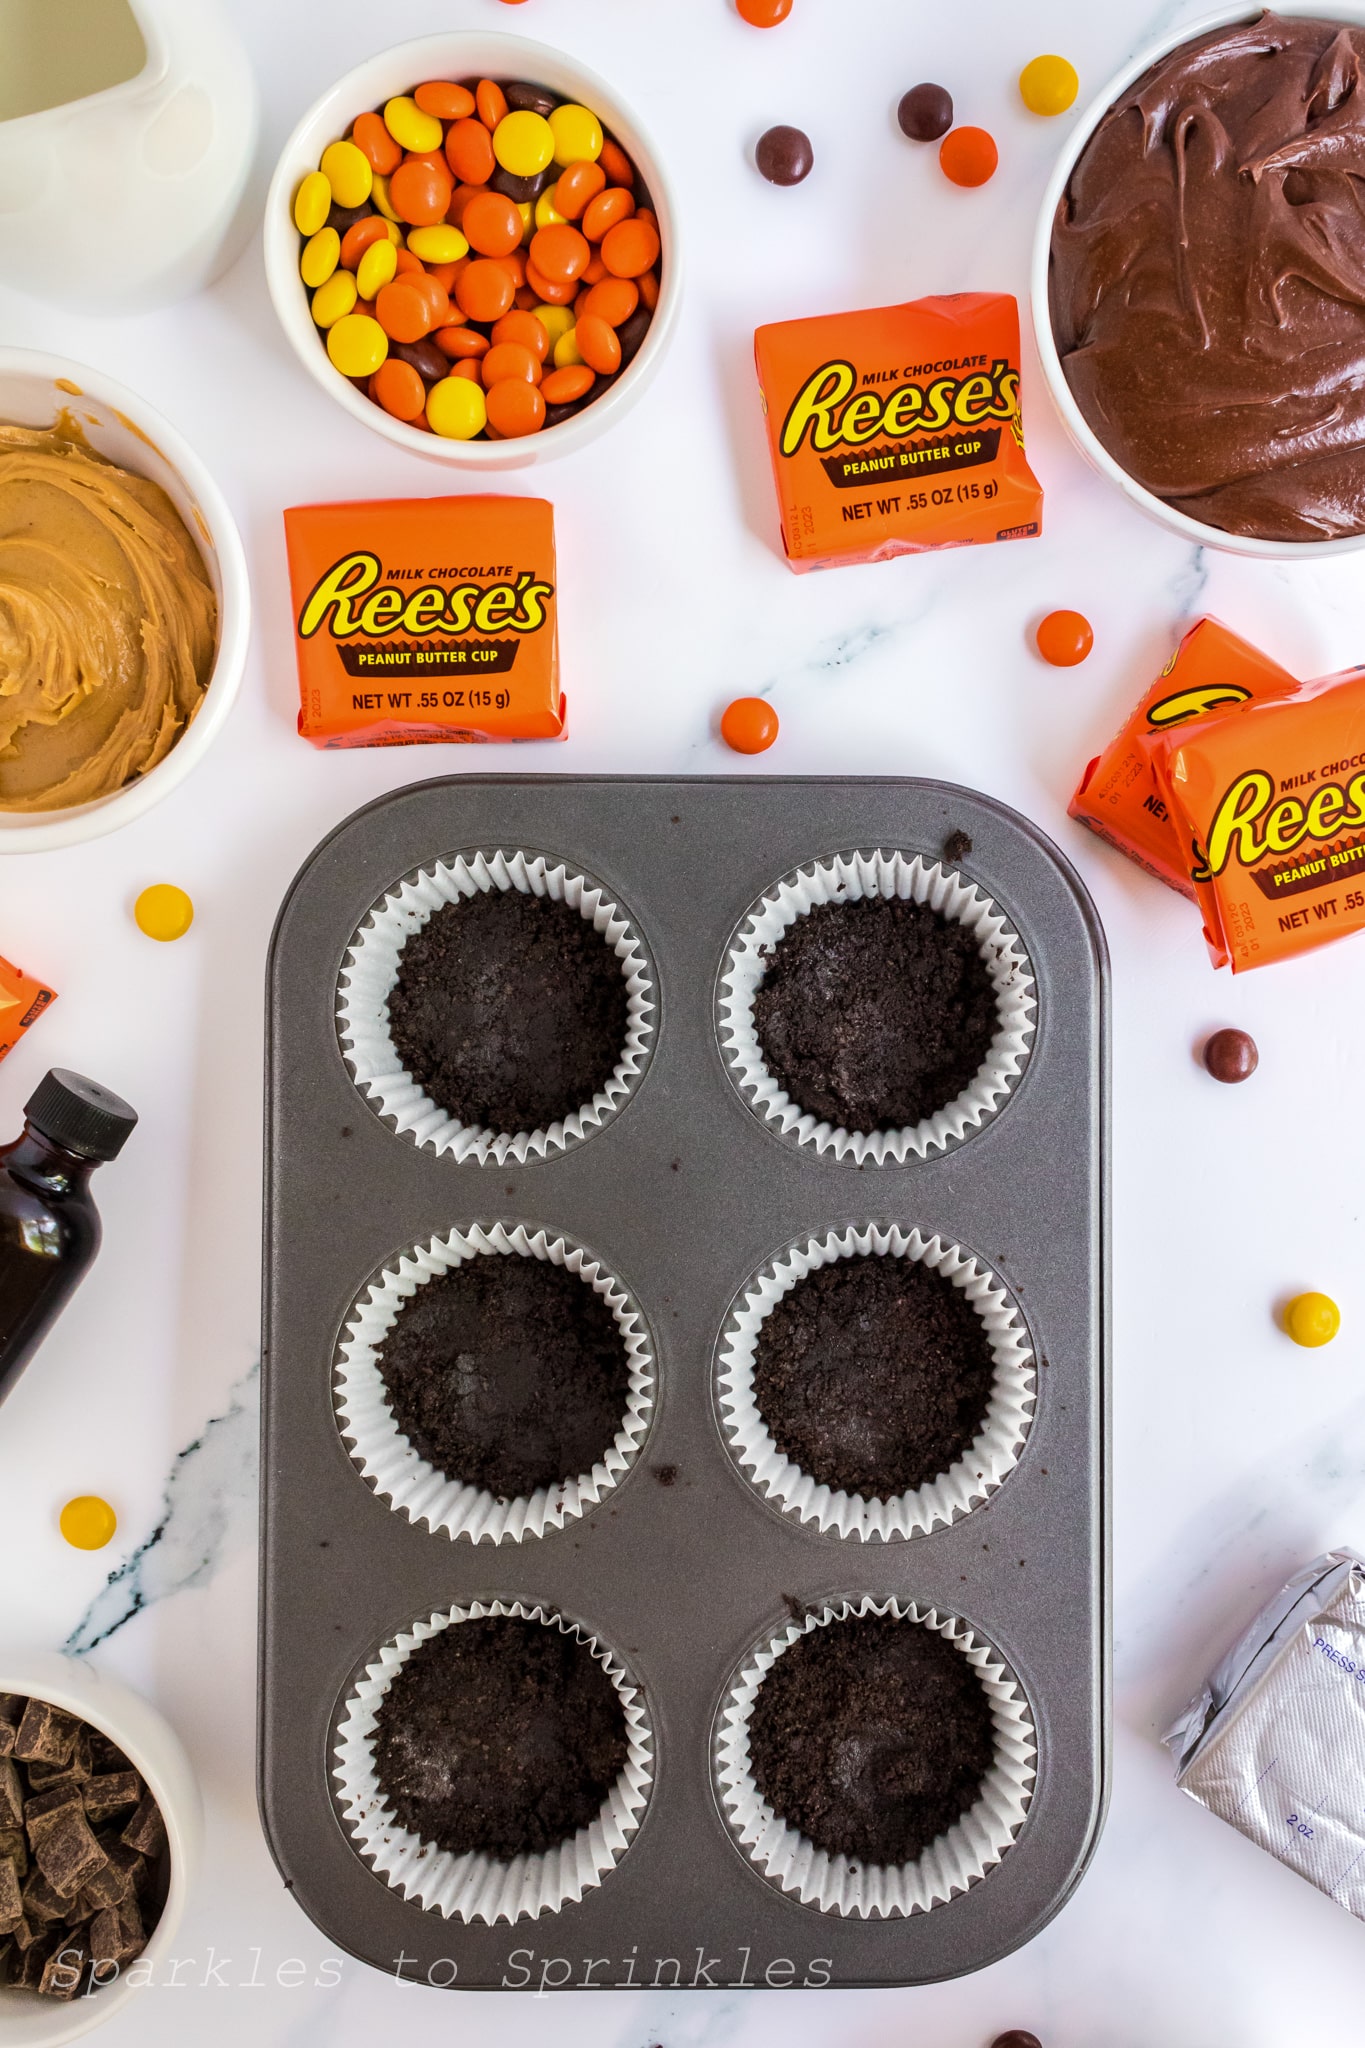
- Add the Oreos to a food processor and process until they are fine (about 1-2 minutes in 30-second increments), then add in the butter until well combined. (Or add them to a plastic ziplock bag and use a rolling pin to crumble them, then add to a bowl and stir in softened butter.

- Press the Oreo mixture into a lined muffin tin (or silicone baking cups), about 2 or 3 tablespoons per liner.
- Make the cheesecake filling by adding the cream cheese, peanut butter, sugar, milk, lemon juice, and vanilla to a blender and blend for about 45-60 seconds, until well blended.


- Pour the cheesecake mixture into a bowl and stir in the cool whip and Reese’s pieces (optional).


- Divide the filling mixture evenly between the 12 liners with the base and allow to set in the freezer for at least 2 ½ hours, or in the fridge for 6+ hours or overnight.

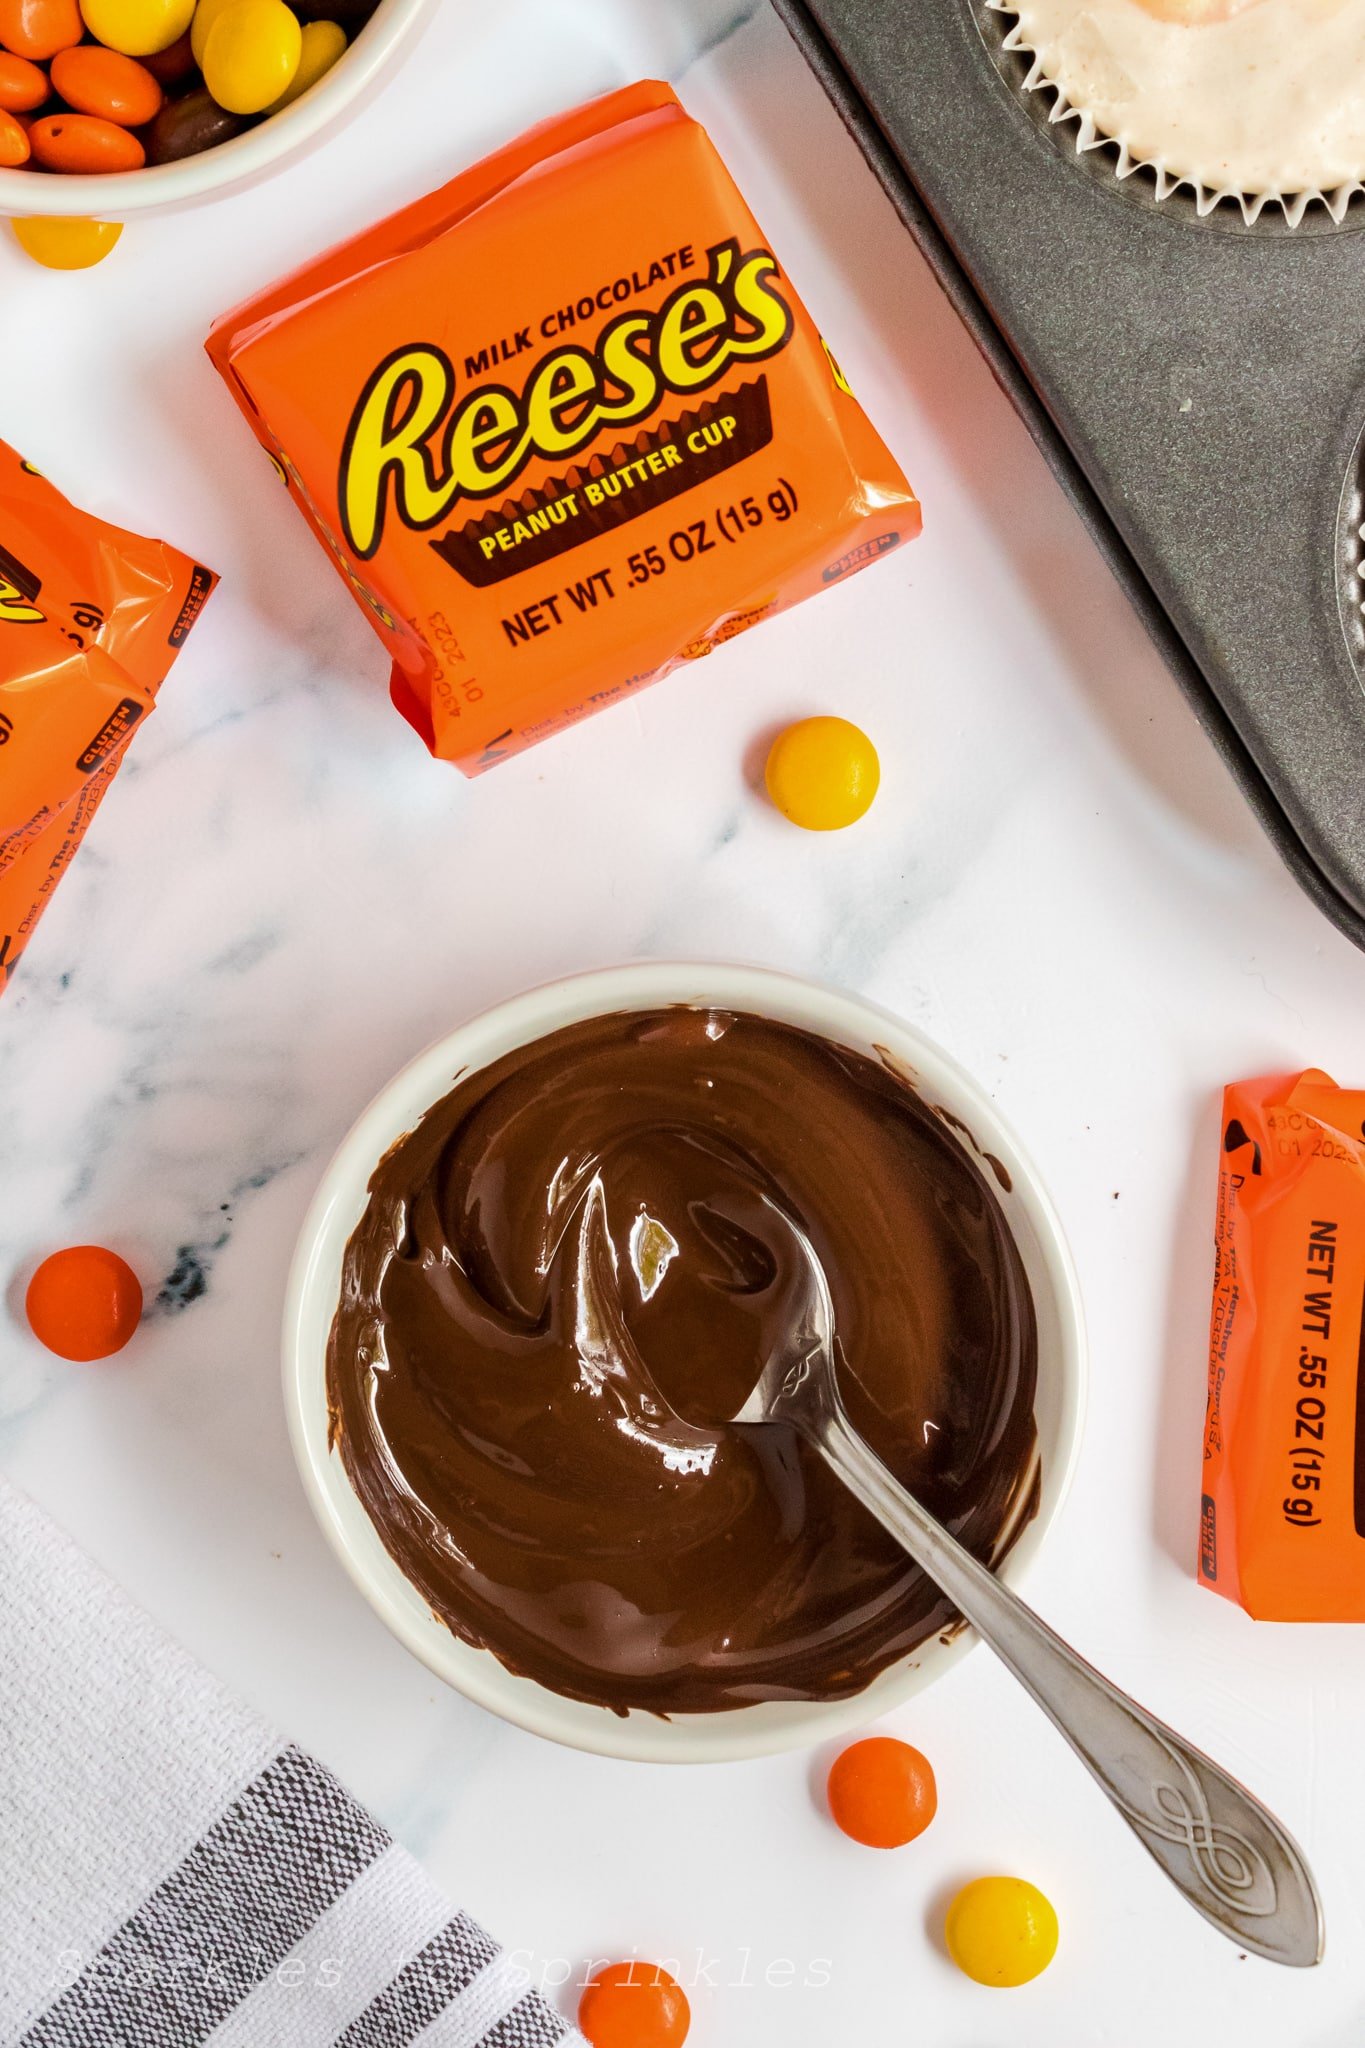
- (Optional) When the cheesecake has set, melt the chocolate chunks in the microwave in 30-second increments (about 1 ½ minutes in total) and top the cheesecakes with the melted chocolate, allow them to harden before moving on to the next step.

- Frost the cheesecakes with the chocolate frosting and piping bag & favorite tip. Add a ¼ of Reese’s peanut butter cup into the frosting and enjoy!


Tips Tricks and FAQs
- If it is warmer in your house, and milk chocolate melts easily, store the Reese’s in the freezer until needed for the topping. This will make them easier to cut without making a mess.
- If you want to set the cheesecakes quicker, you can place them in the freezer to set.
- You can double the recipe if you are serving a crowd.

Storage
Store your leftovers in the fridge, covered. These will last up to 2 days.

Yes! You can make these Reese’s mini cheesecakes ahead of time.
If you are going to be eating these within a day or two, store them in the fridge, covered.
If you aren’t planning on enjoying these for a few days, place them covered with foil in the freezer.
To defrost, place them in the fridge for at least 30 minutes. At 30 minutes they will be slightly frozen still. They will be fully defrosted within 2 hours with a nice smooth creamy texture.
When your cheesecake is firm to the touch, then you will know that they are properly set. You do not want them to be liquidy at all or start to fall apart when removing the liner.

10 Reasons Why No-bake Reese’s Mini Cheesecakes are a Huge Hit:
• It’s easy to make
• Delicious mix of cream cheese and peanut butter
• Sweet and savory flavor
• Perfect for parties
• Satisfies everyone’s sweet tooth
• Looks great on a plate
• Perfect for any occasion
• No baking required
• Combines healthy ingredients
• The sweetest way to end any meal

My cheesecake is not setting, what should I do?
If you are having trouble with the cheesecake setting, it may be because of the humidity or the temperature of the fridge. Place your cheesecake in the freezer for up to 3 hours to get it to the right consistency. Once it is set, you can add the toppings and return them to the fridge to store.
Will the crust become soggy?
The base of this no-bake Reese’s mini cheesecake should not become soggy when you add the filling.

Do I need to use mini cheesecake pans for this recipe?
When making this recipe you do not need mini cheesecake pans. In fact, this recipe calls for regular muffin tins and liners, or regular sized silicone baking cups, just like you would use with cupcakes.


Reese's Mini Cheesecakes
No-bake Reese's Mini Cheesecakes are a huge hit for every occasion as it combines cream cheese, peanut butter, sugar, milk, and cool whip to create a luscious creamy dessert that everyone will love.
Ingredients
- Crust:
- 20 Oreos
- 4 tablespoons Butter, softened
- Filling:
- 8 ounces of Cream Cheese
- ½ cup Peanut Butter
- ⅓ cup Sugar
- 1 cup Milk
- 1 teaspoon Lemon Juice
- 1 teaspoon Vanilla Extract
- 4 ounces Cool Whip (about half an 8-ounce container)
- ⅔ cup Reese’s Pieces (optional)
- Topping:
- 2 cups Chocolate Chunks (optional)
- 16-ounce Chocolate Frosting
- 3 full-size Reese’s
Instructions
- Add the Oreos to a food processor and process until they are fine (about 1-2 minutes in 30-second increments), then add in the butter until well combined. (Or add them to a plastic ziplock bag and use a rolling pin to crumble them, then add to a bowl and stir in softened butter.
- Press the Oreo mixture into a lined muffin tin (or silicone baking cups), about 2 or 3 tablespoons per liner.
- Make the cheesecake filling by adding the cream cheese, peanut butter, sugar, milk, lemon juice, and vanilla to a blender and blend for about 45-60 seconds, until well blended.
- Pour the cheesecake mixture into a bowl and stir in the cool whip and Reese's pieces (optional).
- Divide the filling mixture evenly between the 12 liners with the base and allow to set in the freezer for at least 2 ½ hours, or in the fridge for 6+ hours or overnight.
- (Optional) When the cheesecake has been set, melt the chocolate chunks in the microwave in 30-second increments (about 1 ½ minutes in total) and top the cheesecakes with the melted chocolate, allow them to harden before moving on to the next step.
- Frost the cheesecakes with the chocolate frosting and piping bag & favorite tip. Add a ¼ of Reese’s peanut butter cup into the frosting and enjoy!
Nutrition Information:
Yield:
12Serving Size:
1Amount Per Serving: Calories: 689Total Fat: 41gSaturated Fat: 20gTrans Fat: 0gUnsaturated Fat: 15gCholesterol: 38mgSodium: 355mgCarbohydrates: 75gFiber: 3gSugar: 62gProtein: 9g
I’m Melissa, the imaginative force behind Sparkles to Sprinkles, where creativity comes to life, and sprinkles of joy are scattered generously. Melissa is a proud Jersey girl who found love with a New York boy. As a mom to four wonderful boys and a few fur babies, her journey into the world of blogging began after making the life-changing decision to stay home and raise her children. Previously a dedicated workaholic, Melissa’s blog became her creative outlet and passion project. Inspired by her mother-in-law, a masterful cook renowned for her delicious home-cooked meals and legendary holiday feasts (think mouthwatering sausage stuffing), Melissa honed her culinary skills through a combination of family recipes and countless cooking classes. She often attended these classes with her son Michael, who shared her enthusiasm for cooking from a young age. Melissa’s love for learning extends beyond familiar cuisines, as she enjoys exploring international recipes in hands-on cooking classes. Her blog features a diverse array of recipes, showcasing her expertise with various kitchen appliances such as the Instant Pot, air fryer, Slow Cooker, Ninja Foodi, Instant Vortex Plus, and more. Join Melissa on her culinary adventures as she shares tried-and-true family favorites alongside exciting new discoveries!