Red White and Blue Chocolate Covered Strawberries
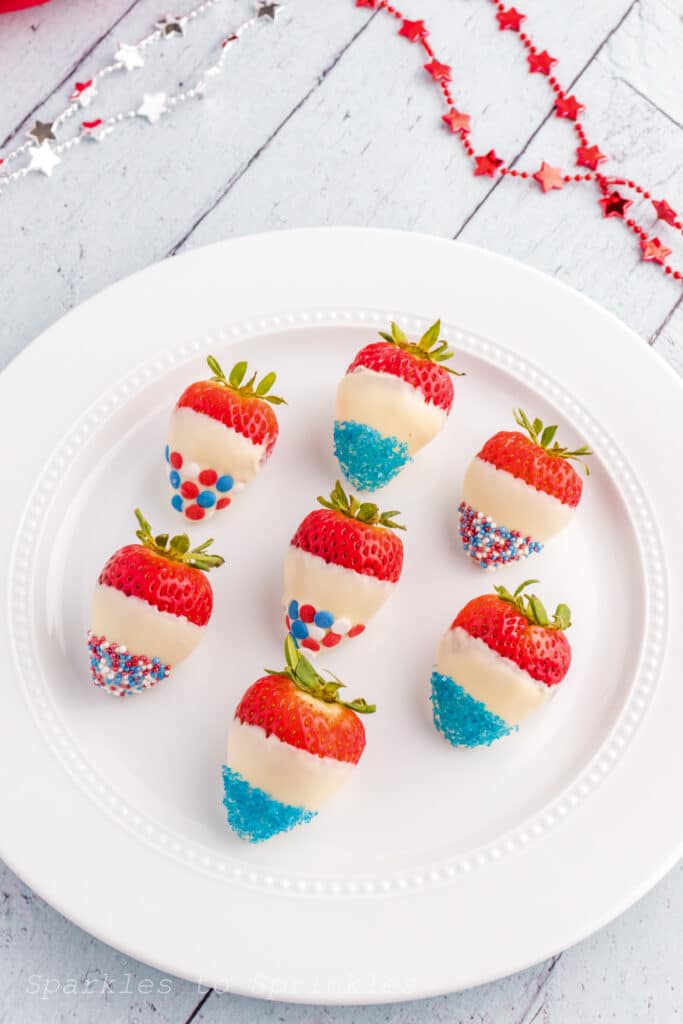
Get ready to add a patriotic touch to your summer gatherings with these delightful Red, White, and Blue Chocolate Covered Strawberries! Perfect for Fourth of July celebrations, Memorial Day picnics, or any occasion where you want to showcase a bit of American pride, these festive treats are as delicious as they are beautiful. Plus, they’re super easy to make and sure to impress your guests.
Red White and Blue Chocolate Covered Strawberries
With just a few simple ingredients—fresh strawberries, white melting chocolate, and an assortment of colorful sprinkles—you can create a stunning dessert that’s both eye-catching and mouth-watering. The combination of juicy strawberries and creamy white chocolate, adorned with red, white, and blue sprinkles, makes for a fun and tasty treat that everyone will love. And the best part? You don’t need any fancy equipment or advanced cooking skills to whip these up.
In this article, we’ll guide you through the steps to make these festive strawberries, from melting the chocolate to applying the sprinkles. We’ll also share some tips and tricks to ensure your strawberries turn out perfect every time. Whether you’re a seasoned chef or a kitchen novice, you’ll find this recipe easy to follow and enjoyable to make. So, let’s dive in and start creating these delicious, patriotic delights that are sure to be a hit at your next celebration!
Pair it with our 4th of July Patriotic Crack and our patriotic no-bake cheesecake trifle.

What You Will Love About This Recipe
There are so many reasons to fall in love with these Red, White, and Blue Chocolate Covered Strawberries! First and foremost, they are incredibly festive and perfect for patriotic holidays. The vibrant colors make them a standout addition to any dessert table, bringing a celebratory touch to your gatherings.
Beyond their visual appeal, these strawberries are a delightful treat for your taste buds. The juicy, fresh strawberries combined with the creamy white chocolate create a harmonious blend of flavors and textures. The sprinkles add a fun crunch, making each bite an exciting experience.
Another great aspect of this recipe is its simplicity. With just a few ingredients and minimal effort, you can create a professional-looking dessert that will impress your friends and family. Whether you’re a seasoned baker or just looking for a fun kitchen project, this recipe is easy to follow and yields fantastic results every time.
Finally, these strawberries are versatile and can be customized to suit your preferences. You can experiment with different types of sprinkles or even add a drizzle of milk or dark chocolate for an extra layer of flavor. No matter how you choose to personalize them, these chocolate-covered strawberries are sure to be a hit at any event.
Ingredients:
1 pound strawberries, washed and dried (tops on)
1 cup white melting chocolate, broken into pieces (I used a 4-ounce white baking bar)
Assortment of red, white, and blue sprinkles
How to Make Red, White, and Blue Chocolate Covered Strawberries
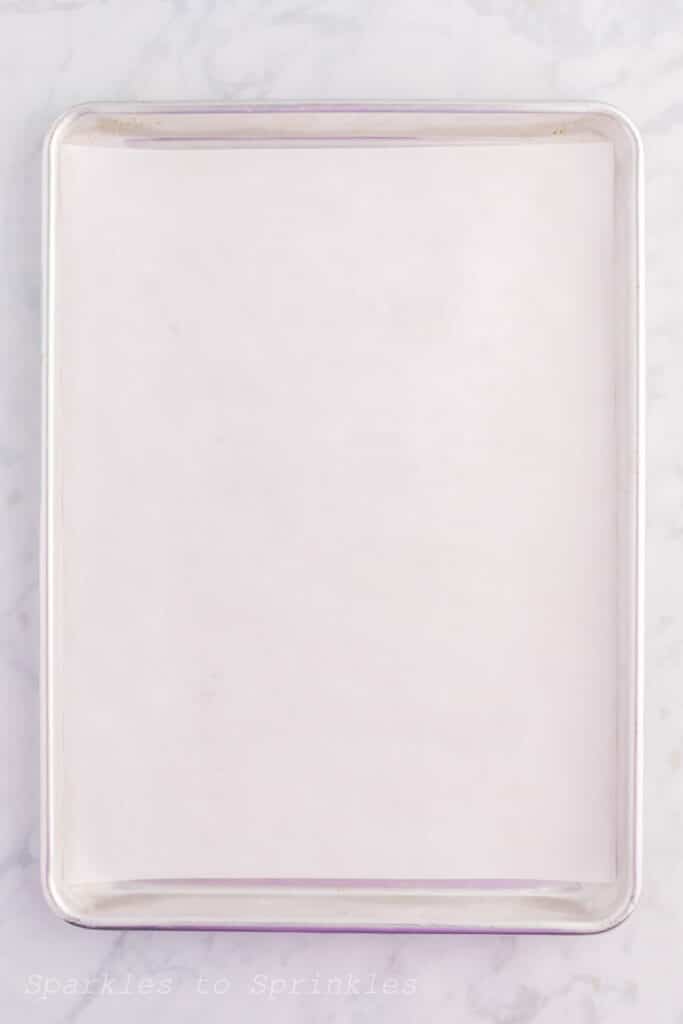
- Line a baking sheet with parchment paper.
- Place the white chocolate pieces into a medium microwaveable bowl. Microwave on 50% power for 30 seconds at a time, stirring after each time. Continue until all the chocolate pieces are completely melted (don’t overheat).
- Pour a few tablespoons of each kind of sprinkle into small, separate bowls.
- Hold the strawberry by the top and dip it into the melted chocolate, leaving the top third uncovered. Alternatively, you can spoon the melted chocolate onto the bottom ⅔ of the strawberry. Gently shake off any excess.
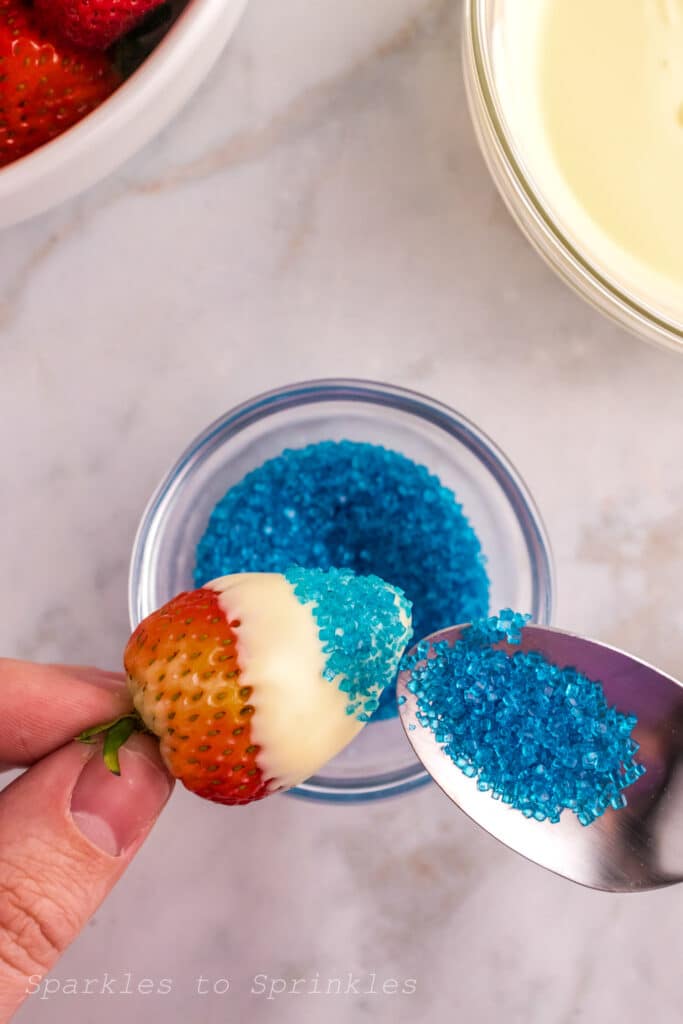
- Immediately spoon the sprinkles carefully onto the bottom third of the strawberry, leaving a plain white center band.
- Place the dipped strawberries on the tray lined with the parchment paper. Let them sit for about 30 minutes or until the chocolate sets. After the chocolate is set, place the dipped berries on a tray and serve.

Tips & Tricks
- Choose the Right Strawberries: Opt for large, ripe, and firm strawberries for the best results. Make sure they are completely dry before dipping them in chocolate to ensure the chocolate adheres properly.
- Proper Melting Technique: Melt the chocolate slowly and carefully. Use the microwave at 50% power in 30-second increments, stirring in between, to prevent overheating and ensure smooth, lump-free chocolate.
- Avoid Overheating the Chocolate: If the chocolate gets too hot, it can seize and become grainy. If this happens, try adding a small amount of vegetable oil or shortening to smooth it out.
- Sprinkle Strategically: When applying sprinkles, do it immediately after dipping the strawberries in chocolate while the chocolate is still wet. This ensures the sprinkles stick well. Use separate bowls for different colors of sprinkles to maintain clean, distinct stripes.
- Use a Cooling Rack: After dipping and decorating the strawberries, place them on a parchment-lined baking sheet or a cooling rack. This prevents them from sticking and helps them set evenly.
- Keep Your Workspace Cool: Working in a cool, dry environment helps the chocolate set faster and prevents it from melting too quickly while you’re working.
- Plan Ahead: Allow enough time for the chocolate to set completely before serving. If you’re in a hurry, you can place the strawberries in the refrigerator for a few minutes to speed up the process.
- Store Properly: Once set, store the chocolate-covered strawberries in a cool place. If you need to refrigerate them, place them in an airtight container to prevent condensation from forming on the chocolate.

Storage:
- Short-Term Storage:
- Room Temperature: If you plan to consume the strawberries within a few hours, you can keep them at room temperature. Place them on a parchment-lined tray in a cool, dry place away from direct sunlight.
- Refrigeration: For storage beyond a few hours but less than 24 hours, place the strawberries in an airtight container lined with parchment paper. This helps to keep the chocolate firm and the strawberries fresh. Store the container in the refrigerator.
- Long-Term Storage:
- Refrigeration: To keep your strawberries fresh for up to 48 hours, store them in the refrigerator. Make sure to place a paper towel at the bottom of the container to absorb any moisture and prevent the strawberries from becoming soggy.
- Freezing: Although not ideal due to potential changes in texture, you can freeze chocolate-covered strawberries for up to 1 month. Lay them out on a baking sheet to freeze individually before transferring them to a freezer-safe bag or container. When ready to serve, thaw them in the refrigerator for several hours.

FAQs

Red, White, and Blue Chocolate Covered Strawberries
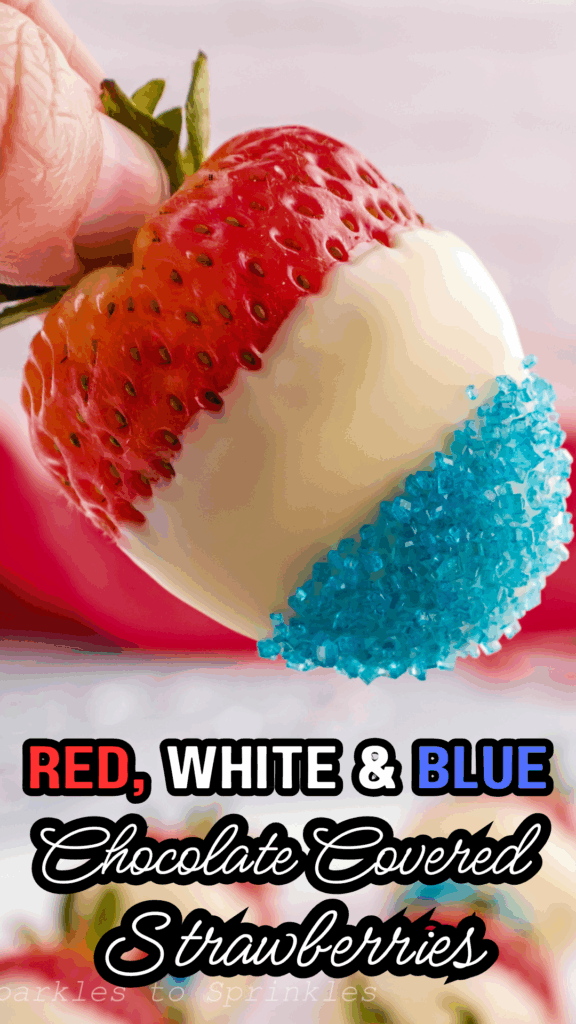
Red, White, and Blue Chocolate Covered Strawberries are the perfect way to celebrate all your favorite patriotic holidays. These are easy to make and will really wow your guests.
Ingredients
- 1 pound strawberries, washed and dried (tops on)
- 1 cup white melting chocolate, broken into pieces (I used a 4-ounce white baking bar)
- Assortment of red, white, and blue sprinkles
Instructions
- Line a baking sheet with parchment paper.
- Place the white chocolate pieces into a medium microwaveable bowl. Microwave on 50% power for 30 seconds at a time, stirring after each time. Continue until all the chocolate pieces are completely melted (don’t overheat).
- Pour a few tablespoons of each kind of sprinkle into small, separate bowls.
- Hold the strawberry by the top and dip it into the melted chocolate, leaving the top third uncovered. Alternatively, you can spoon the melted chocolate onto the bottom ⅔ of the strawberry. Gently shake off any excess.
- Immediately spoon the sprinkles carefully onto the bottom third of the strawberry, leaving a plain white center band.
- Place the dipped strawberries on the tray lined with the parchment paper. Let them sit for about 30 minutes or until the chocolate sets. After the chocolate is set, place the dipped berries on a tray and serve.
Nutrition Information:
Yield:
12Serving Size:
1Amount Per Serving: Calories: 89Total Fat: 4gSaturated Fat: 3gTrans Fat: 0gUnsaturated Fat: 1gCholesterol: 3mgSodium: 11mgCarbohydrates: 11gFiber: 1gSugar: 9gProtein: 1g
I’m Melissa, the imaginative force behind Sparkles to Sprinkles, where creativity comes to life, and sprinkles of joy are scattered generously. Melissa is a proud Jersey girl who found love with a New York boy. As a mom to four wonderful boys and a few fur babies, her journey into the world of blogging began after making the life-changing decision to stay home and raise her children. Previously a dedicated workaholic, Melissa’s blog became her creative outlet and passion project. Inspired by her mother-in-law, a masterful cook renowned for her delicious home-cooked meals and legendary holiday feasts (think mouthwatering sausage stuffing), Melissa honed her culinary skills through a combination of family recipes and countless cooking classes. She often attended these classes with her son Michael, who shared her enthusiasm for cooking from a young age. Melissa’s love for learning extends beyond familiar cuisines, as she enjoys exploring international recipes in hands-on cooking classes. Her blog features a diverse array of recipes, showcasing her expertise with various kitchen appliances such as the Instant Pot, air fryer, Slow Cooker, Ninja Foodi, Instant Vortex Plus, and more. Join Melissa on her culinary adventures as she shares tried-and-true family favorites alongside exciting new discoveries!


