Instant Pot Apple Butter
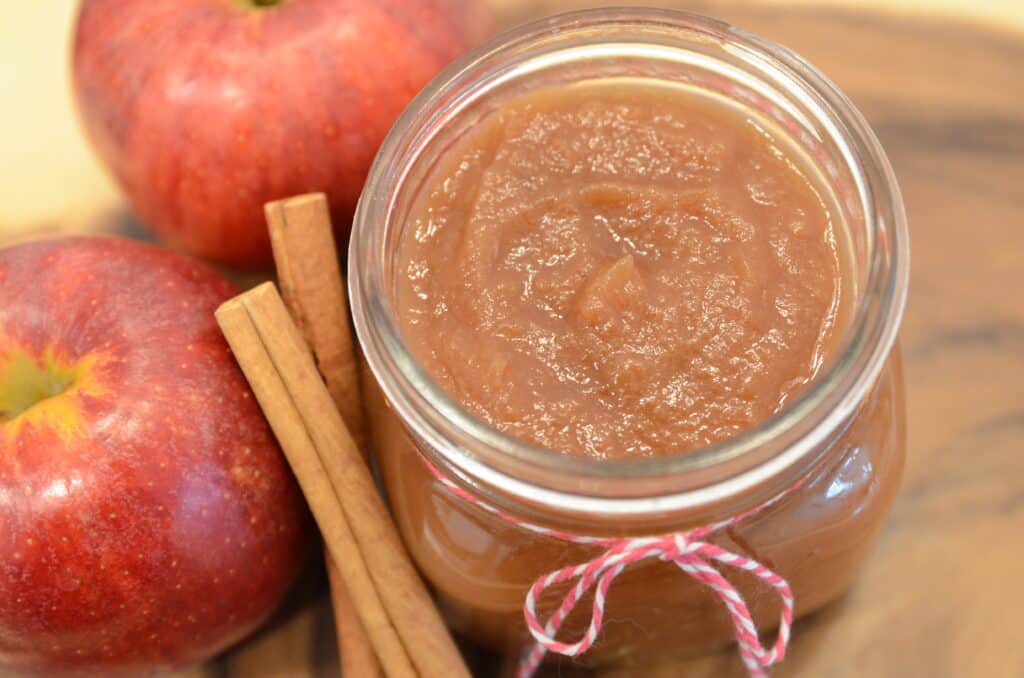
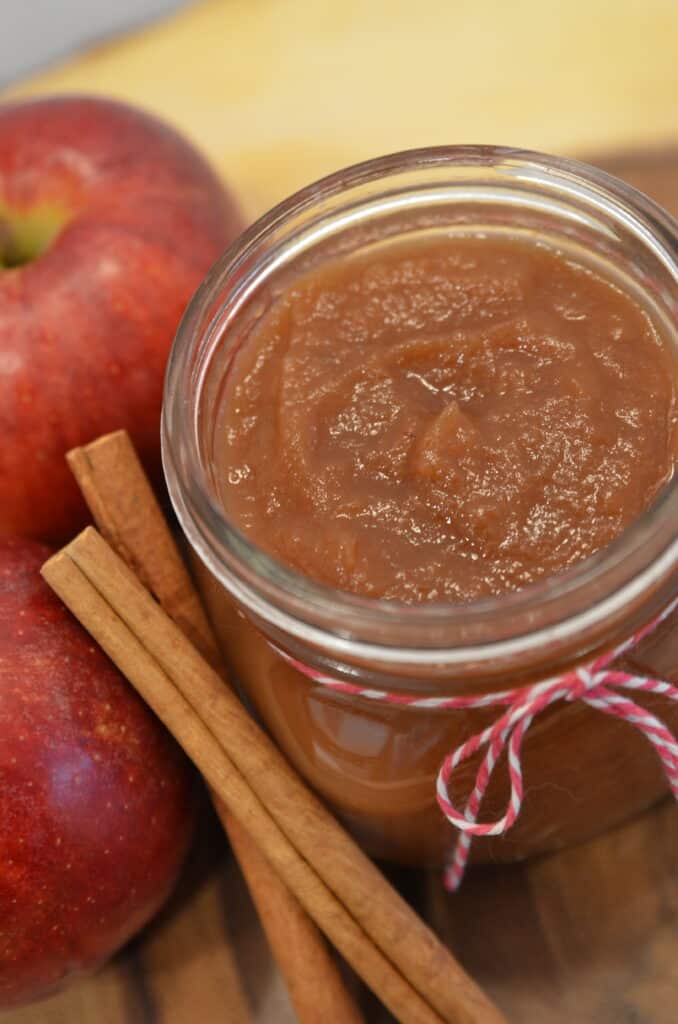
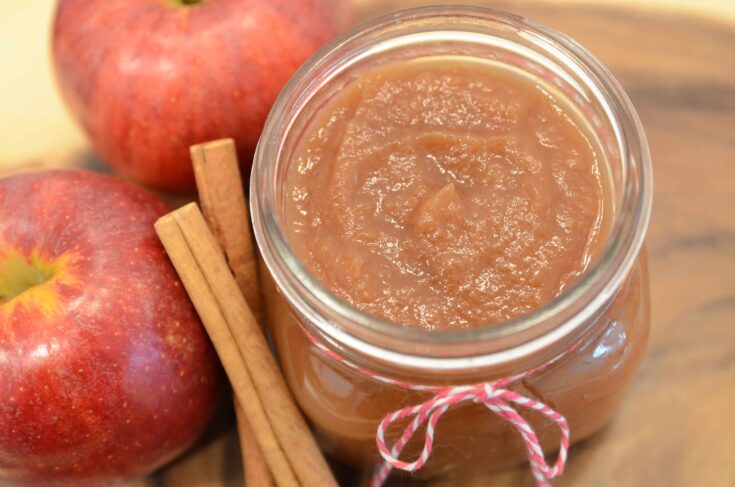
This Instant pot apple butter recipe melds together fantastic cinnamon and vanilla flavors along with juicy apples to create an easy and quick way to make homemade apple butter which can easily be stored in the fridge or freezer so you can enjoy it all year long.
Instant Pot Apple Butter
Several years I received a jar of homemade apple butter from a friend. It was so good, I knew that I had to learn to make it! Apple Butter usually takes quite a bit of time, so if you are looking for a quicker way to make this fall favorite,check out this Instant Pot apple butter recipe that will save you a ton of time.
This Instant Pot apple butter recipe is to die for! Like it is so good and it is simple to make too! You will love the flavor of the apples mixed with the cinnamon and vanilla with a touch of brown sugar for an incredible treat when added to your favorite recipes or to eat on a piece of toast!

If you love making your own homemade butter, be sure to try this Instant Pot Sweet Potato Butter as well as this strawberry honey butter.
How to make Instant Pot Apple Butter
- Wash, quarter & core your apples.

- Add in your apples, cinnamon sticks, brown sugar, vanilla & salt.

- Close the lid, turn to seal. PC HIGH for 15 min and do a NATURAL RELEASE for 10 min.
- Remove the cinnamon sticks.
- You can pick out your apple peels if you like.

- Using an immersion blender to blend to your desired consistency.
- Turn your pot to saute. LOW
- Let your apple butter saute on low for 30 minutes. Be careful while your apple butter will splatter during this time. I covered my pot with a lid.

- You can continue to saute for an additional 30 minutes if you want to get a thicker darker butter.
- Allow apple butter to cool for 30 minutes.
- Move to air tight jars. Store in the refrigerator.

Tips Tricks and FAQs
- Be sure your apple butter is thick enough. You can test to make sure it is thick enough by taking a spoonful out of the pot and letting it sit mounded on the spoon. If after 2 minutes it is still in a mound your apple butter is done.
- Keep the skin on. The secret to thick apple butter is leaving the skin on. It has so much flavor and helps thicken your butter more.
- If you feel like your apple butter is not thick enough, take the lid off and cook for a few additional minutes on sautee. Stir often to prevent burning.

- If you don’t have an immersion blender, omit this step and continue on with the recipe. Once your butter has cooled for 30 minutes, pour it into a blender and blend until it reaches your desired consistency. Then place in jars and refrigerate.
How do you thicken homemade apple butter?
Apples contain quite a bit of sugar which helps thicken your apple butter. I do add in a little more brown sugar to make it a little sweeter, this also helps thicken it as well.
How can I tell if my apple butter has gone bad?
The best way to tell if it has gone bad is to smell it as well as look at it. If it has a funny odor, appearance, or tastes off, you will want to discard it.
Storage
Fridge
Your apple butter will last in the fridge for up to 3 months when stored in an airtight jar.

Freezer
If you want to freeze your Instant Pot apple butter you will need to put it in a freezer-safe airtight container. It will last for up to one year.
How to use apple butter
I love apple butter in the fall. It is the perfect spread for homemade bread and toasts.

Some people even love to spread it on their sandwiches for a uniquely flavorful sandwich. I love to top it to my waffles as well as stir it into my oatmeal.
For more butter recipes, try these!

Instant Pot Apple Butter
This Instant pot apple butter recipe melds together fantastic cinnamon and vanilla flavors along with juicy apples to create an easy and quick way to make homemade apple butter which can easily be stored in the fridge or freezer so you can enjoy it all year long
Ingredients
- 4 lbs Apples, any sweet like Gala, Fuji, Honeycrisp, Red, etc. Washed,
- quartered and cored
- 1/2 Cup Water
- 2 Cinnamon Sticks
- 1/2 Cup Brown Sugar
- 1/8 TSP Salt
- 1 TSP Vanilla Extract
Instructions
- Wash, quarter, and core your apples. You do not have to peel them.
- Add the water to your pot.
- Add in cinnamon sticks, brown sugar, apples, salt & vanilla.
- Close & lock the lid. PC on HIGH for 15 minutes.
- Once finished cooking, do a NATURAL RELEASE for 10 minutes. Then you can finish with a quick release.
- Open your lid, remove the cinnamon sticks.
- Remove the peels if you like.
- Use an immersion blender to reach a nice smooth consistency.
- Turn your pot to SAUTE - LOW
- Let the mixture saute for 30 minutes.* It will splatter as it cooks so you may want to put a lid over the top of your pot. Carefully check and stir occasionally.
- Turn your pot off and let the apple butter start to cool.
- Once it is cool enough move to a mason jar or airtight container. Store in the refrigerator.
Notes
*30 minutes should be long enough but if you want to continue to thicken and brown the apple butter, you can do so for an additional 15-30 minutes.
**This resulted in approximately 4 cups of apple butter
Nutrition Information:
Yield:
30Serving Size:
1Amount Per Serving: Calories: 54Total Fat: 0gSaturated Fat: 0gTrans Fat: 0gUnsaturated Fat: 0gCholesterol: 0mgSodium: 11mgCarbohydrates: 14gFiber: 2gSugar: 11gProtein: 0g
I’m Melissa, the imaginative force behind Sparkles to Sprinkles, where creativity comes to life, and sprinkles of joy are scattered generously. Melissa is a proud Jersey girl who found love with a New York boy. As a mom to four wonderful boys and a few fur babies, her journey into the world of blogging began after making the life-changing decision to stay home and raise her children. Previously a dedicated workaholic, Melissa’s blog became her creative outlet and passion project. Inspired by her mother-in-law, a masterful cook renowned for her delicious home-cooked meals and legendary holiday feasts (think mouthwatering sausage stuffing), Melissa honed her culinary skills through a combination of family recipes and countless cooking classes. She often attended these classes with her son Michael, who shared her enthusiasm for cooking from a young age. Melissa’s love for learning extends beyond familiar cuisines, as she enjoys exploring international recipes in hands-on cooking classes. Her blog features a diverse array of recipes, showcasing her expertise with various kitchen appliances such as the Instant Pot, air fryer, Slow Cooker, Ninja Foodi, Instant Vortex Plus, and more. Join Melissa on her culinary adventures as she shares tried-and-true family favorites alongside exciting new discoveries!


