
Garlic Butter
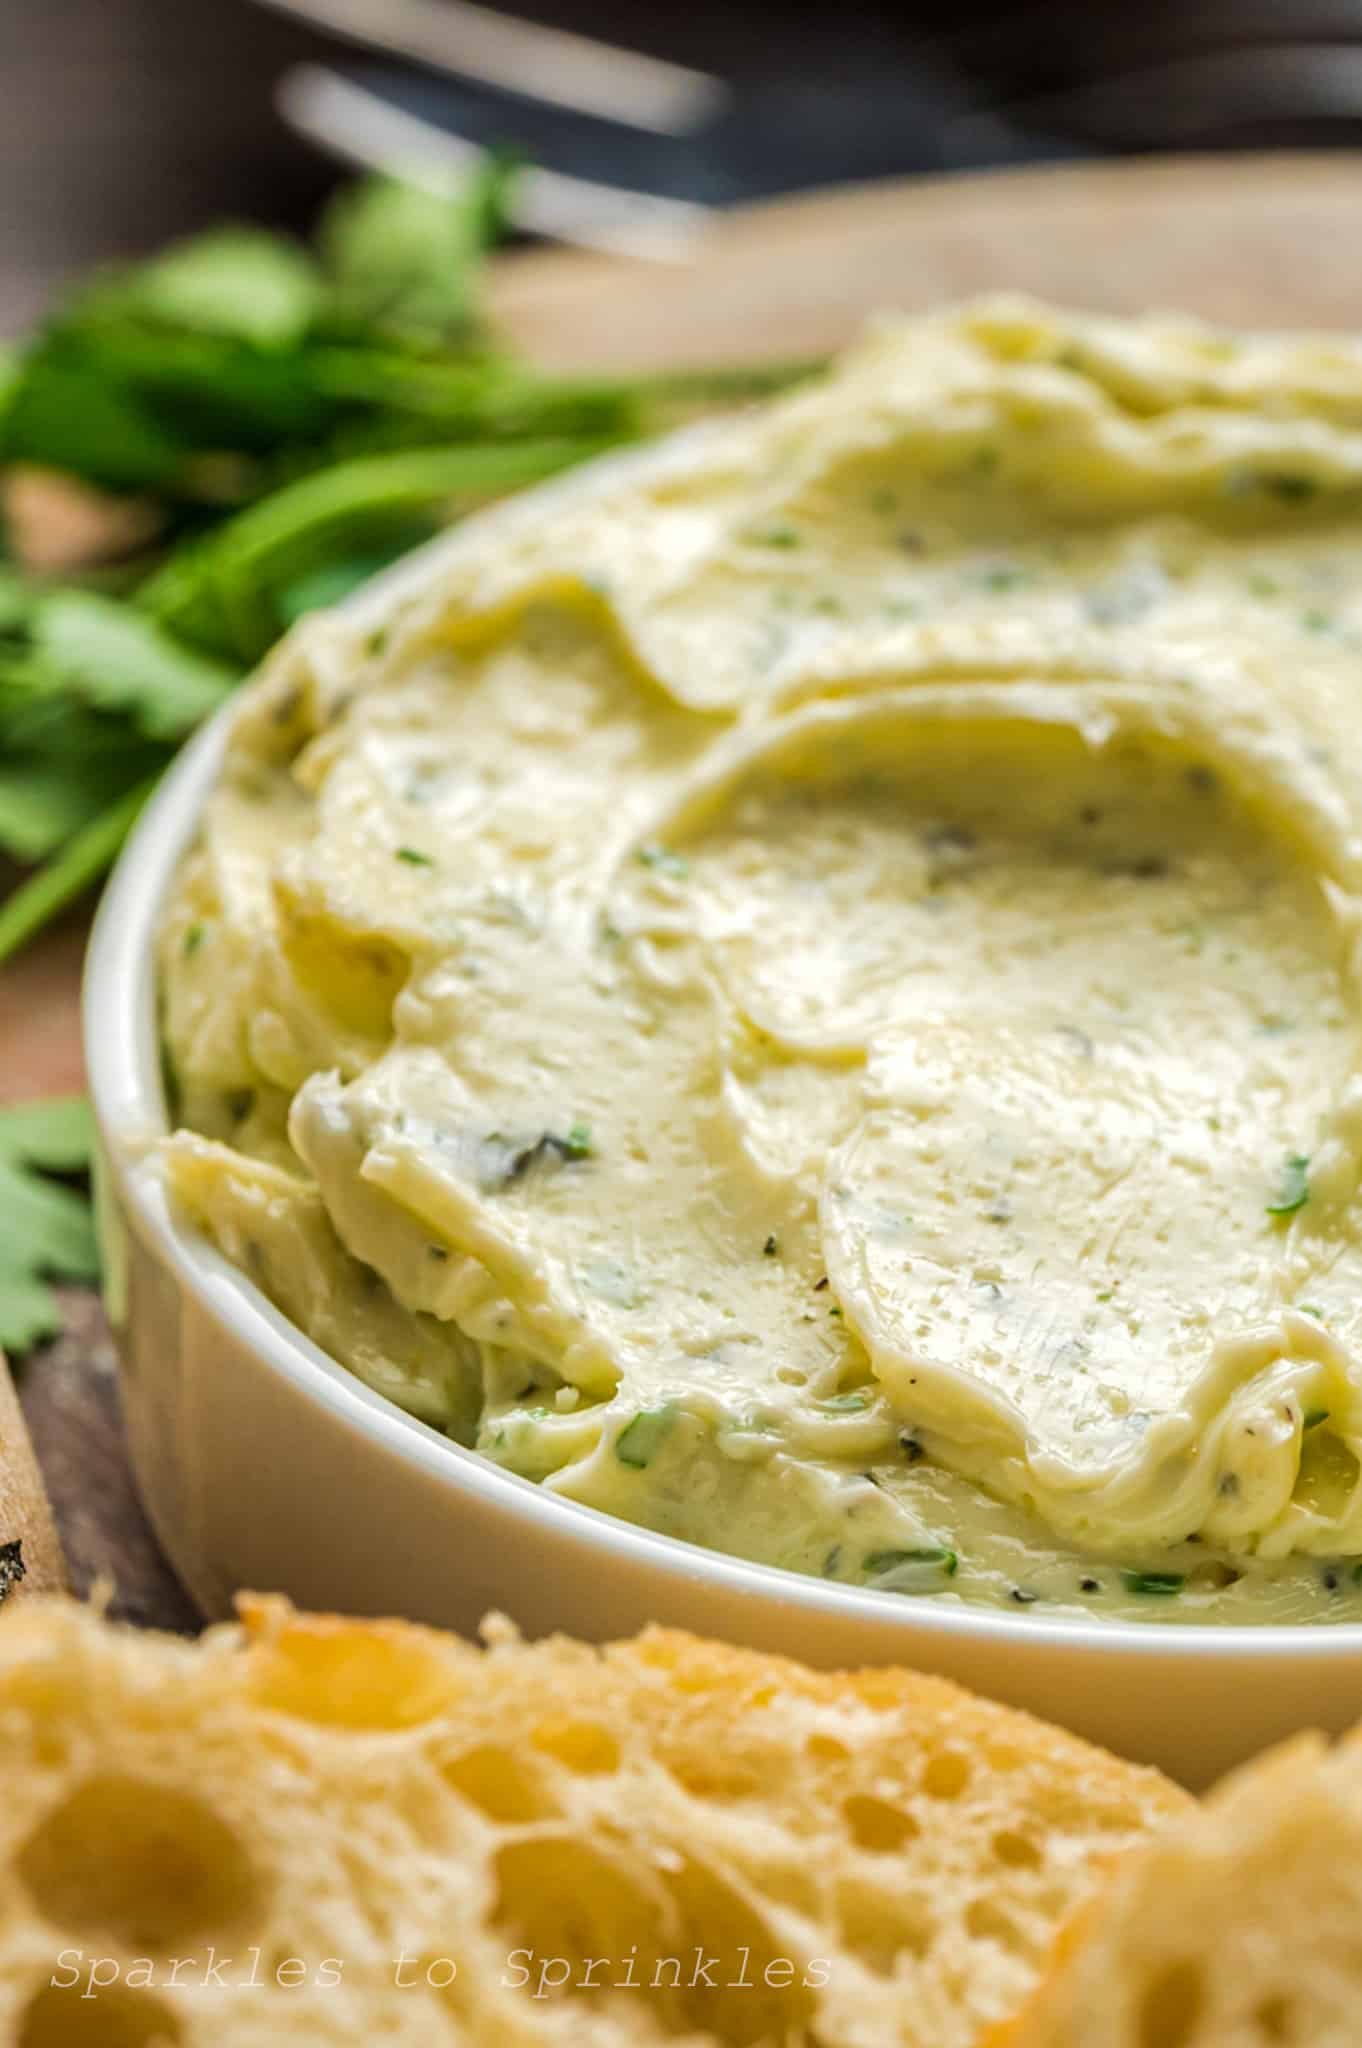
Garlic butter is one of those staple recipes that makes everything better. Whether you’re slathering it on a warm baguette, melting it over grilled steak, or using it to dress up veggies, this savory spread is loaded with flavor and ridiculously easy to make at home. With just a few simple ingredients, you can whip up a batch in minutes and use it all week long.
Garlic Butter
Once you try this homemade version, you’ll never go back to store-bought. It’s perfect for elevating simple meals or adding a gourmet touch to your favorite dishes. You might also like to use this garlic butter as a base for recipes like [garlic breadsticks], [air fryer roasted potatoes], or even on top of [grilled corn on the cob]. It’s a great multipurpose flavor booster that works across all kinds of meals.
This garlic butter is made with fresh herbs, real garlic, parmesan cheese, and just the right touch of seasoning. It stores beautifully in the fridge or freezer, and once you taste it, you’ll want to keep a batch on hand at all times. Perfect for meal prep, entertaining, or just making your weekday dinner feel a little more special.

What You Will Love About This Recipe
Quick and easy to make
Packed with rich, savory flavor
Freezer-friendly and great for meal prep
Made with real, fresh ingredients
Customizable with different herbs or add-ins

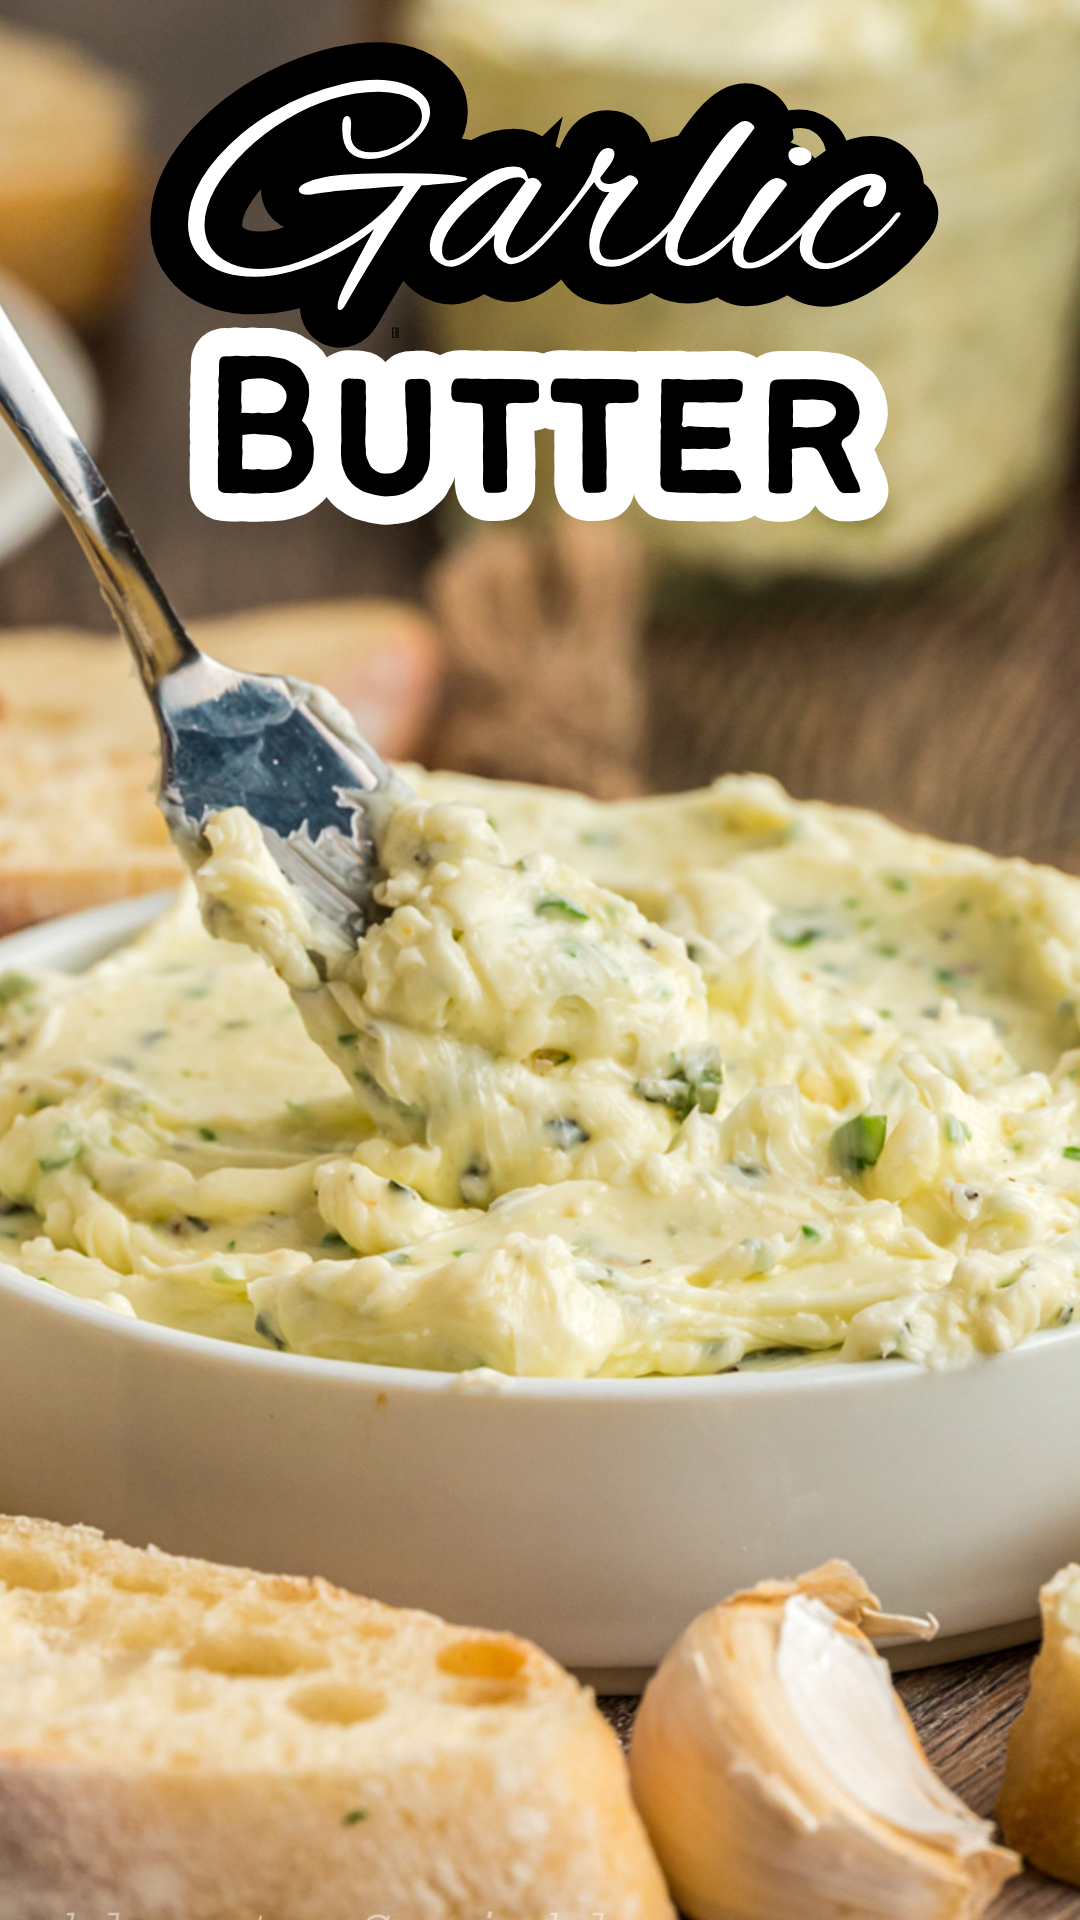
How To Make Homemade Garlic Butter
Step 1: In a food processor you want to add your minced garlic, oregano, and basil. Pulse it a few times to help break down the mixture.

Step 2: Add in your softened butter, garlic salt, pepper, and you can add in parmesan cheese or leave that out if you don’t want a cheesy garlic spread.

Step 3: Mix until the ingredients are smooth. Then you have a garlic spread to use for any and all your baking needs.


Tips & Tricks
- Make sure your butter is fully softened before blending so everything mixes smoothly.
- Use a high-quality parmesan for the best flavor—grate it fresh if you can.
- If you don’t have a food processor, finely chop the garlic and herbs and mix everything by hand.
- This butter freezes well. Roll it into a log in parchment paper, wrap tightly, and freeze for up to 3 months.
- For a flavor twist, add a pinch of red pepper flakes or a splash of lemon juice.
FAQs

Ways to Use Garlic Butter
- Use to make homemade garlic bread
- Top baked or grilled chicken with a dollop of butter
- Stir in rice dishes for added flavor
- Use to top steak or even pork with a garlic butter
- Mix in with veggies for flavoring
- Etc
- Add to any dish that calls for garlic and butter


Garlic Butter
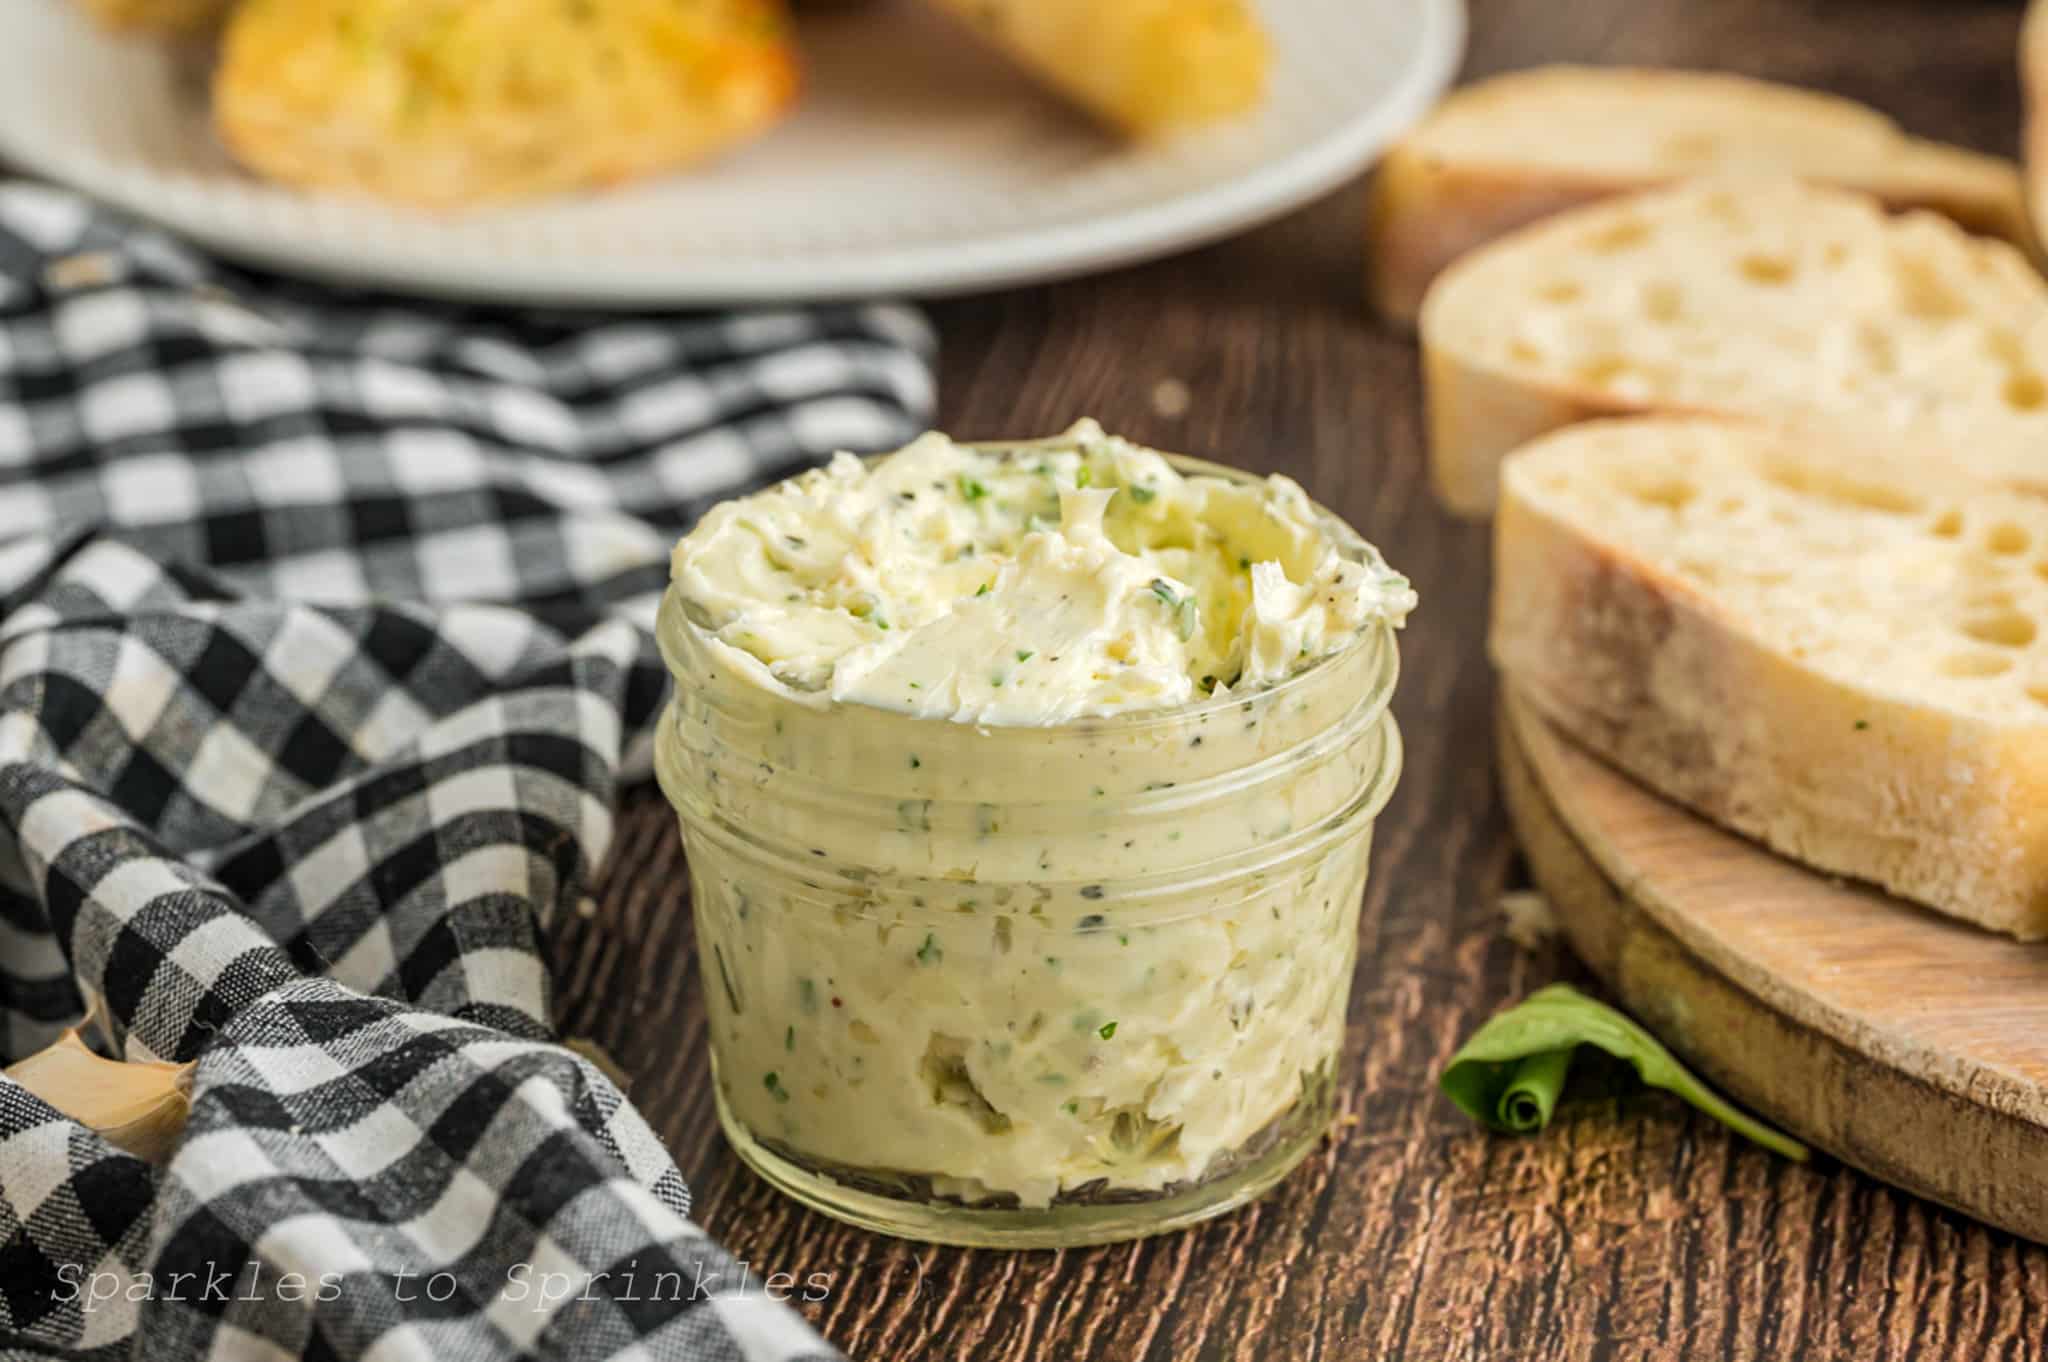
Garlic Butter is one of my favorites to make homemade. Slather on your bread for a classic garlic bread, top steak, or even baked potatoes. This garlic butter spread is versatile and bursting with fresh flavors.
Ingredients
- 1 C unsalted butter (room temp)
- 1 Tbsp. minced garlic
- 1/2 C grated parmesan cheese
- 2 TBSP fresh parsley
- 1 TBSP fresh minced basil
- 1 tsp garlic salt
- 1/2 tsp pepper
Instructions
- Pulse to mince the garlic, parsley, and basil in a food processor.
- Add the butter, cheese, salt and pepper to the food processor.
- Slowly blend until all ingredients are well mixed and smooth.
Notes
*Store in the refrigerator.
Nutrition Information:
Yield:
25Serving Size:
1Amount Per Serving: Calories: 74Total Fat: 8gSaturated Fat: 5gTrans Fat: 0gUnsaturated Fat: 3gCholesterol: 21mgSodium: 127mgCarbohydrates: 0gFiber: 0gSugar: 0gProtein: 1g
I’m Melissa, the imaginative force behind Sparkles to Sprinkles, where creativity comes to life, and sprinkles of joy are scattered generously. Melissa is a proud Jersey girl who found love with a New York boy. As a mom to four wonderful boys and a few fur babies, her journey into the world of blogging began after making the life-changing decision to stay home and raise her children. Previously a dedicated workaholic, Melissa’s blog became her creative outlet and passion project. Inspired by her mother-in-law, a masterful cook renowned for her delicious home-cooked meals and legendary holiday feasts (think mouthwatering sausage stuffing), Melissa honed her culinary skills through a combination of family recipes and countless cooking classes. She often attended these classes with her son Michael, who shared her enthusiasm for cooking from a young age. Melissa’s love for learning extends beyond familiar cuisines, as she enjoys exploring international recipes in hands-on cooking classes. Her blog features a diverse array of recipes, showcasing her expertise with various kitchen appliances such as the Instant Pot, air fryer, Slow Cooker, Ninja Foodi, Instant Vortex Plus, and more. Join Melissa on her culinary adventures as she shares tried-and-true family favorites alongside exciting new discoveries!


Excuse me, but you list parsley in the ingreds. , But oregano in the instructions. Is this a typo, or do you want one or both in the recipe??? Thank you.
I am so sorry, It is just the parsley. I have corrected the recipe 🙂