
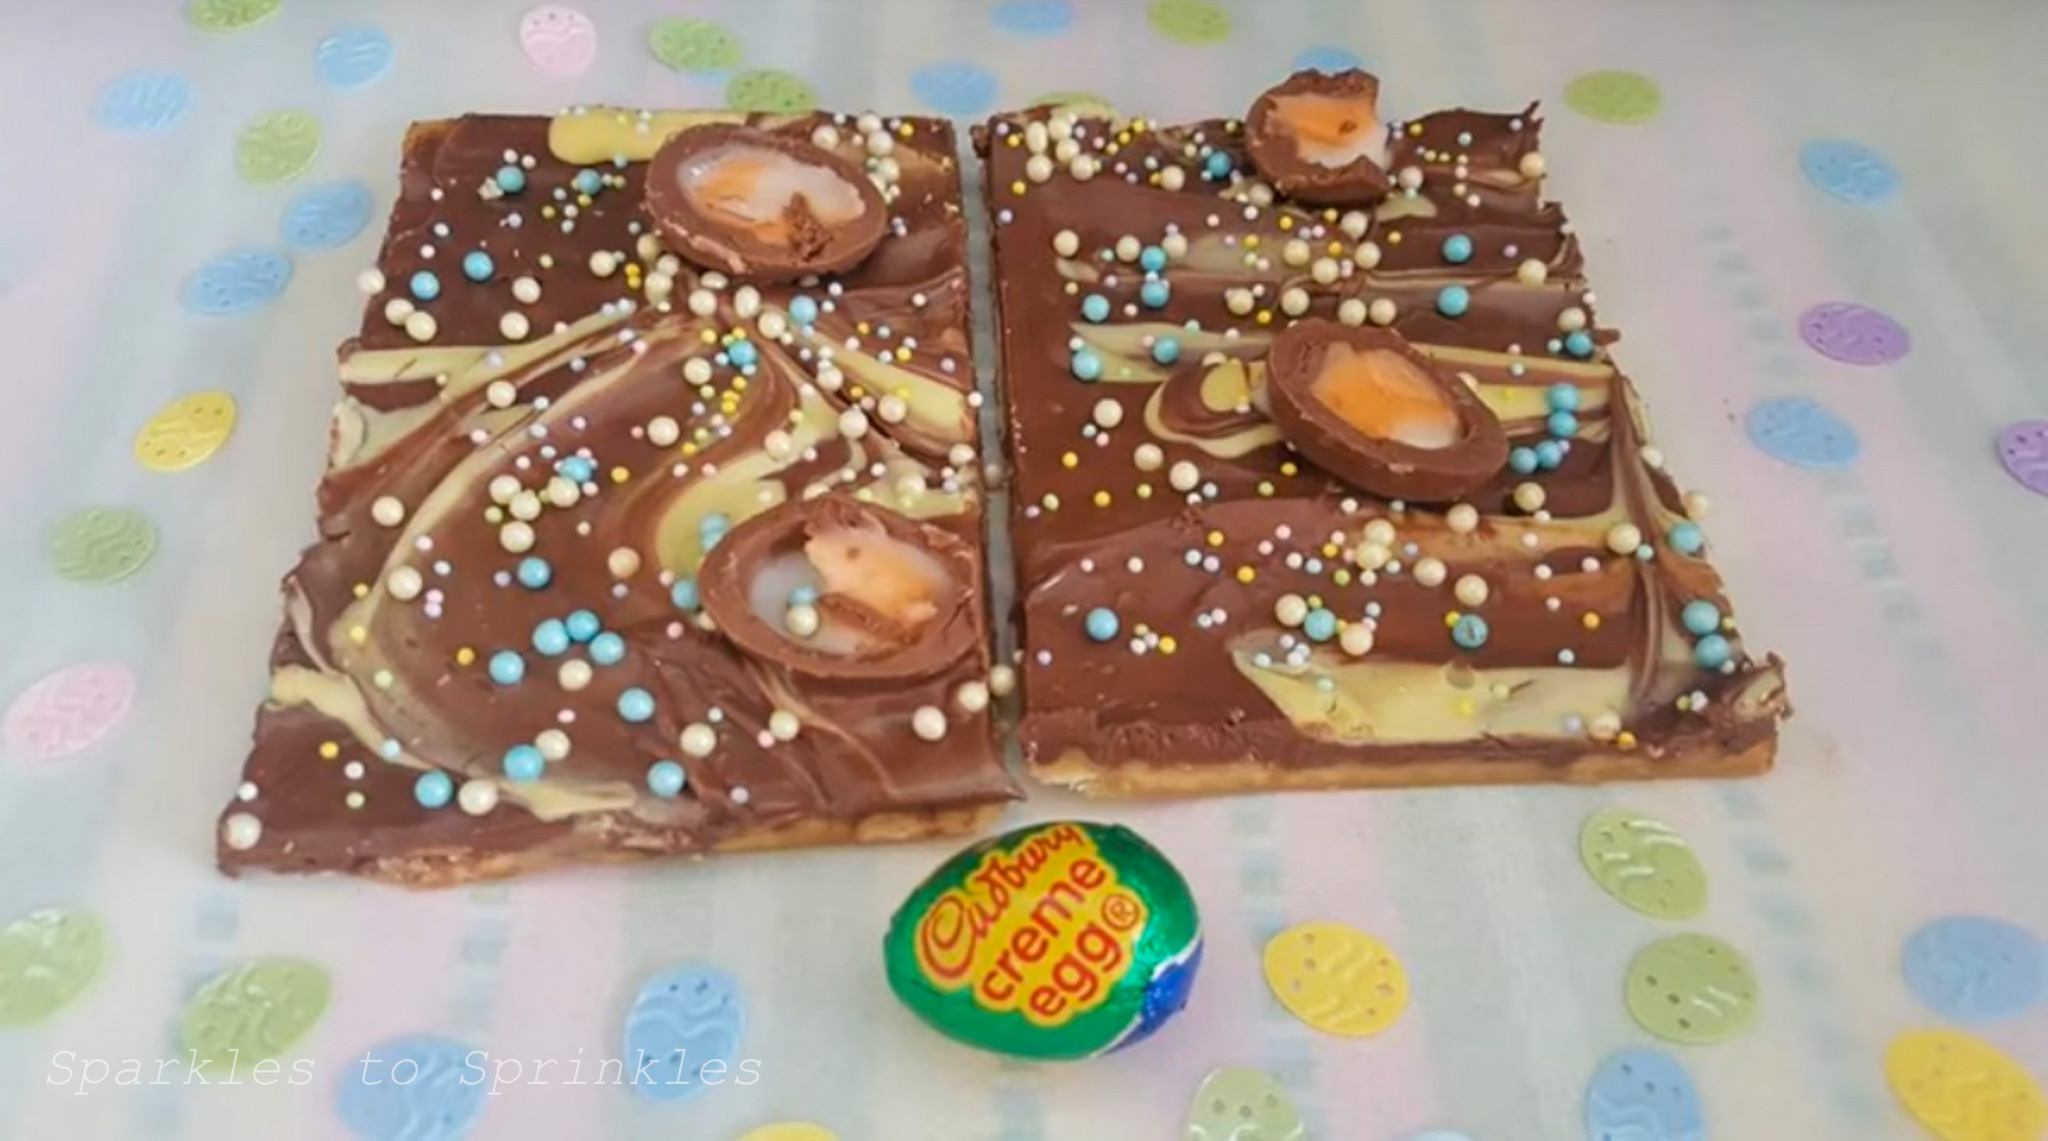
Cadbury Eggs Easter Crack – The Ultimate Sweet & Salty Easter Treat!
If you love the perfect combination of sweet, salty, crunchy, and chocolatey, this Cadbury Eggs Easter Crack is about to become your new crack candy treat! Made with layers of buttery toffee, crisp saltine crackers, smooth milk chocolate, and festive Easter decorations, this easy-to-make dessert is completely irresistible. Plus, it’s the perfect no-fuss recipe to whip up for Easter gatherings, potlucks, or just a fun springtime indulgence.

Cadbury Eggs Easter Crack
Easter Crack is a holiday twist on classic saltine toffee, sometimes called “Christmas Crack,” but this version is extra special with the addition of pastel-colored chocolate drizzles, adorable Cadbury eggs, and bright, spring-inspired sprinkles. The best part? It takes just a few simple ingredients and minimal effort, making it the ultimate quick and delicious Easter dessert.
Perfect for Gifting & Snacking
This Cadbury Eggs Easter Crack is not only fun to make, but it’s also great for gifting! Break it into pieces and wrap it up in cute bags for Easter baskets, serve it on a dessert platter, or keep a stash in the fridge for a sweet snack whenever the craving hits. Trust me—once you take a bite, you won’t be able to stop!
What You’ll Love About This Recipe
✅ Quick & Easy – Minimal prep work, no special skills required!
✅ Sweet & Salty Perfection – The combination of toffee, chocolate, and saltines is a match made in heaven.
✅ Great for Easter Gatherings – A festive and colorful treat that’s sure to impress.
✅ Customizable – Use different chocolate colors, sprinkles, or even swap in different candy toppings!

Ingredients:
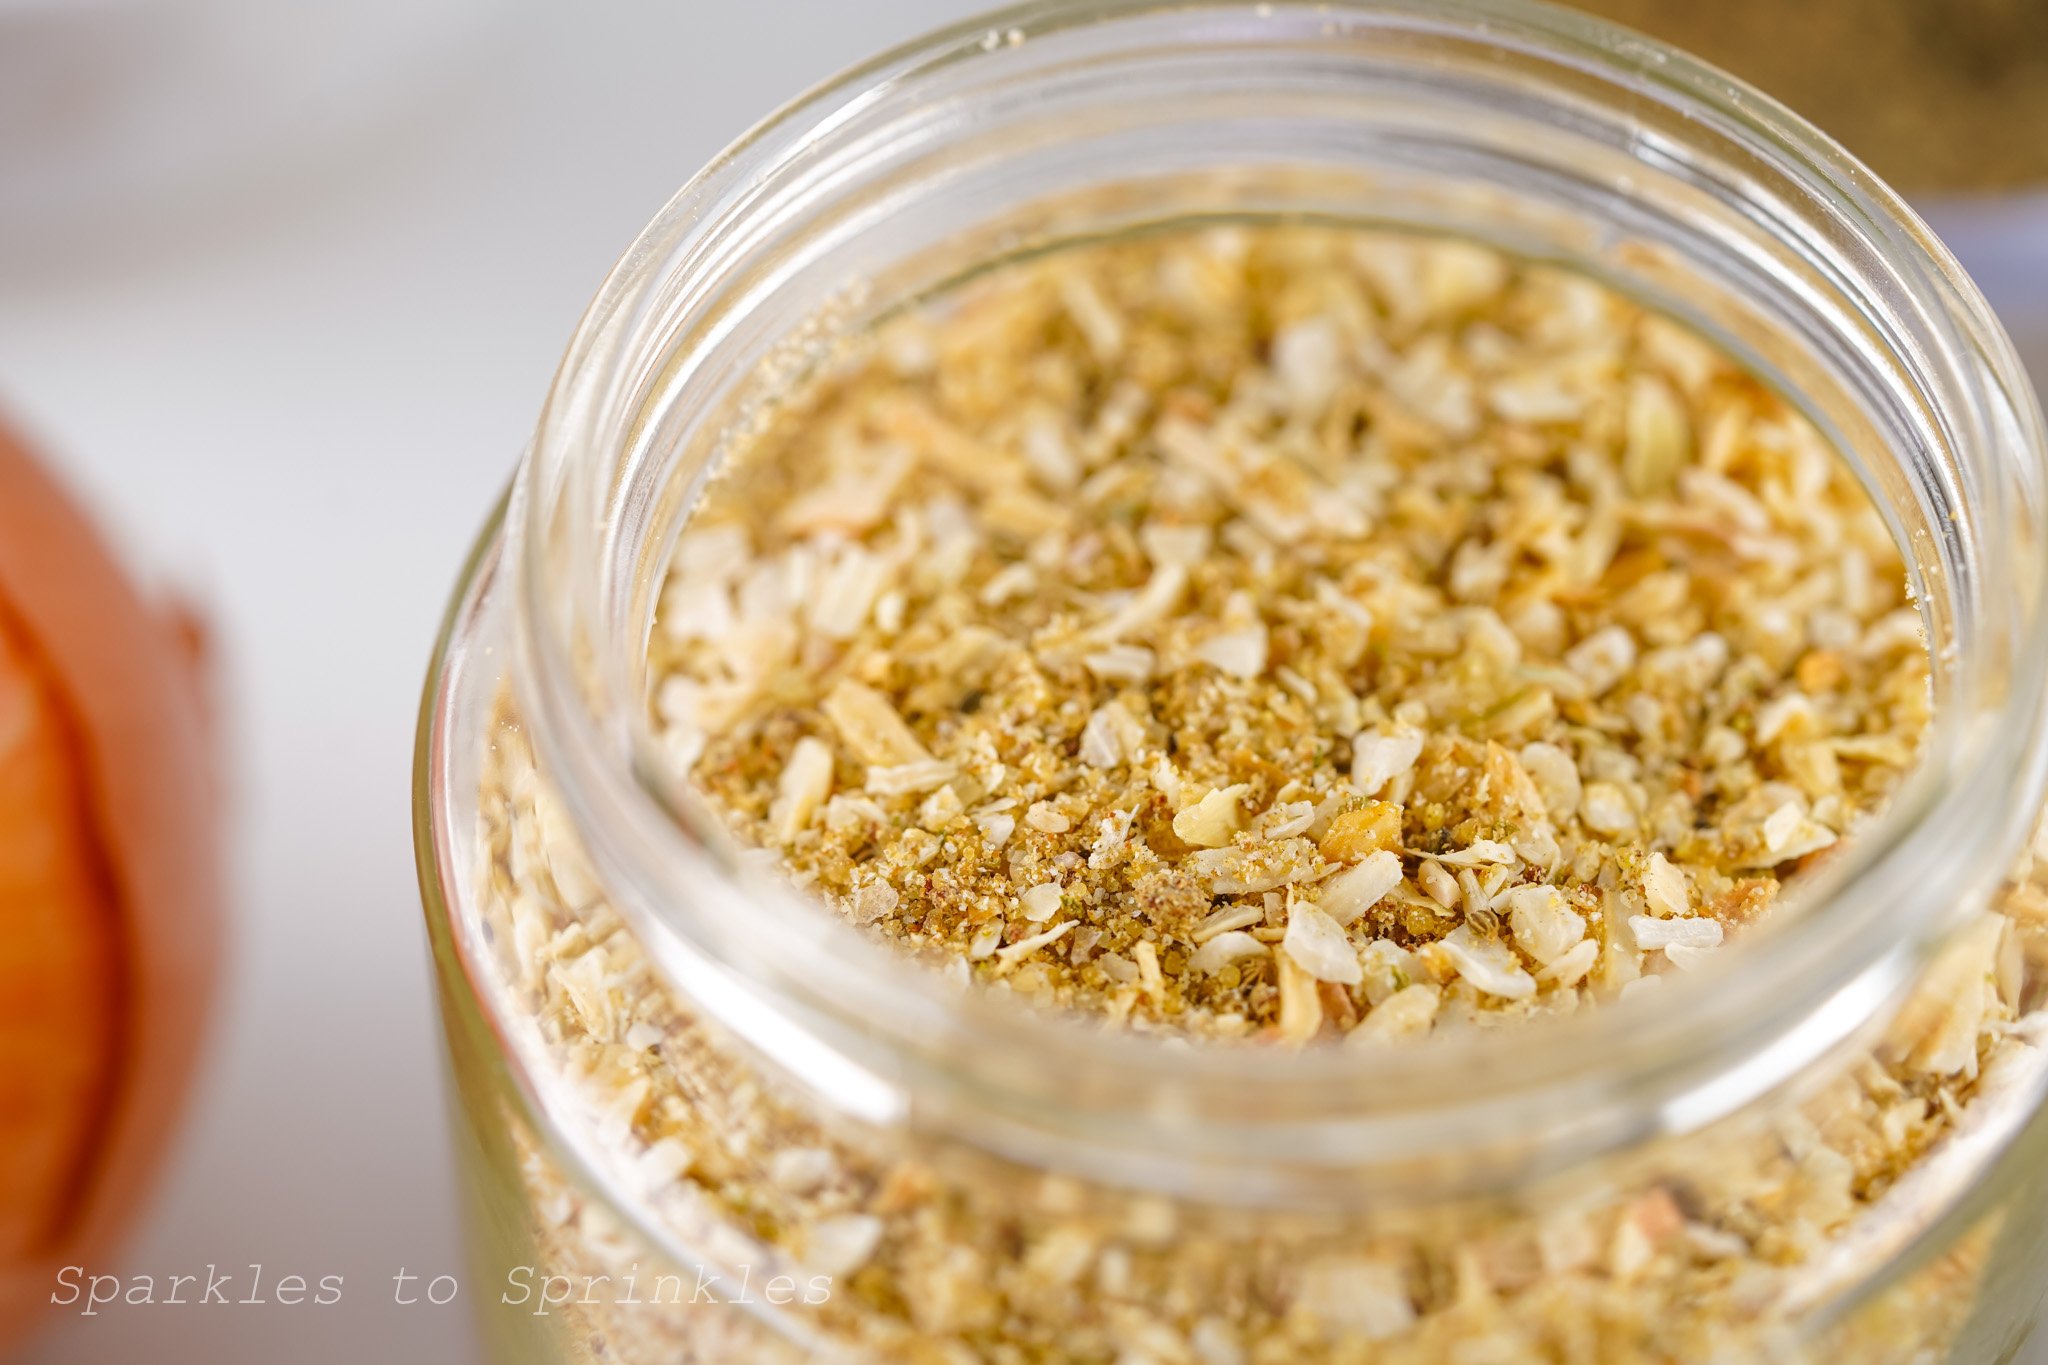
- 50 Saltine crackers
- 1 cup (2 sticks) butter, cut into chunks
- 1 cup light brown sugar
- 2 cups milk chocolate chips
- 1/4 cup yellow chocolate melts
- Easter-themed sprinkles
- Small Cadbury eggs
Instructions:
-
Prepare the Baking Sheet:
Preheat your oven to 325°F. Line a large cookie sheet with aluminum foil and lightly coat it with nonstick cooking spray. Arrange the saltine crackers in a single layer, neatly aligned.

-
Make the Toffee:
In a medium saucepan over medium heat, melt the butter and brown sugar together. Once fully melted, bring the mixture to a boil, stirring constantly. Let it boil for about 2 minutes until it turns bubbly and thick.


-
Coat the Crackers:
Carefully pour the hot toffee mixture over the saltine crackers, using a spatula to spread it evenly. -
Bake to Perfection:
Transfer the pan to the oven and bake for approximately 7 minutes, or until the toffee is bubbling. -
Melt the Chocolate:
While the toffee bakes, melt the yellow chocolate melts according to the package directions. (For best results, check out my foolproof chocolate melting tips in the post!) -
Add the Chocolate Layer:
Remove the pan from the oven and gently push any crackers that may have shifted back into place. Immediately sprinkle the milk chocolate chips over the hot toffee. Let them sit for a minute or return the pan to the oven for about a minute to help the chocolate soften. Once melted, spread the chocolate evenly over the crackers.


-
Decorate:
Drizzle the melted yellow chocolate over the milk chocolate layer in a decorative pattern. Use a butter knife or toothpick to swirl the colors together for a marbled effect.

-
Add Easter Touches:
While the chocolate is still warm, sprinkle on Easter-themed sprinkles and press in small Cadbury eggs. The melted chocolate will act as a natural adhesive.

-
Set & Enjoy:
Allow the bark to cool completely at room temperature or place it in the refrigerator to speed up the setting process. Once firm, break into pieces and enjoy your festive Easter treat!

Tips & Tricks for the Perfect Easter Crack
💡 Use Parchment Paper: Instead of aluminum foil, try lining your baking sheet with parchment paper for easier removal.
💡 Don’t Overbake: The toffee should be bubbling, but don’t let it burn! Keep an eye on it in the oven.
💡 Melt Chocolate Gently: If the chocolate chips aren’t melting fast enough, pop the pan back in the oven for about a minute.
💡 Swirl with a Toothpick: For a beautiful marbled effect, use a toothpick or butter knife to mix the milk and yellow chocolate.
💡 Let It Set Completely: For the best texture, allow the crack to fully harden before breaking it into pieces.
Frequently Asked Questions
❓ Can I use a different type of chocolate?
Yes! While milk chocolate works perfectly, you can also use white chocolate, dark chocolate, or even a mix of all three.
❓ How do I store Easter Crack?
Store in an airtight container at room temperature for up to a week, or in the fridge for a longer shelf life.
❓ Can I make this ahead of time?
Absolutely! Easter Crack is a great make-ahead treat since it stays fresh for days. Just be sure to store it properly.
❓ Can I use a different type of cracker?
Yes! Saltines are the classic choice, but Ritz crackers or graham crackers can also work for a slightly different texture.
Melting Chocolate
Remember if you have an instant pot you can melt chocolate in it very easily. It has quickly become my favorite method for any melting chocolate recipes I come across.
In a microwave-safe container, microwave candy melts at 50% power or the defrost setting on your microwave. Melt for one minute to start. Remove and stir. Place back in the microwave for additional 30 seconds at 50% power. Remove and stir. Continue to do this in 30-second intervals until smooth and creamy. Remember less is better. You can help melt some pieces that are still not fully melted by stirring with a spoon. You do not want to over microwave your chocolate.

Watch this video for no fail results:

Cadbury Egg Easter Crack
Ingredients
- 50 Saltine crackers
- 1 cup (2 sticks) butter, cut into chunks
- 1 cup light brown sugar
- 2 cups milk chocolate chips
- 1/4 cup yellow chocolate melts
- Easter-themed sprinkles
- Small Cadbury eggs
Instructions
Notes
If you are not using your instant pot as a double boiler.. you can melt you chocolate:
In a microwave-safe container microwave candy melts at 50% power or the defrost setting on your microwave. Melt for one minute to start. Remove and stir. Place back in the microwave for additional 30 seconds at 50% power. Remove and stir. Continue to do this in 30 second intervals until smooth and creamy. Remember less is better. You can help melt some pieces that are still not fully melted by stirring with a spoon. You do not want to over microwave your chocolate.
I’m Melissa, the imaginative force behind Sparkles to Sprinkles, where creativity comes to life, and sprinkles of joy are scattered generously. Melissa is a proud Jersey girl who found love with a New York boy. As a mom to four wonderful boys and a few fur babies, her journey into the world of blogging began after making the life-changing decision to stay home and raise her children. Previously a dedicated workaholic, Melissa’s blog became her creative outlet and passion project. Inspired by her mother-in-law, a masterful cook renowned for her delicious home-cooked meals and legendary holiday feasts (think mouthwatering sausage stuffing), Melissa honed her culinary skills through a combination of family recipes and countless cooking classes. She often attended these classes with her son Michael, who shared her enthusiasm for cooking from a young age. Melissa’s love for learning extends beyond familiar cuisines, as she enjoys exploring international recipes in hands-on cooking classes. Her blog features a diverse array of recipes, showcasing her expertise with various kitchen appliances such as the Instant Pot, air fryer, Slow Cooker, Ninja Foodi, Instant Vortex Plus, and more. Join Melissa on her culinary adventures as she shares tried-and-true family favorites alongside exciting new discoveries!


One Comment