
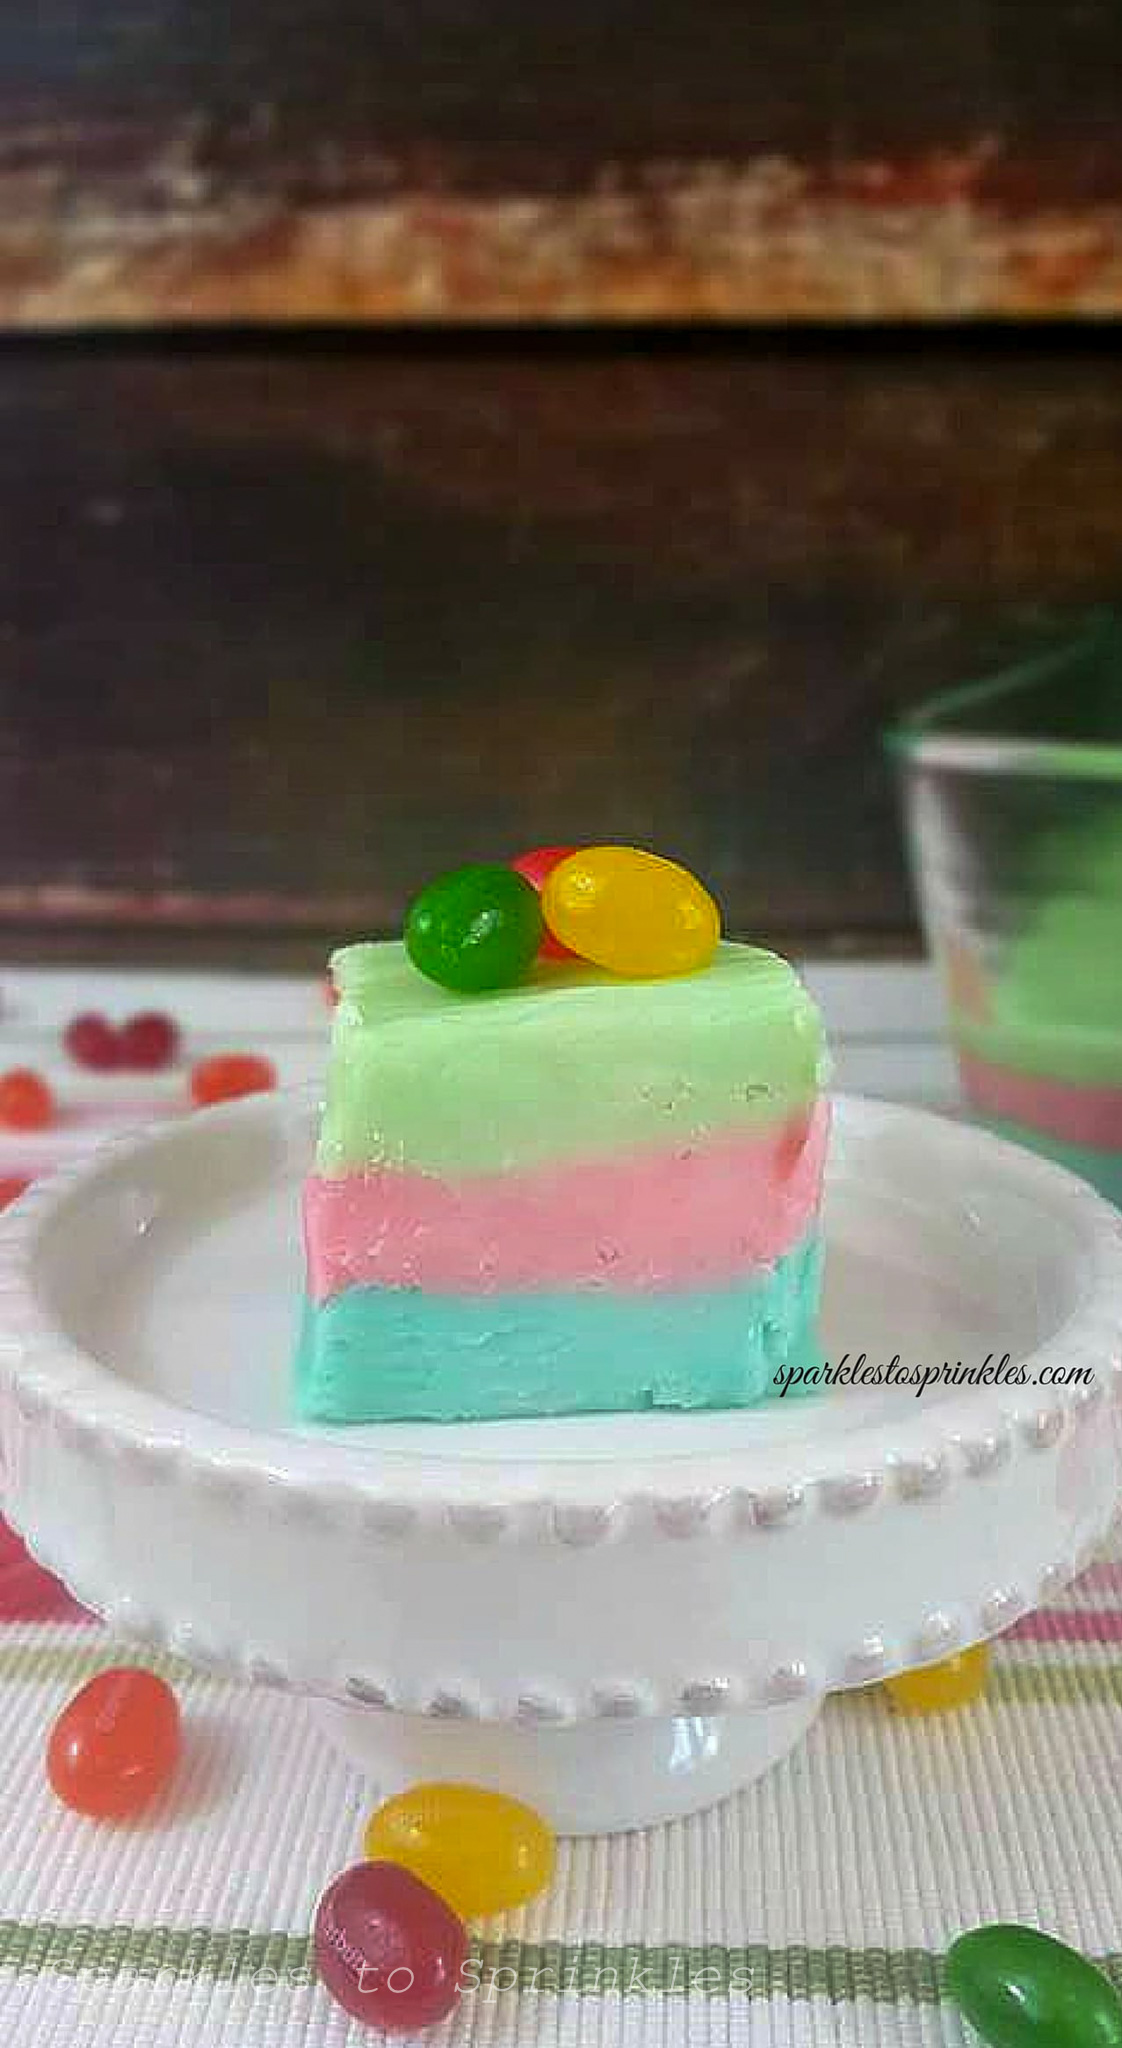
Jelly Bean Fudge – A Fun & Colorful Easter Treat
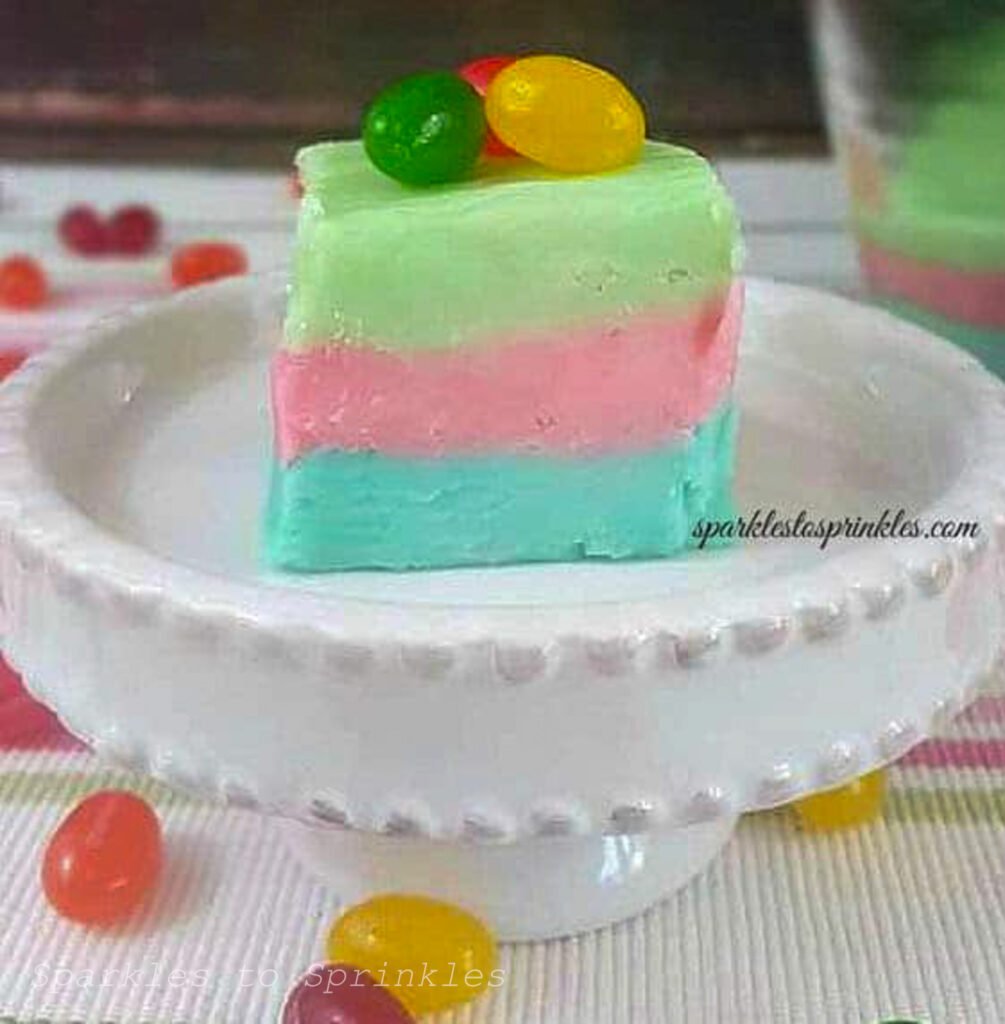
Jelly Bean Fudge is the ultimate Easter dessert—it’s bright, colorful, and packed with sweet, fruity flavors! This easy-to-make fudge features three layers of pastel-colored white chocolate, each flavored with a fun extract like orange and strawberry, and topped with festive jelly beans. Whether you’re making this for an Easter party, adding it to your holiday dessert table, or simply looking for a fun springtime treat, this no-bake recipe is guaranteed to be a hit!

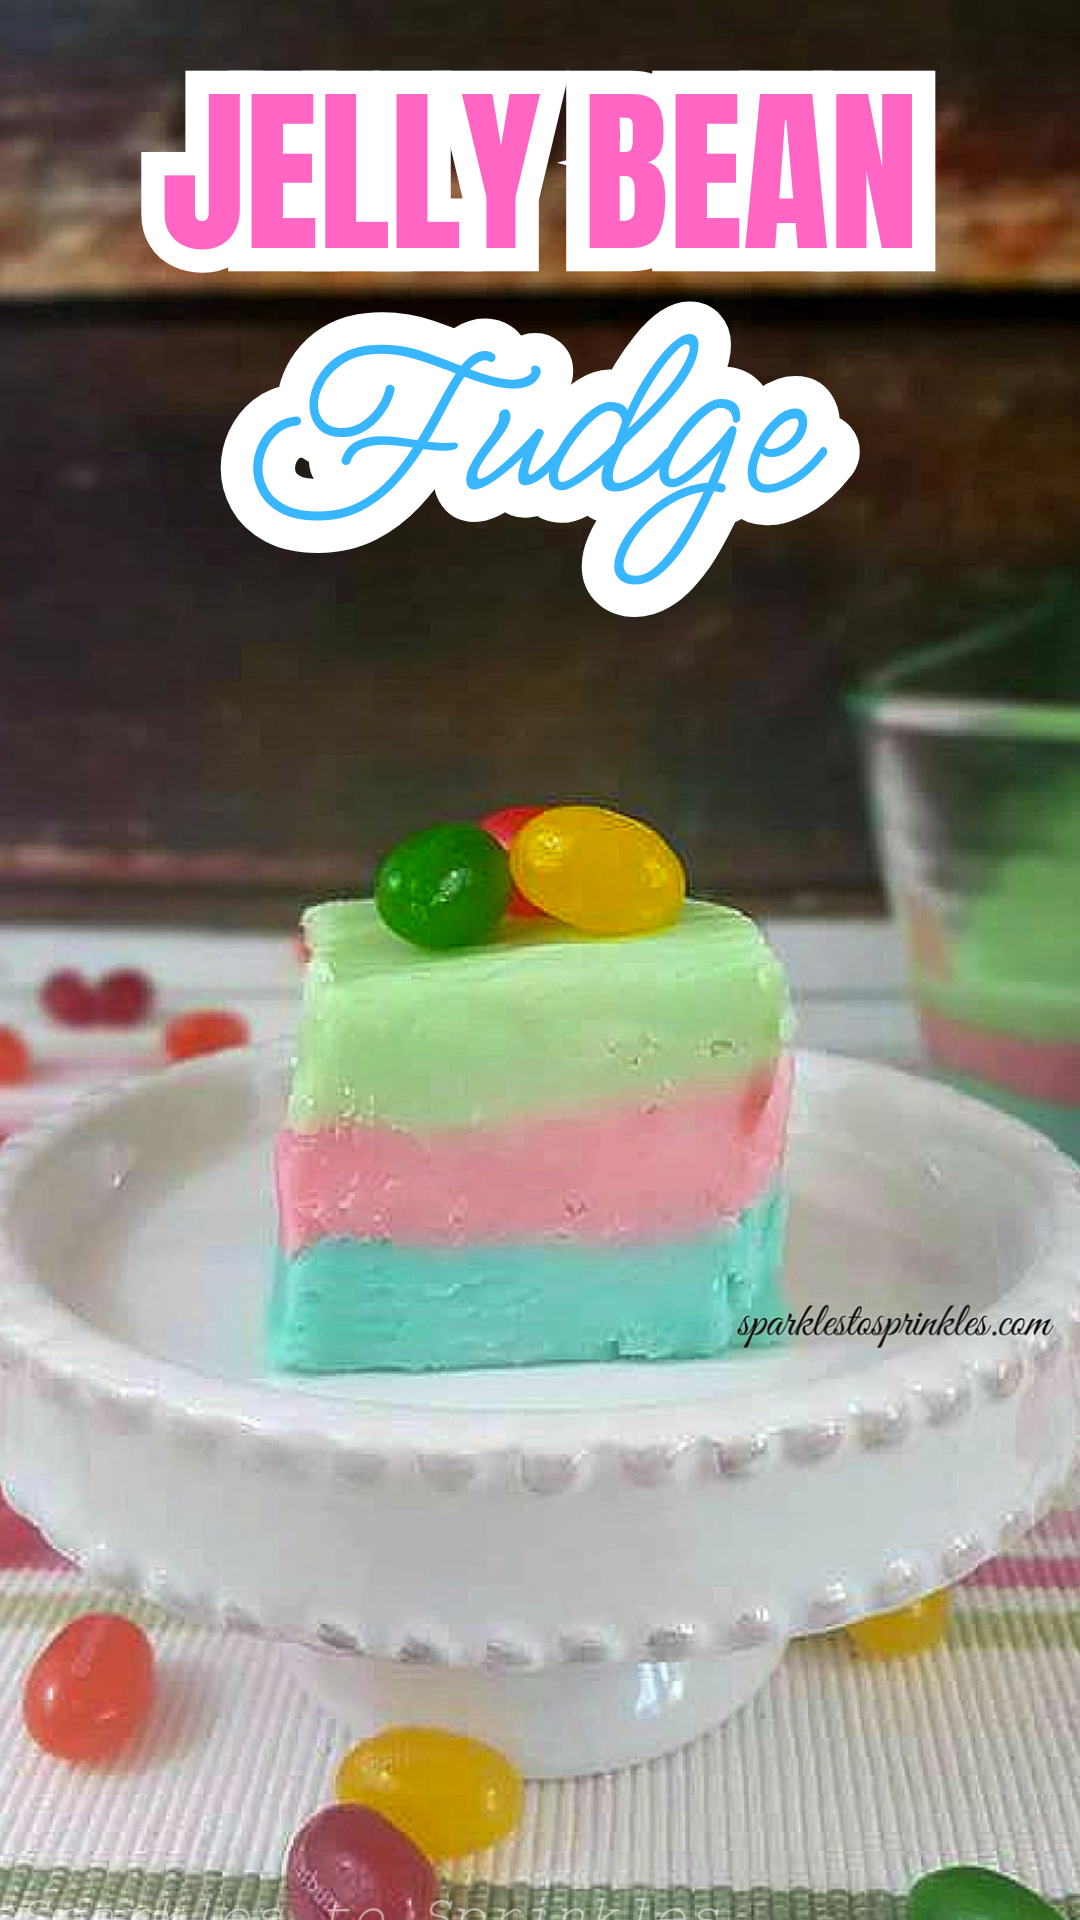
Jelly Bean Fudge
If you love fun and festive Easter treats, this Jelly Bean Fudge is a must-try! It’s the perfect complement to other holiday favorites like Easter Chick Rice Krispie Treats, Cadbury Egg Easter Crack, and Cadbury Mini Egg Dip. The vibrant layers and fruity flavors make it a standout on dessert platters, and it’s easy to cut into bite-sized pieces for sharing. Whether you enjoy it with family or wrap it up as a cute edible gift, this fudge will bring a pop of color and sweetness to your holiday celebrations.
Easy, No-Bake & Full of Flavor
One of the best things about this recipe is how simple it is to make—just a handful of ingredients, a microwave, and a little patience while it sets in the fridge! The layers come together easily, and you can customize the colors and flavors to match your holiday theme. Plus, the jelly beans on top add a chewy, fruity contrast to the smooth, creamy fudge, making every bite deliciously fun!
What You’ll Love About This Recipe
✔️ No-Bake & Super Easy – Just melt, mix, layer, and chill!
✔️ Bright & Colorful – Perfect for Easter dessert tables and baskets.
✔️ Fruity & Creamy – A fun mix of white chocolate, orange, and strawberry flavors.
✔️ Great for Gifting – Package it up in little treat bags for a festive homemade gift.
Ingredients
18 ounces of white chocolate chips
1 can, 14 oz sweetened condensed milk
green, blue & pink food coloring
1 TSP orange extract
1 TSP strawberry extract
jelly beans
Instructions
Spray glass dish with cooking spray.
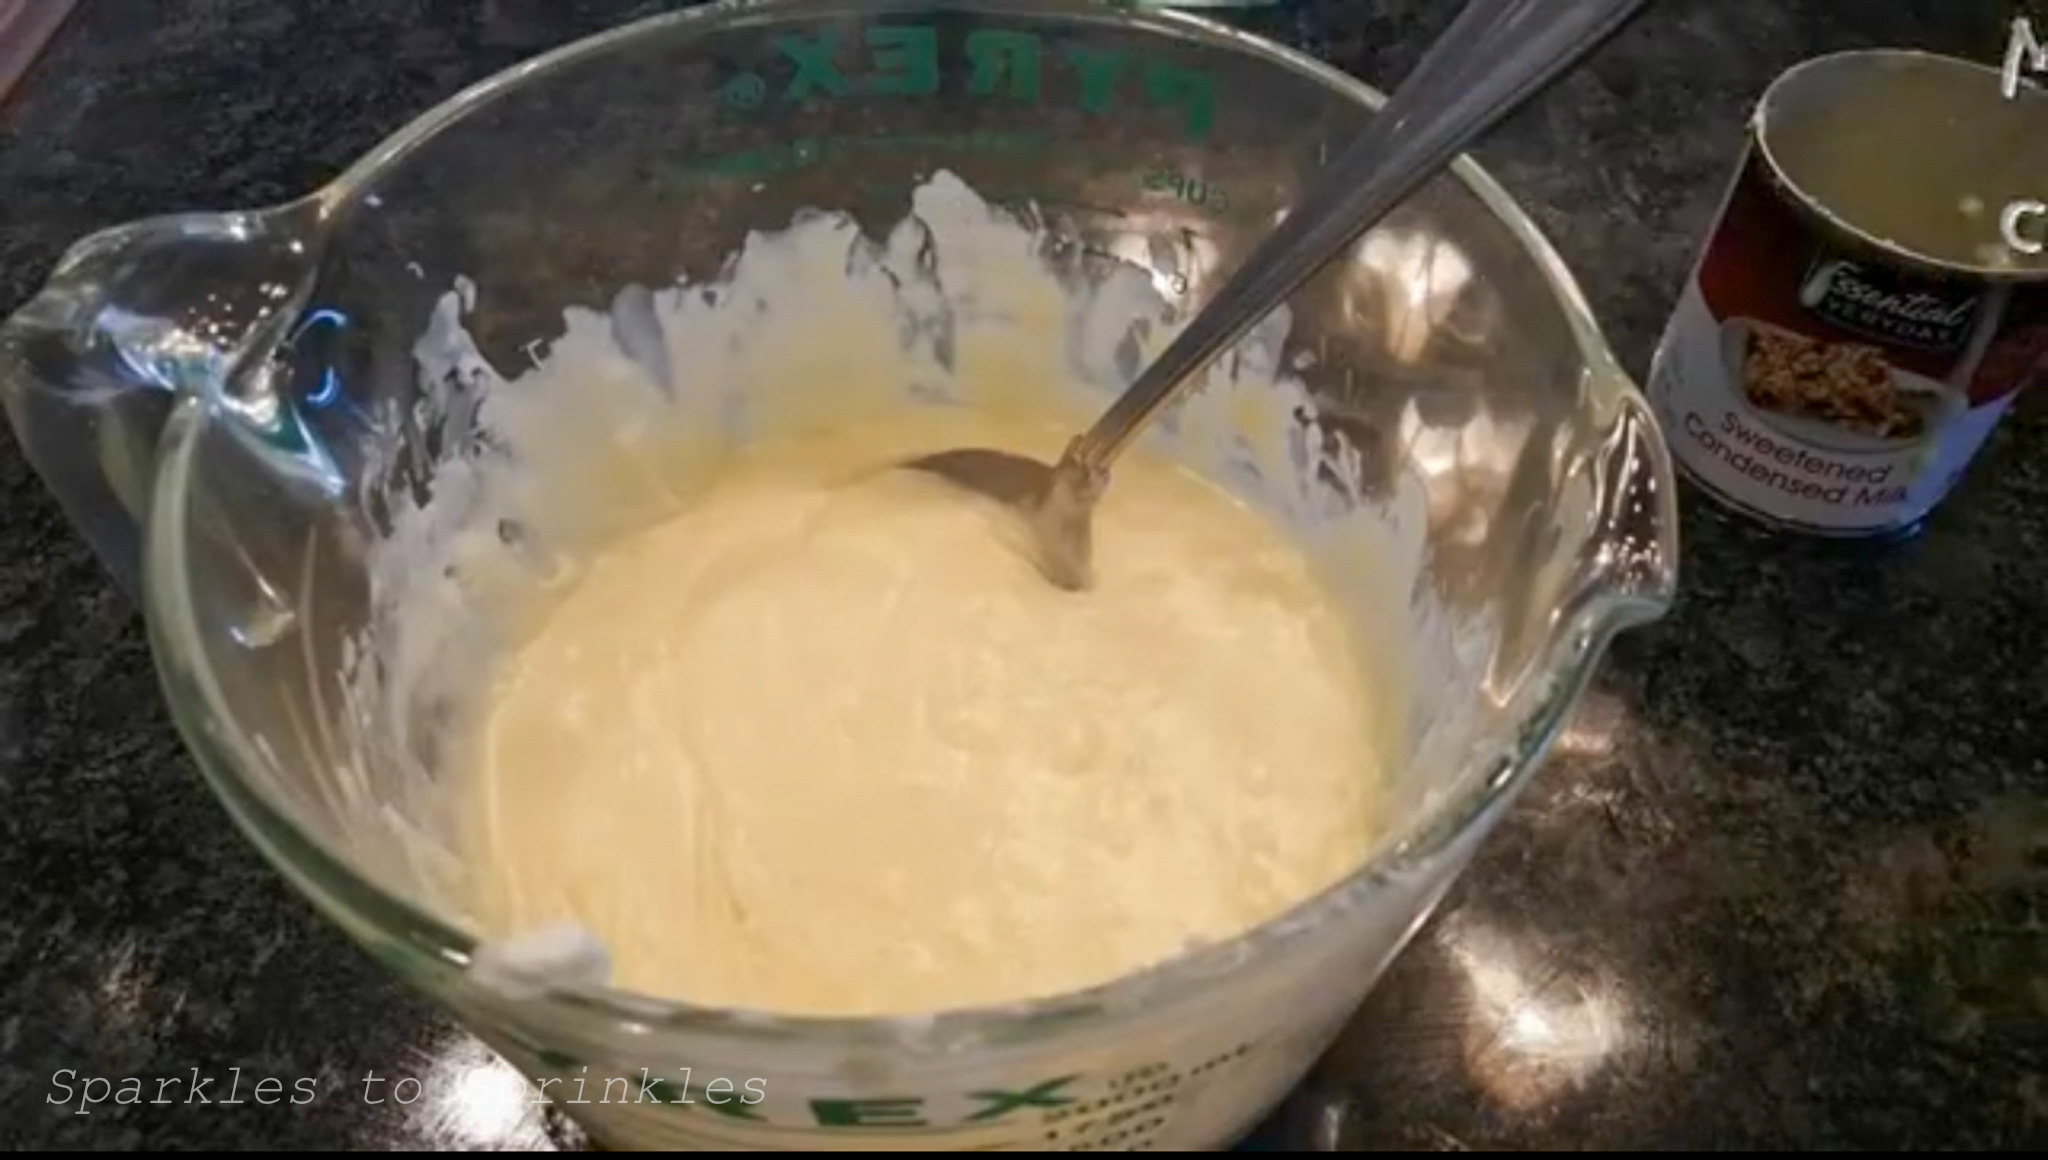
Combine white chocolate chips with sweetened condensed milk in a microwavable dish. Microwave in 30 second intervals until chips are starting to melt. Mix well to help your chips to melt.
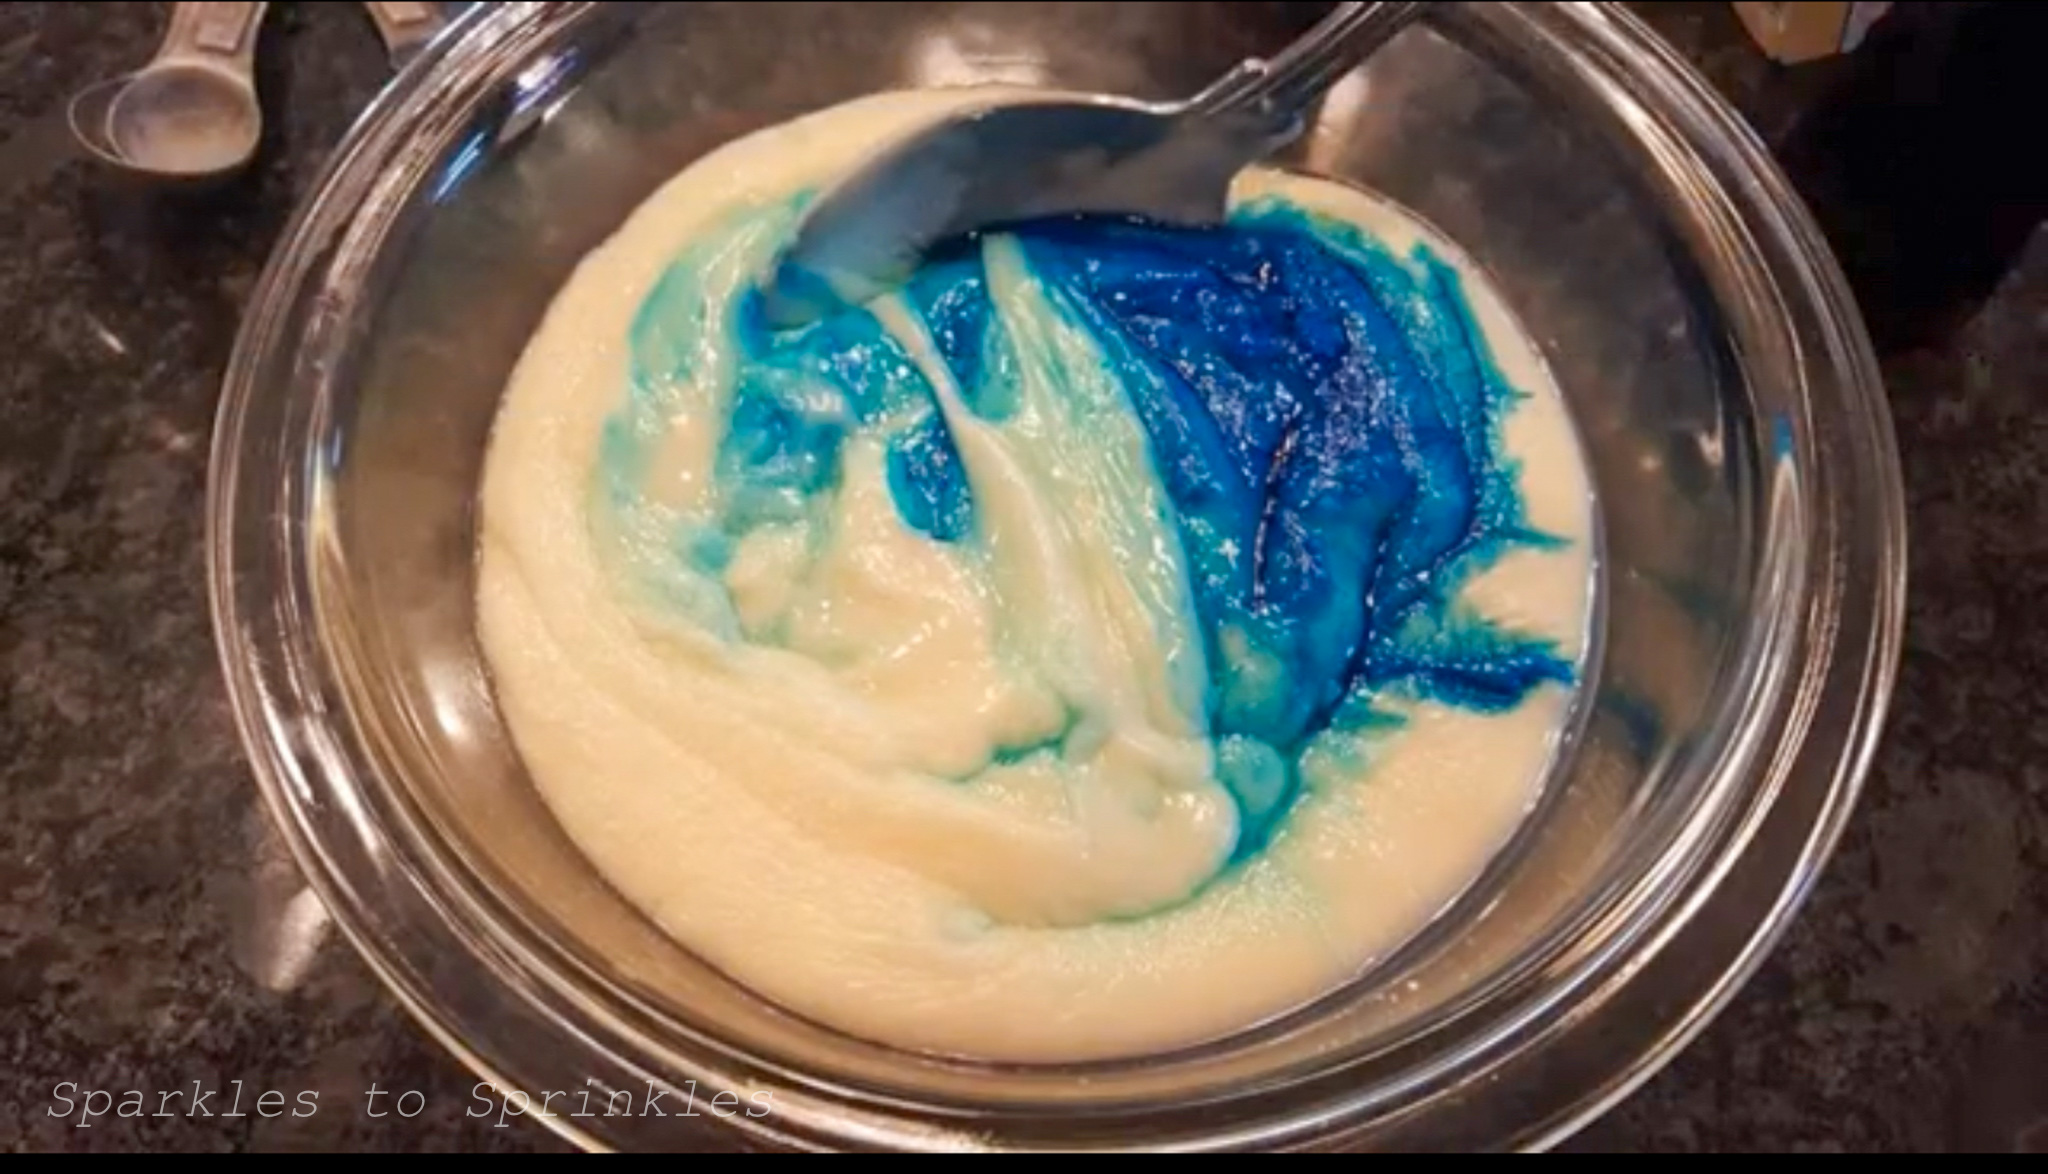
Divide melted chocolate into 3 smaller dishes. Working fairly quickly add a few drops of blue food coloring to your first dish as well 1 TSP of orange extract. Mix well until color is totally incorporated.
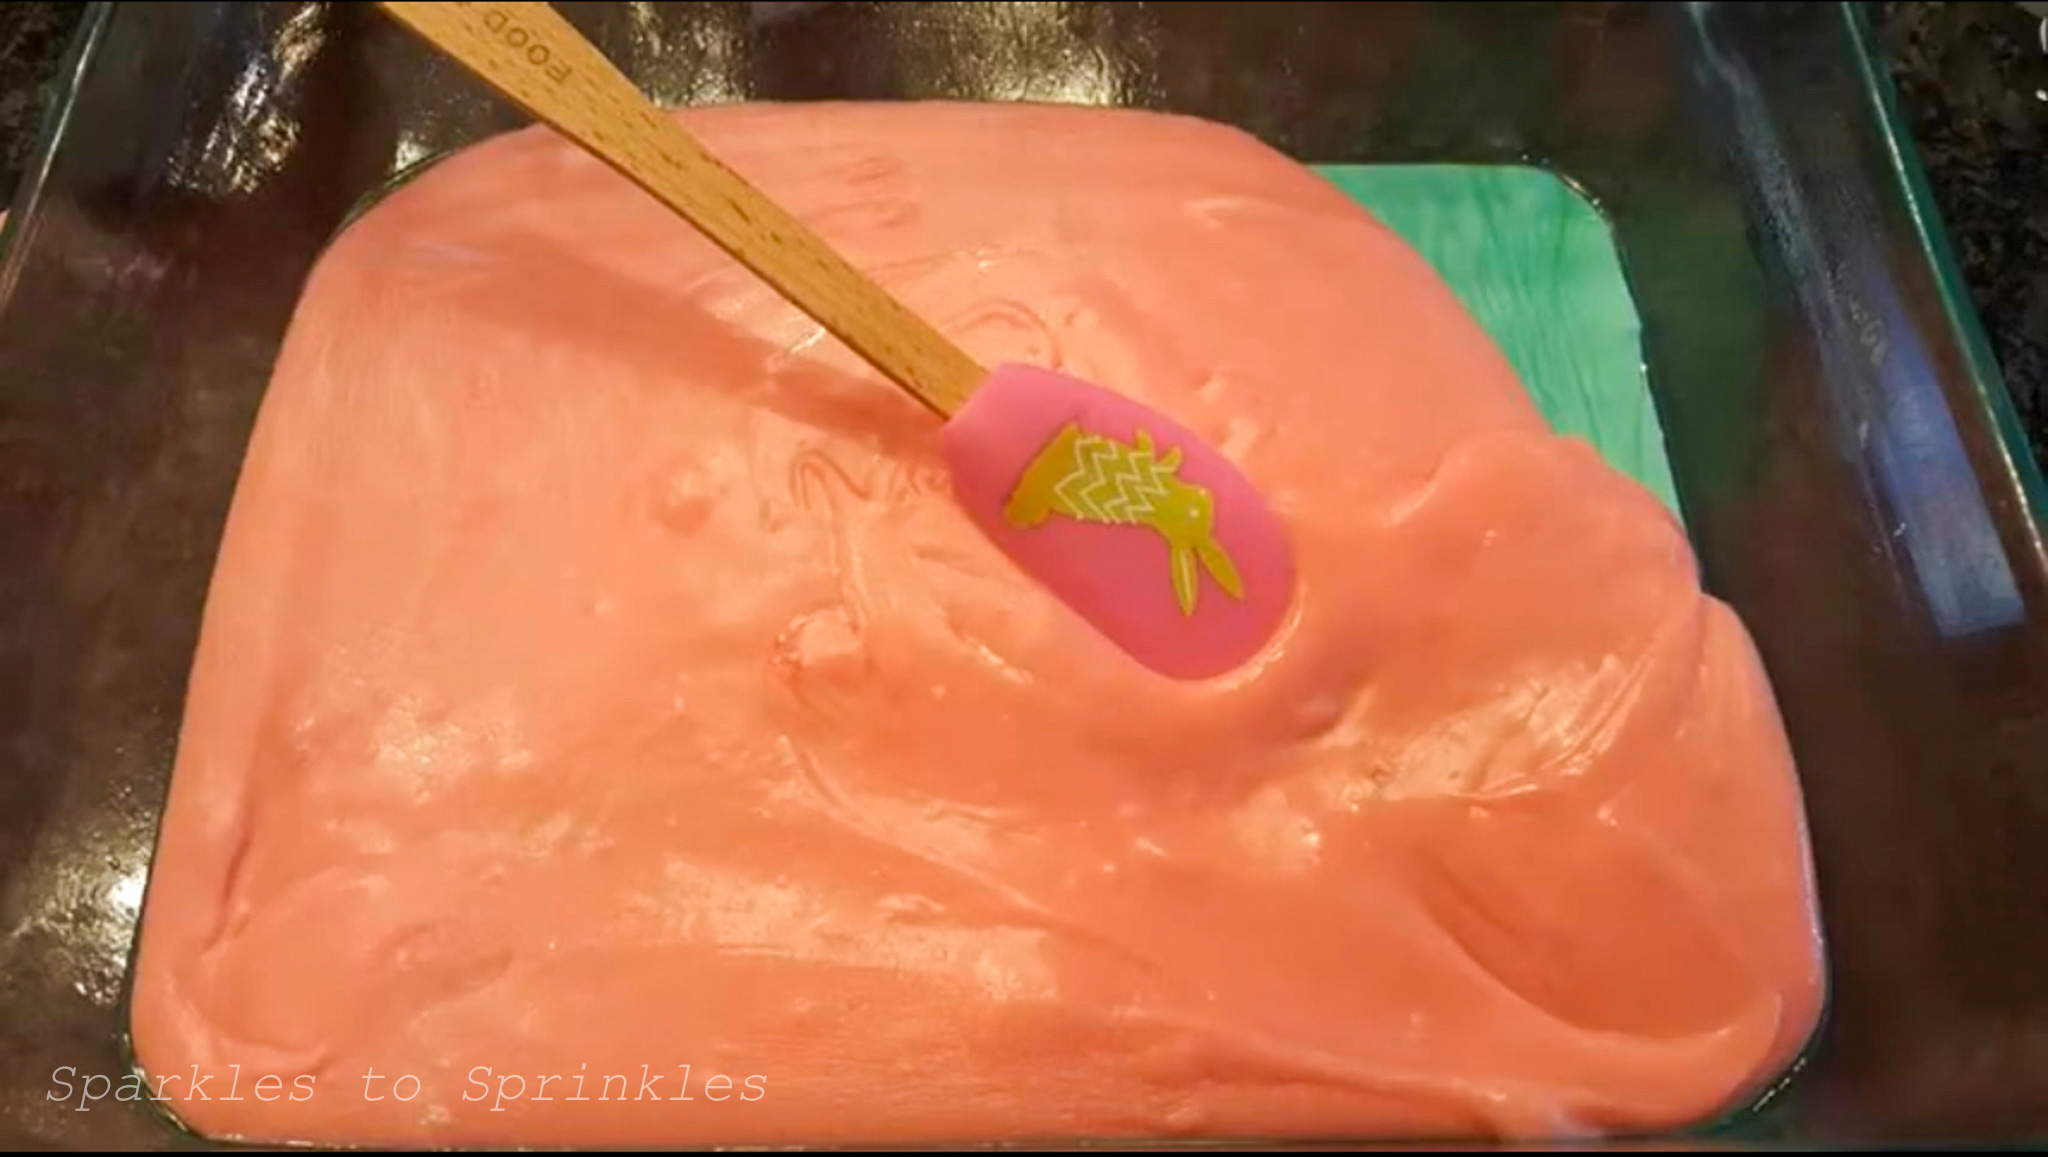
Spread blue fudge into the glass dish, use a spatula to help spread it evenly.
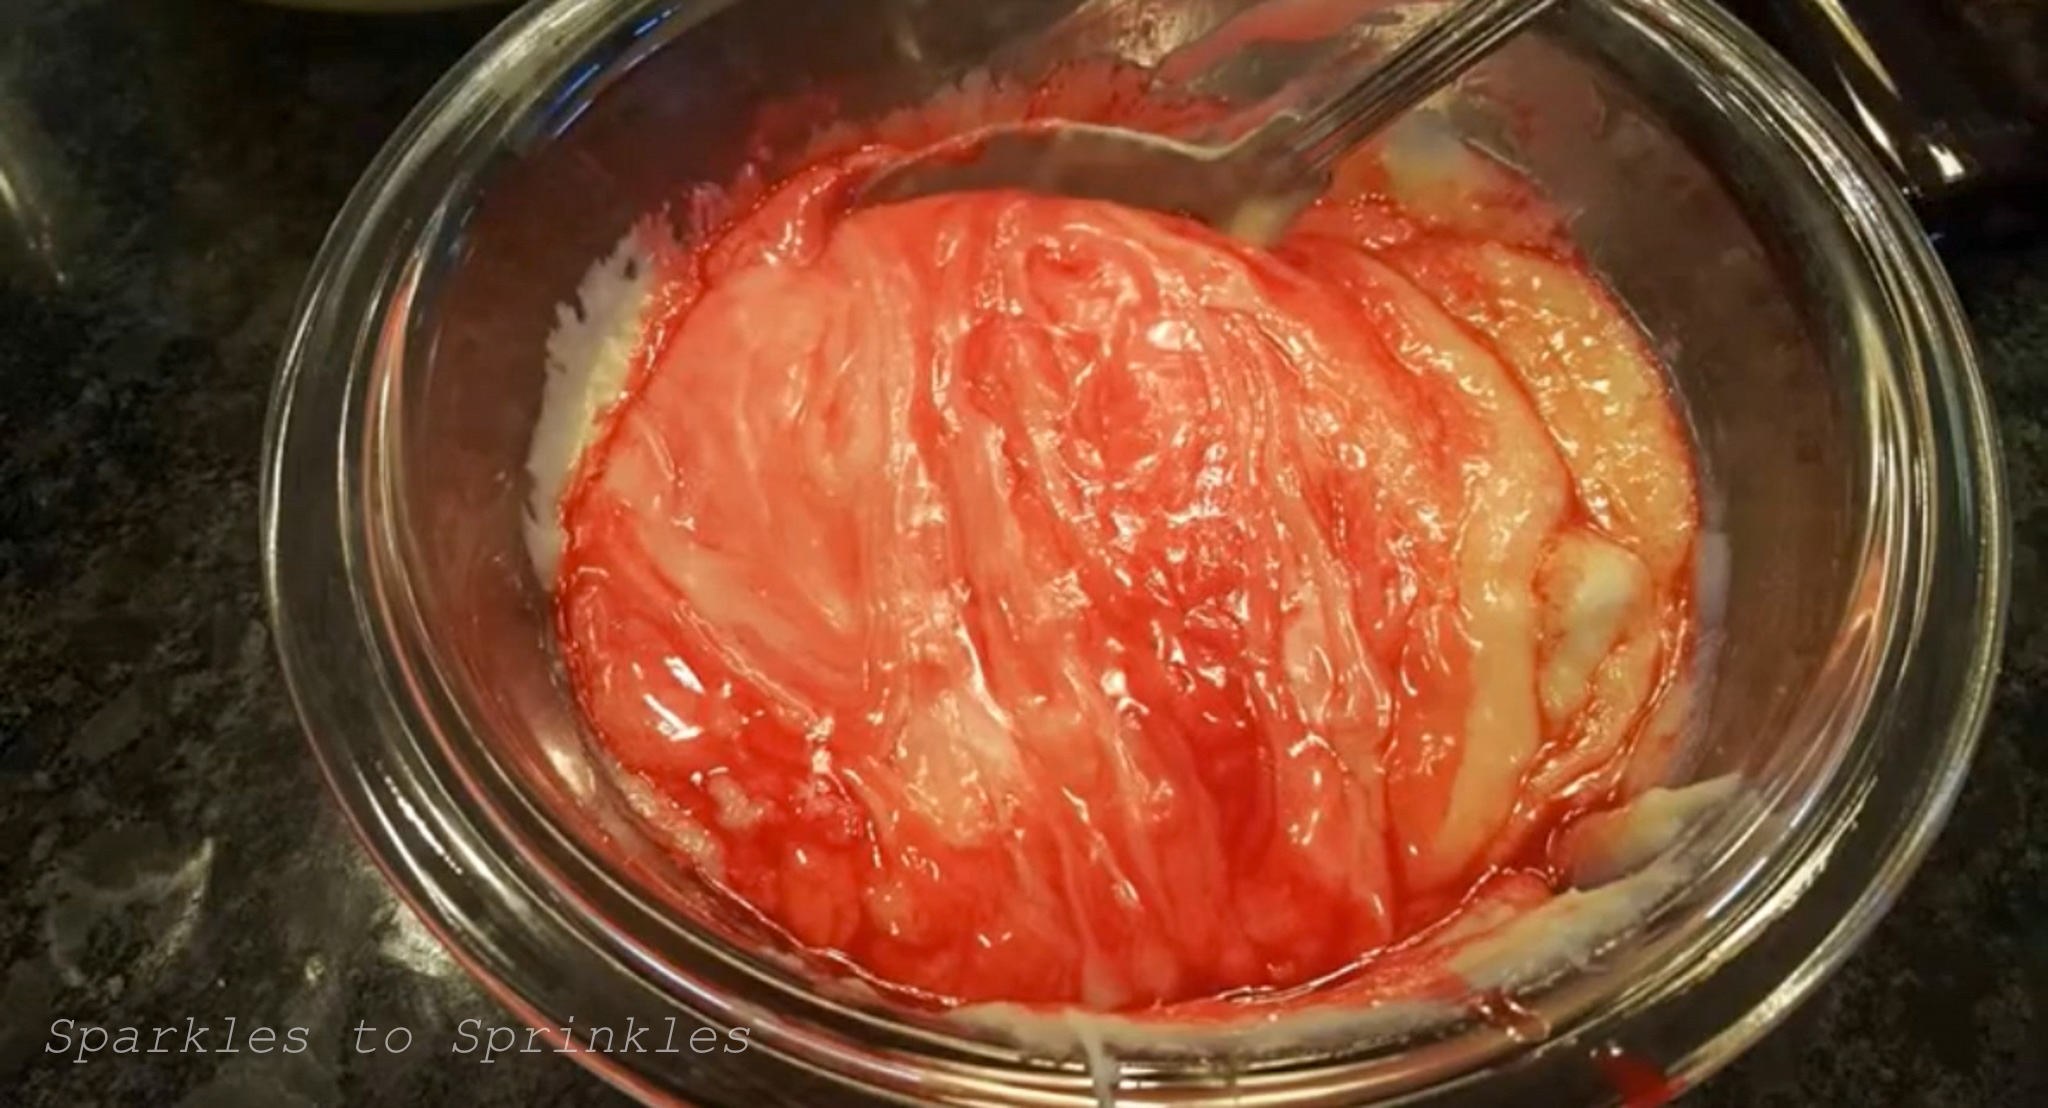
Move to your next bowl, add 3 drops of pink food coloring and 1 TSP strawberry extract. Mix well until color it totally incorporated.
Spread pink fudge on top of your blue fudge. Use a spatula to help spread it evenly.
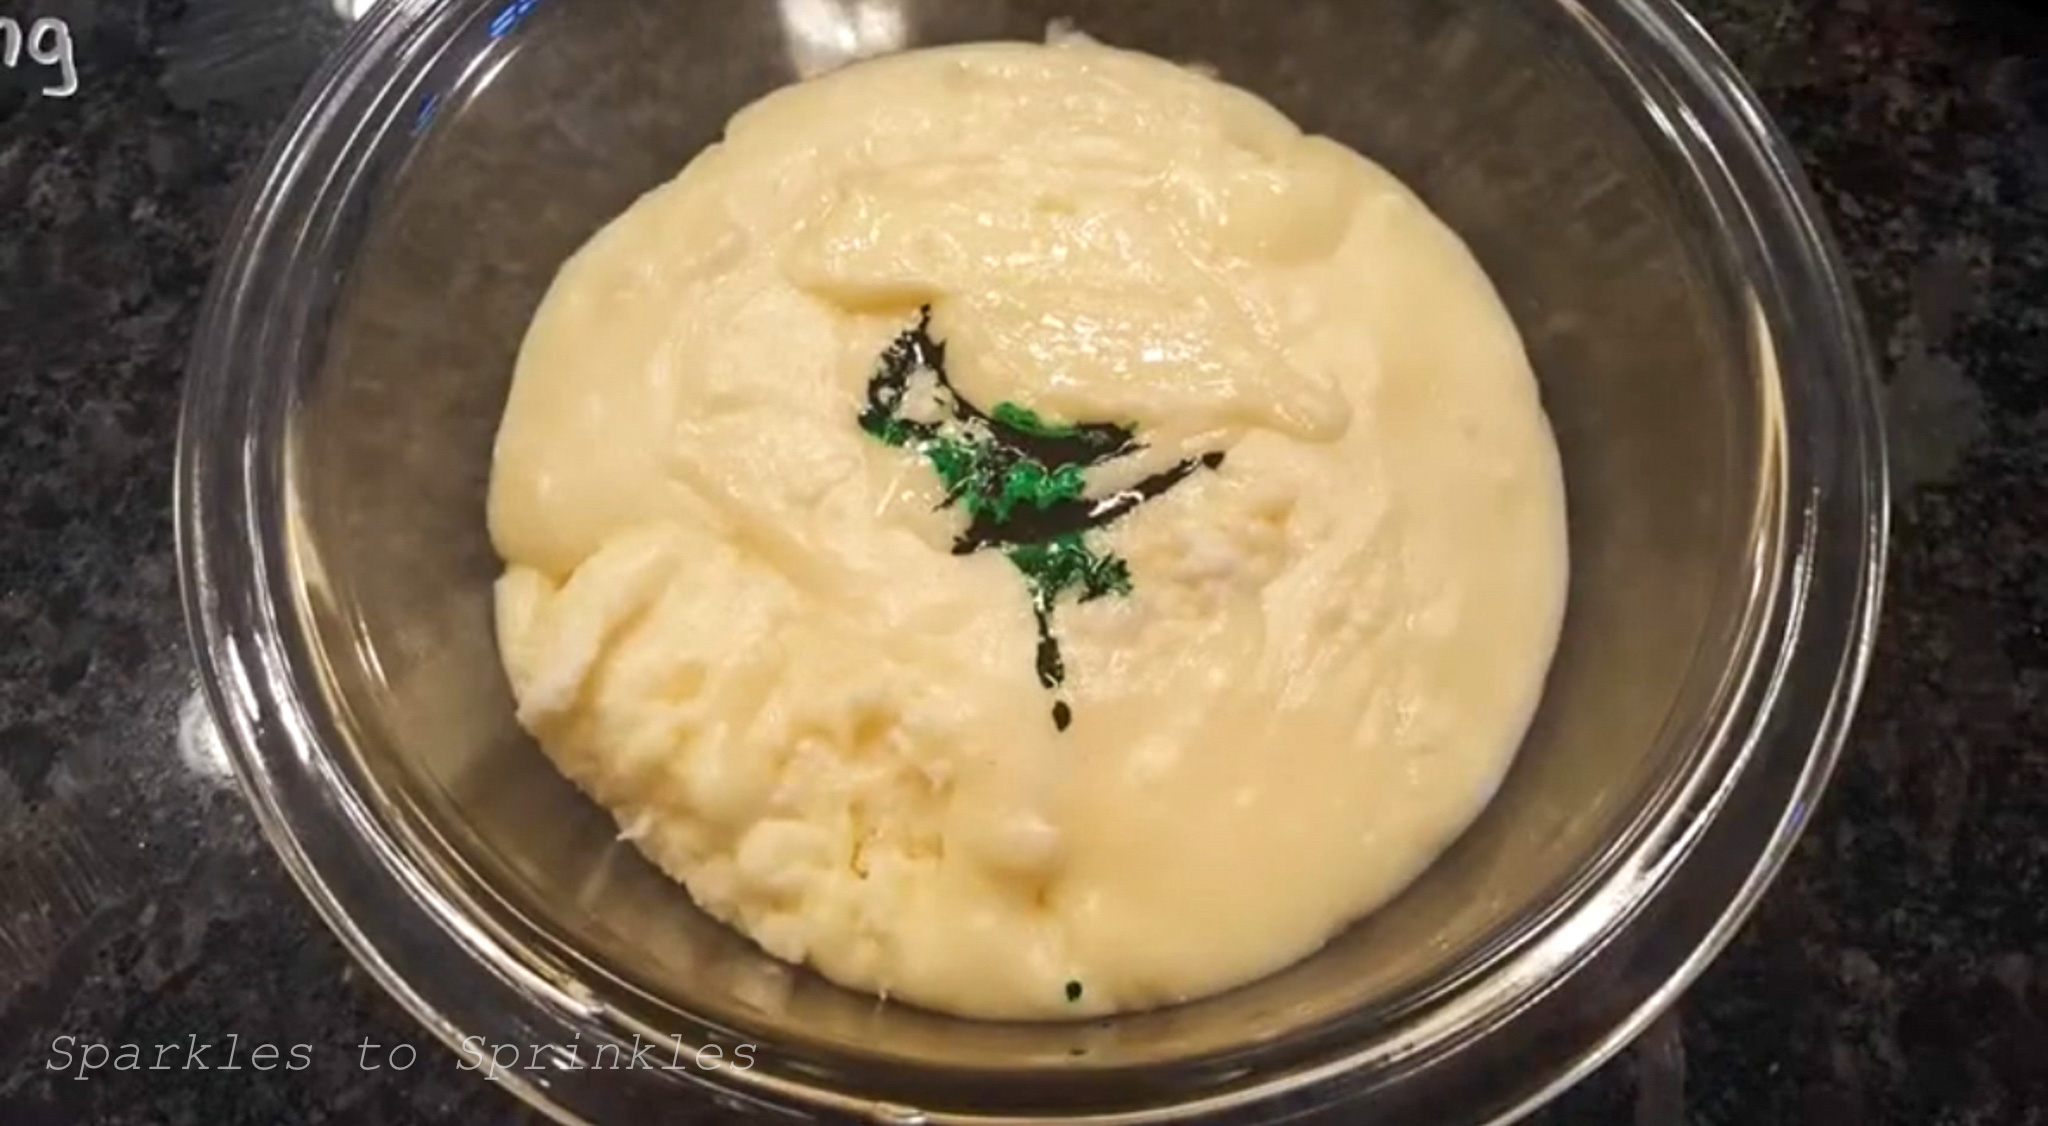
In your last bowl, mix 3 drops of green food coloring. We are not using extract for this layer, leaving it a nice creamy white chocolate fudge flavor.
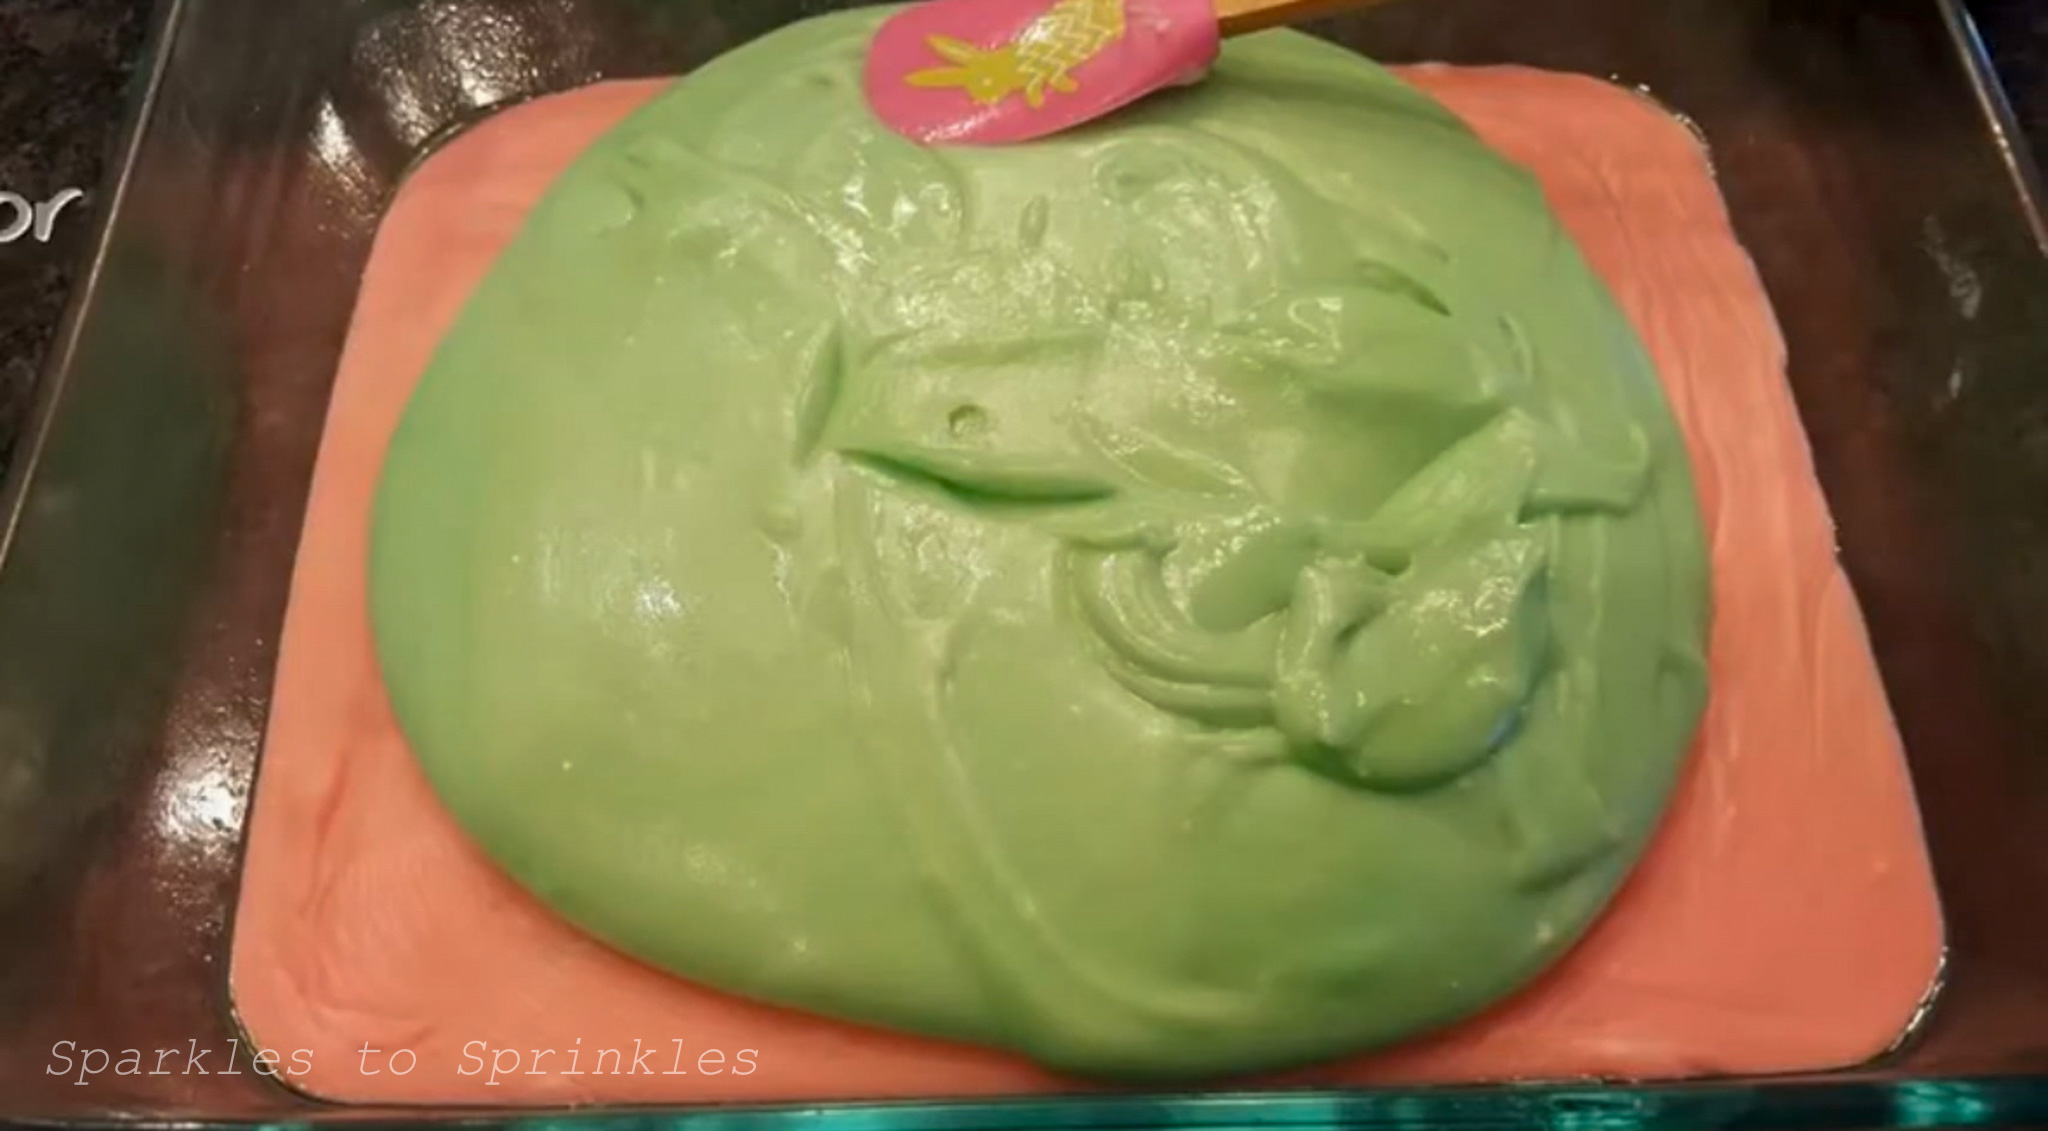
Spread green fudge on top of your pink fudge. Use a spatula to help spread it evenly.
Place in fridge to allow to harden before cutting into pieces. Once you are able to cut into nice square pieces, place a few jelly beans on top.
Tips & Tricks
✅ Work Quickly – Since the fudge starts to set fast, make sure to mix and layer your colors efficiently.
✅ Use Gel Food Coloring – This will give you bright, vibrant colors without affecting the texture.
✅ Switch Up the Flavors – Try lemon, raspberry, or coconut extract instead of orange or strawberry for a new twist.
✅ Let It Fully Set – For cleaner cuts, let the fudge chill for at least 2 hours before slicing.
FAQs
Can I use milk or dark chocolate instead of white chocolate?
White chocolate works best for holding food coloring and maintaining pastel colors, but you could try a milk chocolate version with different add-ins like peanut butter or caramel.
How should I store Jelly Bean Fudge?
Keep it in an airtight container in the fridge for up to a week. If stacking pieces, place parchment paper between the layers to prevent sticking.
Can I freeze this fudge?
Yes! Wrap individual pieces in wax paper, store them in an airtight container, and freeze for up to 3 months. Let them come to room temperature before serving.
Looking for more Easter Recipes
- Cadbury Easter Egg Crack | Holiday Crack Candy with a fun Cadbury Easter egg twist! So addictive and perfectly sweet.
- Cadbury Mini Egg Dip | Dress up those hard boiled eggs in a whole new way! Hello Kitty inspired eggs.
- Easter Bark | Colorful, delicious Easter bark is the easier Easter dessert to whip up. Great for kids and adults to nibble on.
Watch this video for no fail results

Jelly Bean Fudge
Jelly Bean Fudge is a colorful and tasty fudge that is topped with colorful jelly beans. The perfect Easter fudge.
Ingredients
- 18 ounces of white chocolate chips
- 1 can, 14 oz sweetened condensed milk
- green, blue & pink food coloring
- 1 TSP orange extract
- 1 TSP strawberry extract
- jelly beans
Instructions
- Spray glass dish with cooking spray.
- Combine white chocolate chips with sweetened condensed milk in a microwavable dish. Microwave in 30 second intervals until chips are starting to melt. Mix well to help your chips to melt.
- Divide melted chocolate into 3 smaller dishes. Working fairly quickly add a few drops of blue food coloring to your first dish as well 1 TSP of orange extract. Mix well until color is totally incorporated.
- Spread blue fudge into the glass dish, use a spatula to help spread it evenly.
- Move to your next bowl, add 3 drops of pink food coloring and 1 TSP strawberry extract. Mix well until color it totally incorporated.
- Spread pink fudge on top of your blue fudge. Use a spatula to help spread it evenly.
- In your last bowl, mix 3 drops of green food coloring. We are not using extract for this layer, leaving it a nice creamy white chocolate fudge flavor.
- Spread green fudge on top of your pink fudge. Use a spatula to help spread it evenly.
- Place in fridge to allow to harden before cutting into pieces. Once you are able to cut into nice square pieces, place a few jelly beans on top.
I’m Melissa, the imaginative force behind Sparkles to Sprinkles, where creativity comes to life, and sprinkles of joy are scattered generously. Melissa is a proud Jersey girl who found love with a New York boy. As a mom to four wonderful boys and a few fur babies, her journey into the world of blogging began after making the life-changing decision to stay home and raise her children. Previously a dedicated workaholic, Melissa’s blog became her creative outlet and passion project. Inspired by her mother-in-law, a masterful cook renowned for her delicious home-cooked meals and legendary holiday feasts (think mouthwatering sausage stuffing), Melissa honed her culinary skills through a combination of family recipes and countless cooking classes. She often attended these classes with her son Michael, who shared her enthusiasm for cooking from a young age. Melissa’s love for learning extends beyond familiar cuisines, as she enjoys exploring international recipes in hands-on cooking classes. Her blog features a diverse array of recipes, showcasing her expertise with various kitchen appliances such as the Instant Pot, air fryer, Slow Cooker, Ninja Foodi, Instant Vortex Plus, and more. Join Melissa on her culinary adventures as she shares tried-and-true family favorites alongside exciting new discoveries!


