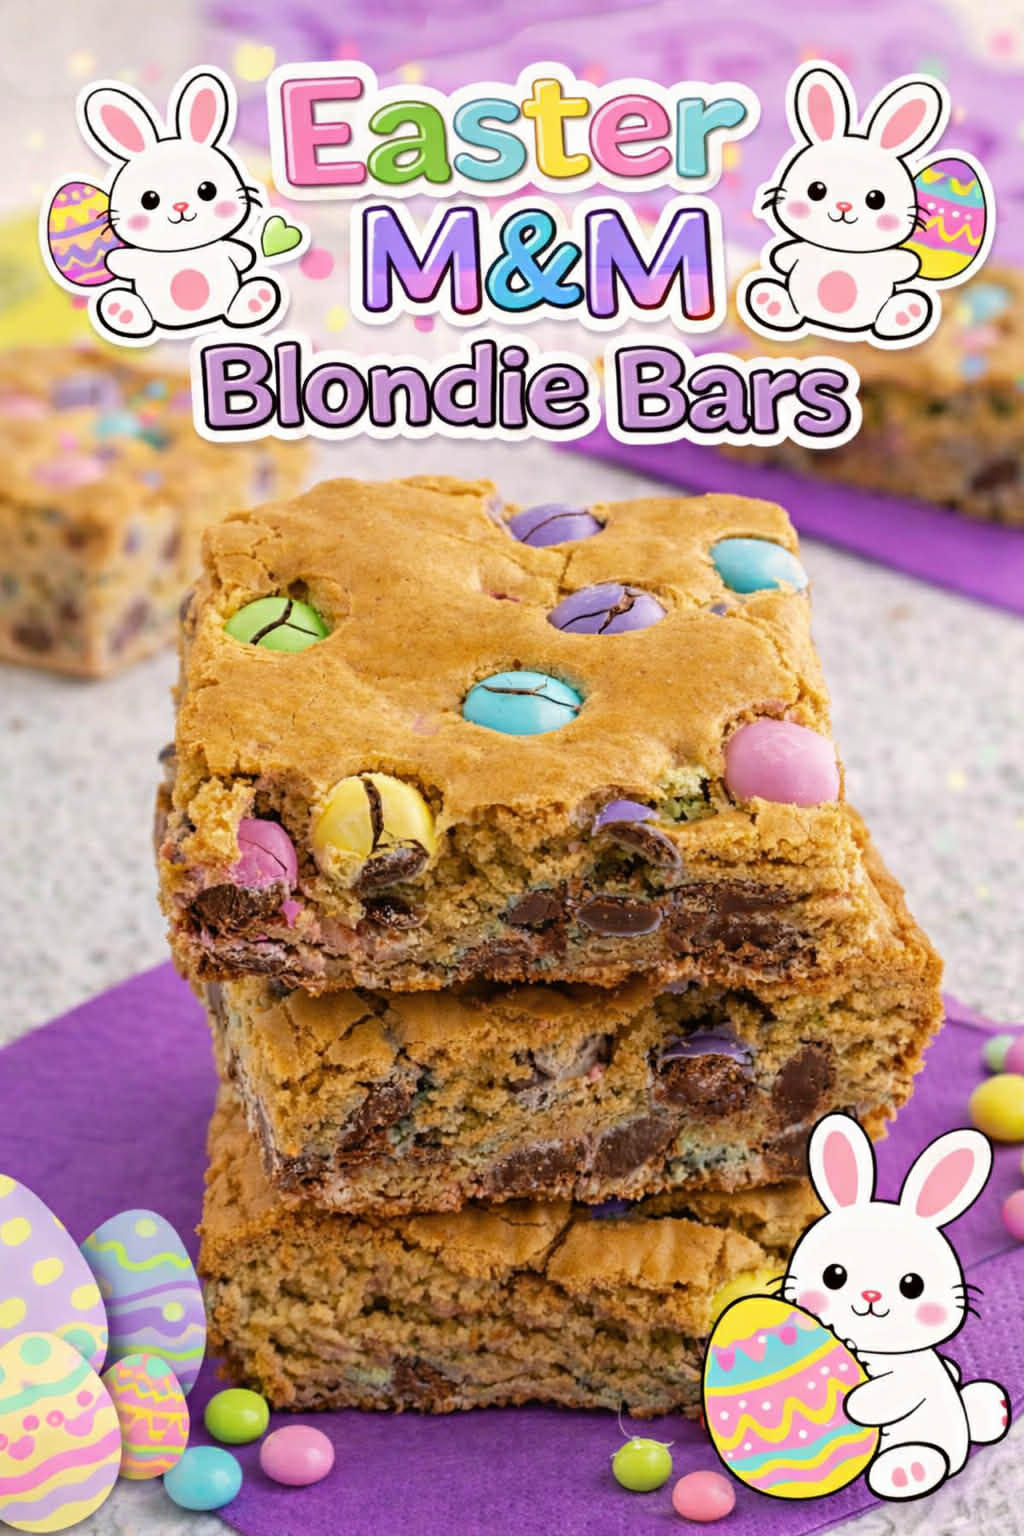
Easter M&M Blondie Bars
Indulge in the sweet delights of Easter with these delightful M&M Blondie Bars! Bursting with pastel-colored M&M candies, these blondies are not only visually appealing but also incredibly delicious. Perfect for Easter gatherings, these bars offer a chewy, buttery base complemented by the rich sweetness of M&M candies. Whether you’re baking for a festive occasion or simply craving a delightful treat, these Easter M&M Blondie Bars are sure to be a hit with everyone. Let’s dive into the recipe and add a splash of color to your Easter celebrations!

Easter M&M Blondie Bars
Incorporating these Easter M&M Blondie Bars into your holiday spread is a delightful way to add a touch of whimsy and flavor to your festivities. Whether you’re hosting a festive brunch, a family gathering, or simply treating yourself to a sweet indulgence, these bars are the perfect addition to any Easter menu. With their soft, chewy texture and bursts of colorful M&M candies, they’re sure to be a crowd-pleaser for kids and adults alike. Plus, they’re incredibly easy to make, allowing you to spend less time in the kitchen and more time enjoying the holiday with loved ones. So grab your ingredients and let’s get baking!

As you sink your teeth into these Easter M&M Blondie Bars, you’ll experience the perfect harmony of sweetness and chewiness, complemented by the rich flavor of brown sugar and butter. Each bite is studded with pastel-colored M&M candies, adding a pop of color and a hint of chocolatey goodness to every mouthful. Whether you enjoy them fresh out of the oven or as a delightful treat throughout the day, these bars are sure to become a beloved Easter tradition in your household. Get ready to indulge in a decadent dessert that’s as beautiful as it is delicious!

What Will You Love About Making Easter M&M Blondie Bars
What’s not to love about Easter M&M Blondie Bars? These delightful treats are packed with irresistible flavor and vibrant colors, making them a feast for both the eyes and the taste buds. Whether you’re a fan of chewy blondies, colorful candies, or the perfect blend of sweet and buttery goodness, these bars have something to offer everyone. Plus, they’re incredibly easy to make, making them the perfect Easter dessert for busy bakers and eager taste-testers alike. Get ready to fall in love with these festive and flavorful treats!

What do I need to get started?

- Unsalted butter softened to room temperature. I always use unsalted in my baking, so I can control the amount of salt going into the blondies.
- Light brown sugar. Dark brown sugar can also be used for an extra deep caramel flavor.
- Vanilla extract. I always recommend using pure vanilla extract – not vanilla “essence” or vanilla “flavoring.”
- Eggs.
- Flour, baking powder, and salt.
- Easter or Pastel colored M&M’s – if you can’t find them, you can use standard M&M’s too!
How to make Easter Blondie Bars
Start by preparing your pan. I used an 8×8 baking pan for extra thick blondies, but you can double the recipe and use a 9×13 pan as well! Spray with non-stick spray and then line your pan with parchment paper and set aside.

In a large bowl with an electric mixer or the bowl of a stand mixer, cream together the butter and sugar until it is lighter in color and nicely whipped. Scrape down the sides of the bowl as needed, to make sure everything is fully incorporated.

Add in the eggs and vanilla and mix until combined. It will take about 1 minute of mixing for everything to be smooth, light, and fluffy.

Lightly whisk together the dry ingredients, then add to the butter mixture. Slowly fold it all together until nearly combined, then add in the M&M’s, reserving some for later. Continue folding until the M&M’s are evenly spread throughout the blondie dough. Transfer to your baking pan and then sprinkle remaining M&M’s on top.


These have a baking time of about 25 minutes, or until the blondie bars are nice and golden brown and a toothpick inserted comes out clean. In my oven, it took exactly 30 minutes. Allow the bars to cool completely before serving.

Storage and Make Ahead
Store these in an airtight container at room temperature for 3-4 days. I do not recommend refrigerating these M&M bars, because they will lose some of their gooey softness when chilled.
You can make the entire blondie recipe up to 2 days in advance, and simply save the uncooked batter in the fridge and then bake it off when you are ready to serve.
Recipe Variations
Blondie bars are a super versatile treat that can be switched up by swapping out just a few ingredients!
- Add chocolate chips for extra chocolatey flavor!
- Add some peanut butter and Reeses Pieces to the batter for some delicious and rich peanut butter chocolate blondies!
- Switch out the color of the M&M’s to make this festive treat for any time of the year!
- Throw some roasted nuts in the batter and brown the butter for an aromatic and deeply flavorful blondie.
What’s the difference between a blondie and a brownie?
- Ingredients: Brownies typically contain cocoa powder or melted chocolate, giving them their rich chocolate flavor and dark color. On the other hand, blondies are made without cocoa powder or chocolate and instead rely on ingredients like brown sugar, butter, and vanilla for their flavor.
- Flavor: Brownies have a deep chocolate flavor, while blondies have a rich, caramel-like flavor from the brown sugar and butter. Blondies also offer a hint of vanilla, making them slightly less intense than brownies.
- Texture: Brownies are dense and fudgy, with a moist and chewy texture. In contrast, blondies are softer and more cake-like, with a tender crumb that melts in your mouth.
- Appearance: Brownies have a dark brown color, thanks to the cocoa powder or chocolate used in the recipe. Blondies, as their name suggests, have a light golden or caramel color due to the absence of chocolate.
Tips and Tricks
- Room Temperature Ingredients: Bring your eggs and butter to room temperature before mixing to ensure they incorporate smoothly into the batter.
- Proper Mixing: Mix the wet and dry ingredients until just combined. Overmixing can result in dense blondies.
- Even Distribution: When spreading the batter into the baking pan, ensure an even distribution for uniform baking.
- Don’t Overbake: Blondies continue to cook as they cool, so remove them from the oven when they’re slightly underdone in the center to prevent them from becoming dry.
- Cooling Time: Allow the blondies to cool completely in the pan before slicing. This helps them set and makes for easier slicing.
- Add M&M’s Last: Fold in the pastel-colored M&M’s gently at the end of mixing to avoid breaking them.
- Variations: Feel free to customize your blondies with additional mix-ins like chopped nuts or chocolate chips for added texture and flavor.
- Storage: Store the blondies in an airtight container at room temperature for up to 3-4 days or freeze them for longer storage.
- Have Fun: Baking should be enjoyable, so don’t stress too much about perfection. Experiment with different toppings, flavors, and decorations to make the recipe your own!

FAQ’s For Making Easter M&M Blondie Bars
Can I use regular M&M’s instead of pastel-colored ones? A: Absolutely! Feel free to use any variety of M&M’s you prefer or have on hand.
Q: Can I substitute other candies for M&M’s? A: Yes, you can customize your blondie bars with your favorite candies or chocolate chips for a personalized touch.
Q: Can I make these blondies ahead of time? A: Yes, you can bake these blondie bars a day in advance. Just store them in an airtight container at room temperature until ready to serve.
Q: Can I freeze these blondies? A: Yes, these blondie bars freeze well. Wrap them tightly in plastic wrap or aluminum foil and store them in a freezer-safe container for up to 2-3 months. Thaw in the refrigerator before serving.
Q: Can I double the recipe? A: Absolutely! Feel free to double the ingredients to make a larger batch of blondie bars. Simply adjust the baking time accordingly and keep an eye on them to prevent overbaking.

Easter M&M Blondie Bars
Easter M&M Blondie Bars are LOADED with pastel M&Ms, vanilla, brown sugar, and all the gooey goodness to make the best of both of my favorite treats: a blondie recipe that doubles as an M&M bar!
Ingredients
- ½ cup (1 stick) butter, softened
- 1 ½ cups packed light brown sugar (or you can use ¾ cup each brown sugar and white sugar)
- 2 teaspoons vanilla extract
- 2 large eggs
- 1 ½ cups flour
- ½ teaspoon salt
- 1 teaspoon baking powder
- 1 cup Easter (pastel colored) M&M candies, divided
Instructions
- Preheat the oven to 350° F. Grease an 8x8 or 9x9-inch baking pan.
- In a large mixing bowl, cream together butter, brown sugar, and vanilla extract. Scrape the sides of the bowl while mixing, if necessary.
- Beat in eggs until light and fluffy (about one minute). Add flour, salt, and baking powder. Mix well.
- Stir in ½ cup of M&M’s.
- Spread batter evenly into the prepared pan. Sprinkle the remaining ½ cup of M&M’s over the top of the batter.
- Bake for 30 minutes or until a toothpick comes out clean.
- The bars can be cut once they have cooled down.
Nutrition Information:
Yield:
12Serving Size:
`1Amount Per Serving: Calories: 232Total Fat: 1gSaturated Fat: 0gTrans Fat: 0gUnsaturated Fat: 1gCholesterol: 31mgSodium: 155mgCarbohydrates: 53gFiber: 0gSugar: 34gProtein: 3g
I’m Melissa, the imaginative force behind Sparkles to Sprinkles, where creativity comes to life, and sprinkles of joy are scattered generously. Melissa is a proud Jersey girl who found love with a New York boy. As a mom to four wonderful boys and a few fur babies, her journey into the world of blogging began after making the life-changing decision to stay home and raise her children. Previously a dedicated workaholic, Melissa’s blog became her creative outlet and passion project. Inspired by her mother-in-law, a masterful cook renowned for her delicious home-cooked meals and legendary holiday feasts (think mouthwatering sausage stuffing), Melissa honed her culinary skills through a combination of family recipes and countless cooking classes. She often attended these classes with her son Michael, who shared her enthusiasm for cooking from a young age. Melissa’s love for learning extends beyond familiar cuisines, as she enjoys exploring international recipes in hands-on cooking classes. Her blog features a diverse array of recipes, showcasing her expertise with various kitchen appliances such as the Instant Pot, air fryer, Slow Cooker, Ninja Foodi, Instant Vortex Plus, and more. Join Melissa on her culinary adventures as she shares tried-and-true family favorites alongside exciting new discoveries!