Pumpkin Cheesecake Bars
If you’re looking for the perfect fall dessert, these Pumpkin Cheesecake Bars are a must-try! Combining the flavors of creamy cheesecake and spiced pumpkin, they’re the ideal treat for any autumn gathering or cozy night in. With a buttery pound cake crust and a smooth pumpkin cream cheese filling, these bars are easy to make and absolutely delicious.
Pumpkin Cheesecake Bars
Not only do these Pumpkin Cheesecake Bars bring together the best of pumpkin pie and cheesecake, but they’re also incredibly simple to prepare. Using a boxed pound cake mix for the crust saves time, while the creamy, spiced pumpkin layer adds all the cozy flavors of the season. Whether you’re making them for a holiday dessert or just because, they’re sure to impress.
These bars are perfect for fall celebrations like Thanksgiving or Halloween, and they store well in the fridge, making them great for make-ahead treats. Serve them chilled for a refreshing, creamy dessert that’s full of flavor. Keep reading for step-by-step instructions on how to make these easy and irresistible Pumpkin Cheesecake Bars!
What You Will Love About This Recipe
There’s so much to love about this Pumpkin Cheesecake Bars recipe! First, the rich combination of creamy cheesecake and spiced pumpkin creates the perfect balance of flavors, offering a taste of fall in every bite. The buttery pound cake crust adds a delightful texture and contrast to the smooth, velvety filling.
Additionally, the simplicity of this recipe is another huge win. Using a boxed pound cake mix for the crust saves time, making it approachable even for novice bakers. Plus, these bars are perfect for sharing at gatherings, as they’re easy to cut and serve, making them a crowd-pleasing dessert for any occasion.
Lastly, the make-ahead convenience will be appreciated by anyone who loves to prep in advance. These bars stay fresh in the fridge, so they’re ready when you need them for parties, dinners, or just a sweet treat during the week!
How to Make
Step 1: Start by working on the pound cake mix for the crust portion of these bars. Mix and press down into your pan.
Step 2: Next you will begin to whip your cream cheese mixture and then add in pumpkin and other ingredients.
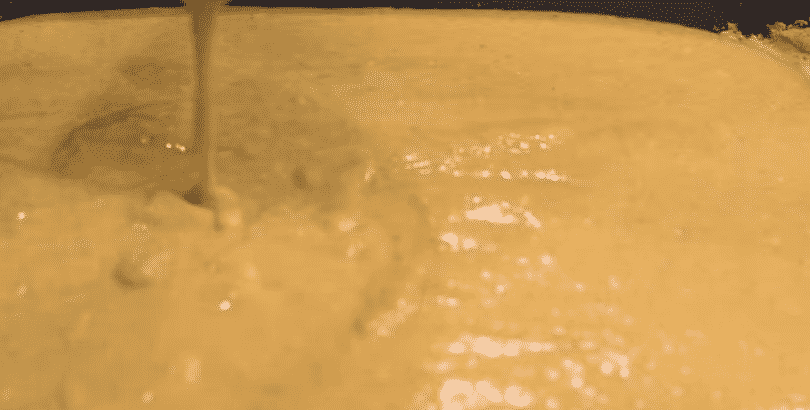
Once well mixed pour into a pan and bake as directed. Then place on a cooling rack to cool down a bit.
Step 3: These pumpkin cheesecake bars need to be refrigerated before serving. Once the cheesecake bars have cooled completely in the fridge you can then spice and serve.
Here are a few tips and tricks to make your Pumpkin Cheesecake Bars turn out perfectly every time:
- Room Temperature Ingredients: Make sure the cream cheese is softened to room temperature before mixing. This will ensure a smooth and creamy filling without any lumps.
- Don’t Overmix: When combining the cheesecake layer, mix until just combined. Overmixing can introduce air bubbles that might affect the texture of the bars.
- Chill Before Cutting: Be patient and allow the bars to cool completely in the refrigerator before slicing. This will help the cheesecake set properly, making the bars easier to cut cleanly.
- Custom Crust: If you prefer, you can swap the pound cake mix with graham crackers or gingerbread cookies for a different flavor profile in the crust.
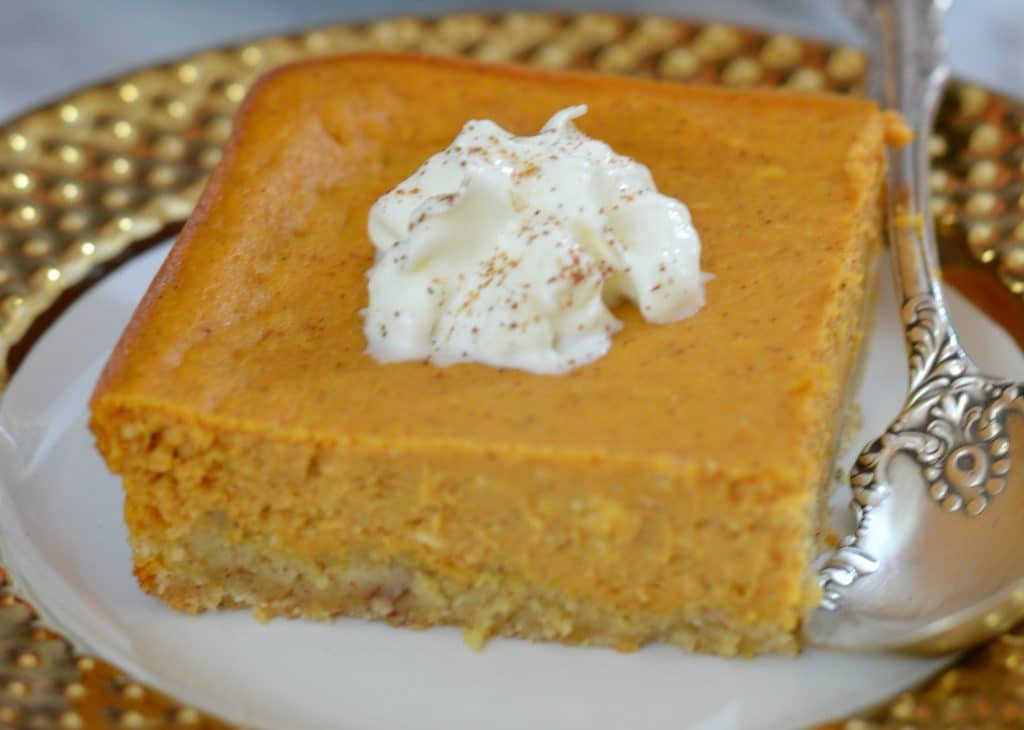
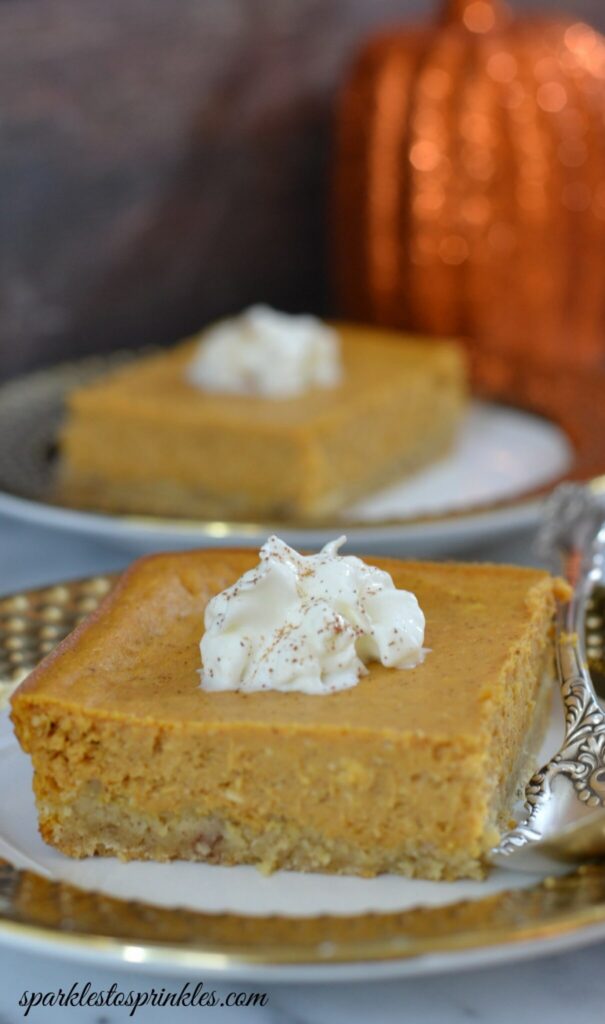
- Toppings: Serve with a dollop of whipped cream or a sprinkle of cinnamon for an extra festive touch when serving guests.

Here are some FAQs for the Pumpkin Cheesecake Bars recipe:
1. Can I use a different type of cake mix for the crust?
Yes! While this recipe calls for pound cake mix, you can use other cake mixes like yellow cake or spice cake for a different flavor. You can also experiment with graham cracker or gingerbread crusts if you’re feeling adventurous.
2. How do I know when the cheesecake bars are done?
The bars should be slightly firm and just a little jiggly in the center. They will continue to set as they cool. You can also insert a toothpick into the center — if it comes out mostly clean, the bars are ready.
3. Can I make these bars ahead of time?
Absolutely! In fact, they taste even better after chilling in the fridge overnight. Just make sure they’re stored in an airtight container.
4. Can I freeze the Pumpkin Cheesecake Bars?
Yes, these bars freeze well. Wrap them individually or as a whole in plastic wrap and store in a freezer-safe container. Thaw in the fridge before serving.
5. What can I serve with the bars?
These bars pair well with a dollop of whipped cream or a sprinkle of cinnamon. You can also drizzle caramel or serve with a side of vanilla ice cream for an extra indulgent treat.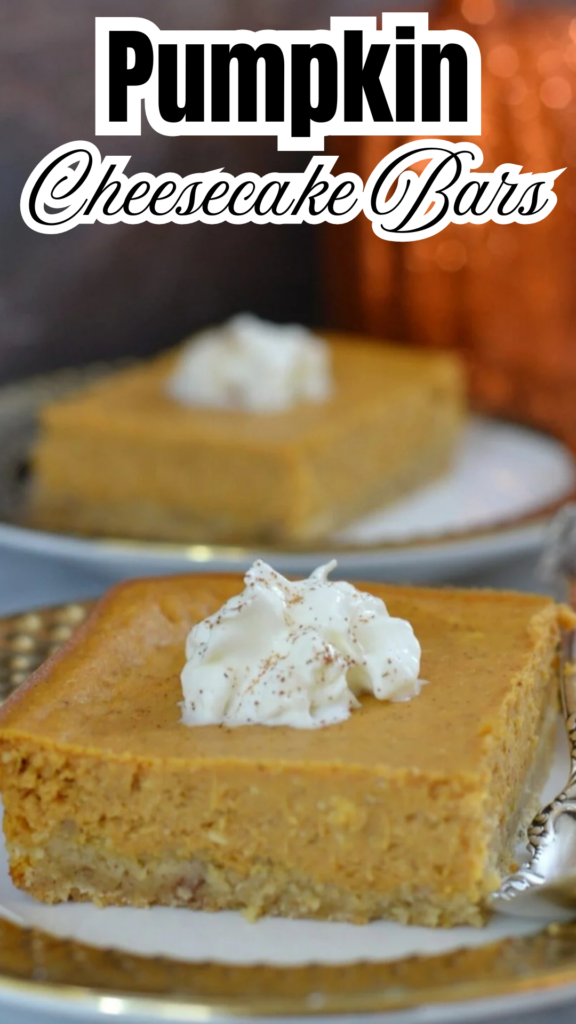
Watch this video for no fail results

Pumpkin Cheesecake Bars
Ingredients
- 16 oz pkg Pound Cake Mix
- 3 Eggs
- 2 TBSP Butter, melted & slightly cooled
- 4 TSP Pumpkin Pie Spice
- 8 oz pkg Cream Cheese, Softened
- 14 oz Can Sweetened Condensed Milk
- 15 oz Can Pumpkin
- 1/2 TSP Salt
Instructions
- Preheat oven to 350 degrees.
- In large bowl, combine dry cake mix, 1 egg, butter and 2 TSP of pumpkin pie spice. Mix together with fingers until crumbly.
- Press dough into a greased 15 x 10 pan or (2) 8 x 8 pans.
- In another bowl, beat cream cheese until fluffy.
- Beat in condensed milk, pumkpin, salt, 2 eggs & 2 TSP of pumpkin spice. Mix well.
- Spread over crust. Bake for 30-40 minutes. Cool in refrigerator before cutting.
Notes
Adapted from Brownie & Bar Recipes
I’m Melissa, the imaginative force behind Sparkles to Sprinkles, where creativity comes to life, and sprinkles of joy are scattered generously. Melissa is a proud Jersey girl who found love with a New York boy. As a mom to four wonderful boys and a few fur babies, her journey into the world of blogging began after making the life-changing decision to stay home and raise her children. Previously a dedicated workaholic, Melissa’s blog became her creative outlet and passion project. Inspired by her mother-in-law, a masterful cook renowned for her delicious home-cooked meals and legendary holiday feasts (think mouthwatering sausage stuffing), Melissa honed her culinary skills through a combination of family recipes and countless cooking classes. She often attended these classes with her son Michael, who shared her enthusiasm for cooking from a young age. Melissa’s love for learning extends beyond familiar cuisines, as she enjoys exploring international recipes in hands-on cooking classes. Her blog features a diverse array of recipes, showcasing her expertise with various kitchen appliances such as the Instant Pot, air fryer, Slow Cooker, Ninja Foodi, Instant Vortex Plus, and more. Join Melissa on her culinary adventures as she shares tried-and-true family favorites alongside exciting new discoveries!



One Comment