
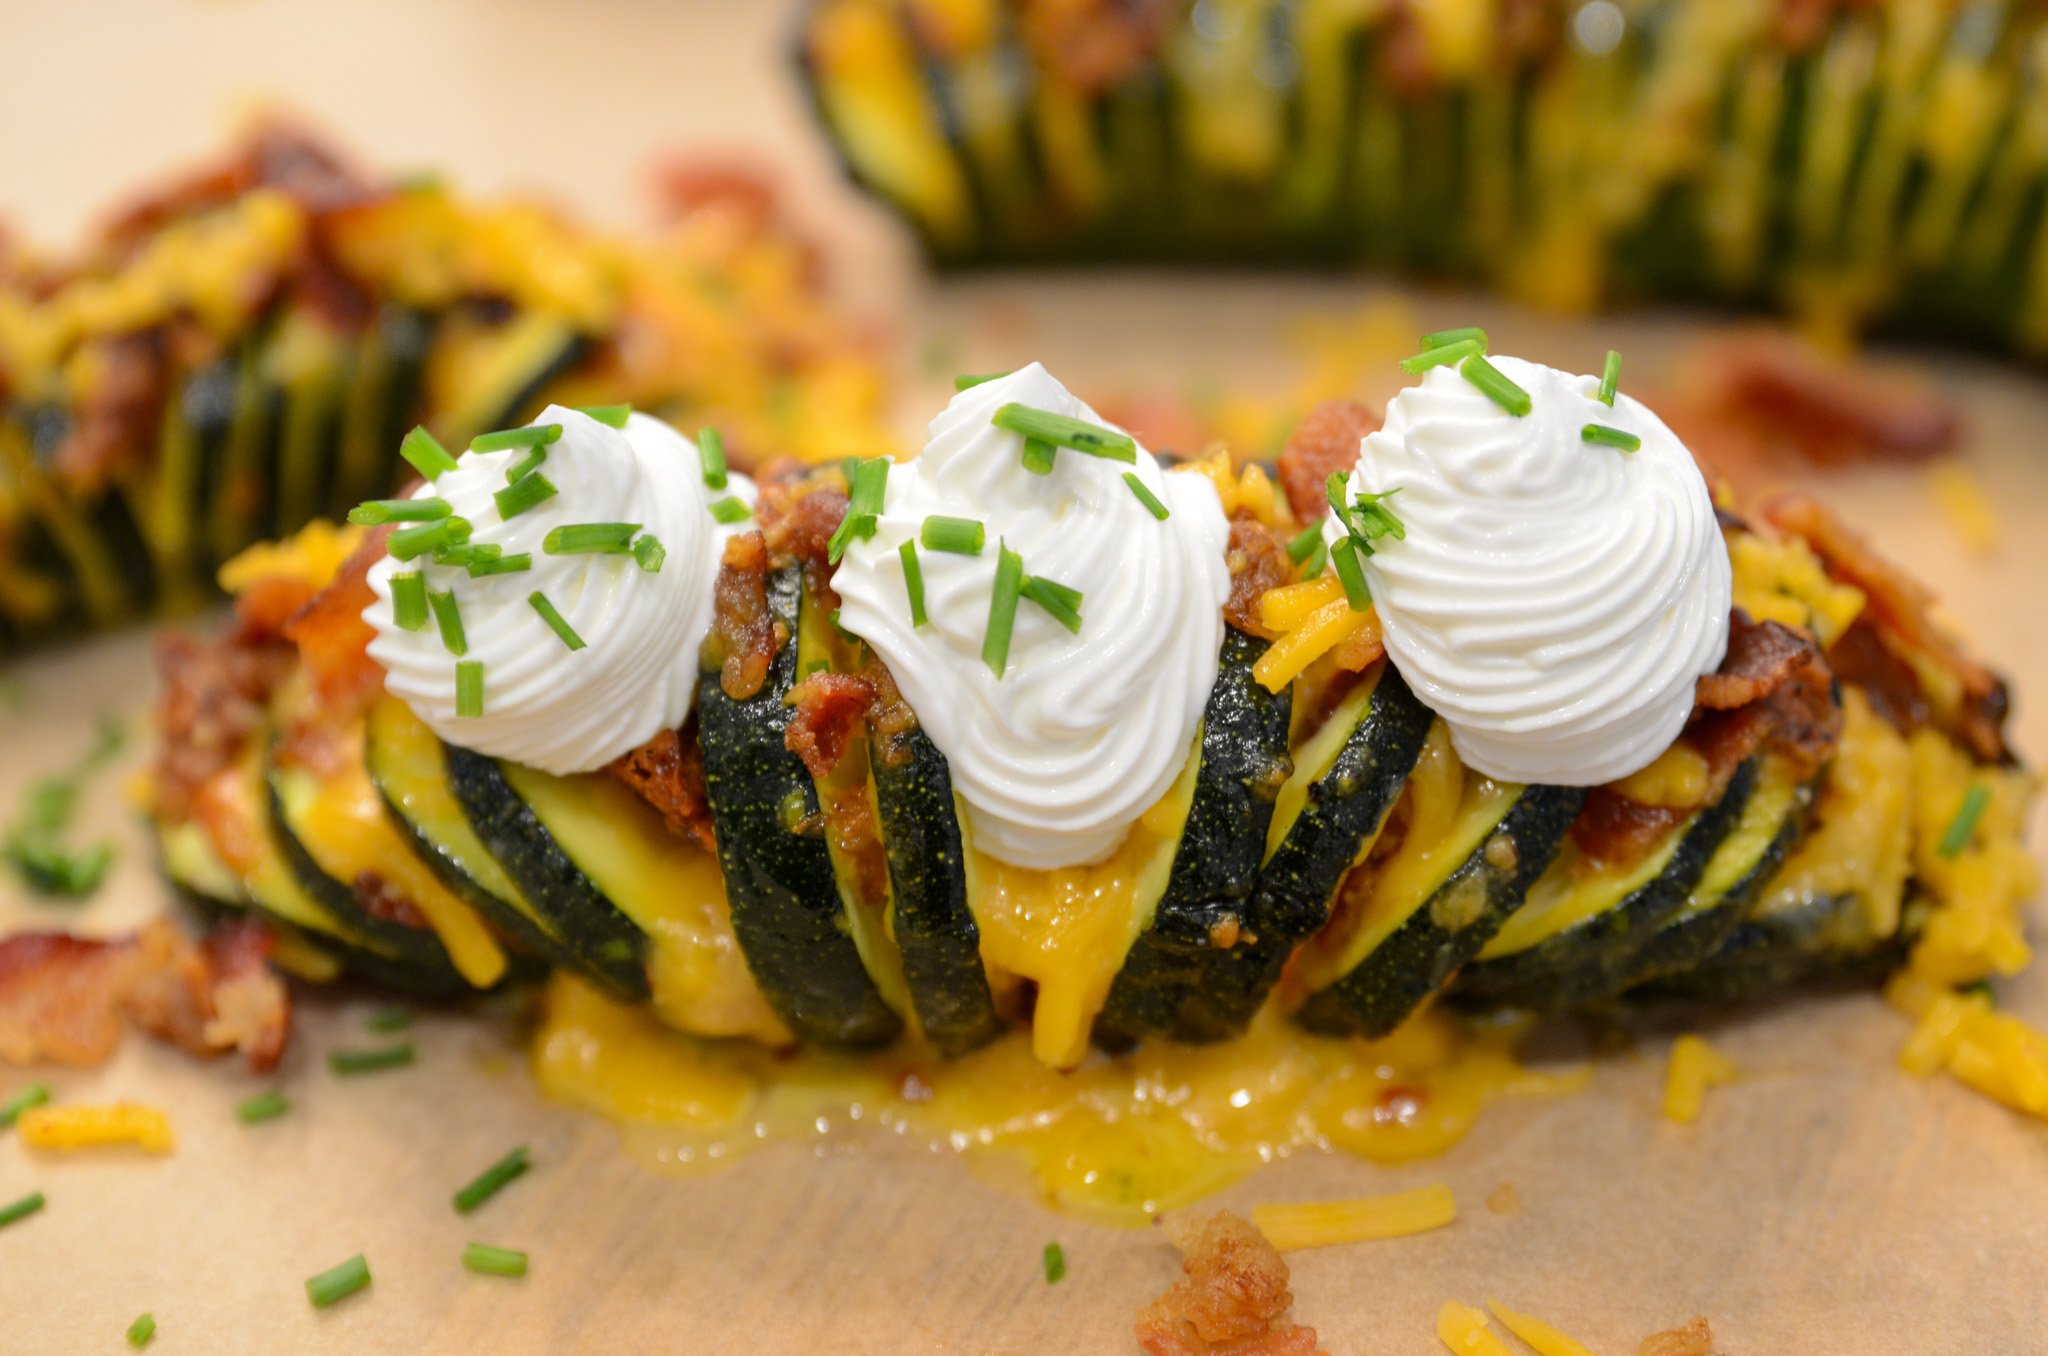
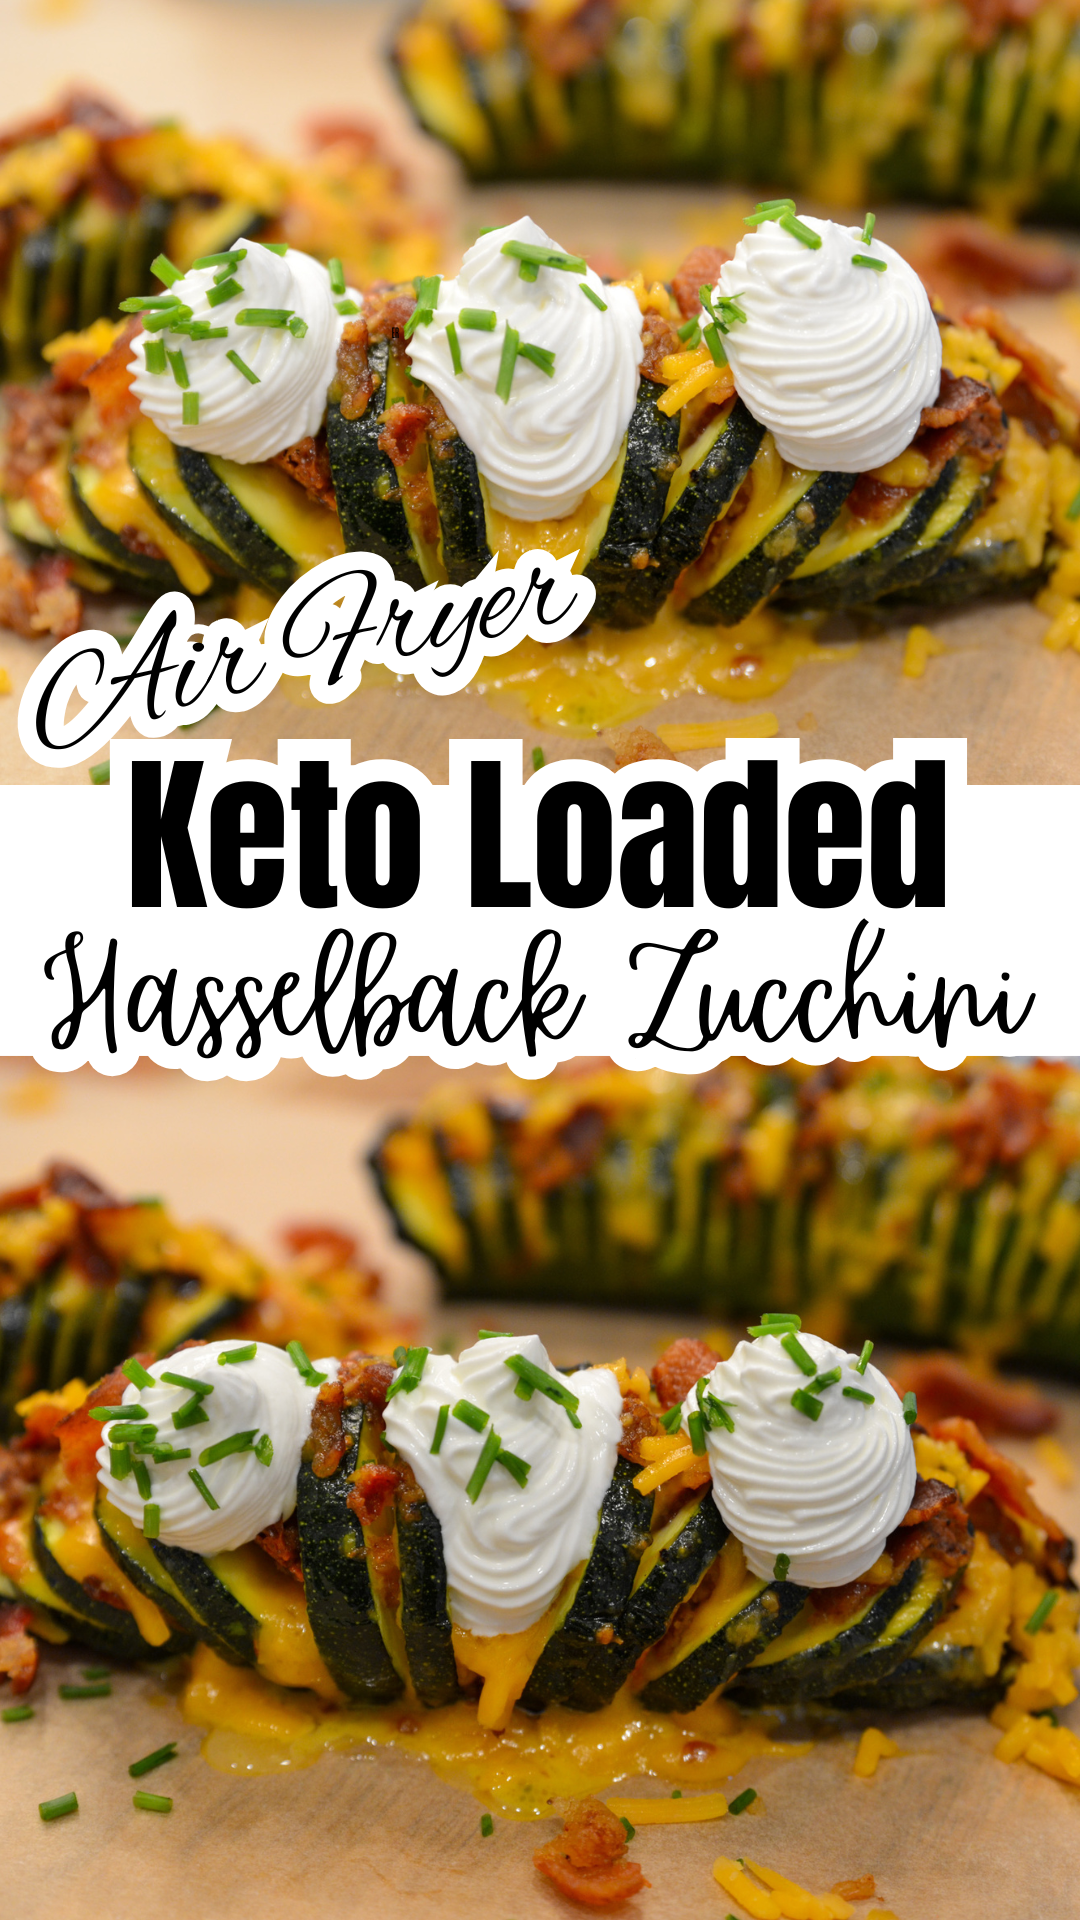
Keto Hasselback Zucchini with Bacon and Cheese
If you’re looking for an easy low-carb side dish that feels more exciting than just another pile of roasted veggies, this air fryer keto loaded hasselback zucchini is for you. It’s cheesy, savory, and crispy in all the right places with a golden finish that’s hard to resist. Every bite is packed with melted cheddar, crunchy bacon, and tender zucchini—all done right in the air fryer.
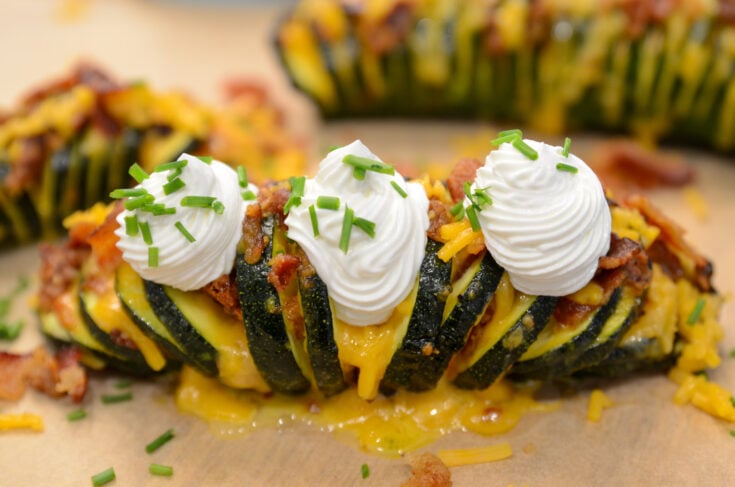
Air Fryer Keto Loaded Hasselback Zucchini
This recipe is perfect alongside grilled meats or other keto air fryer favorites. It’s also a great way to use up garden zucchini during the summer. If you’re a fan of low-carb comfort food, you’ll want to check out more [easy keto vegetable sides] and [quick air fryer recipes] that pair well with this one.
The best part is how simple it is. The hasselback technique looks impressive but only takes a minute to do. The air fryer crisps the edges perfectly while keeping the inside tender. It’s a weeknight winner that looks like it took a lot more effort than it actually did.
What You Will Love About This Recipe
It’s keto friendly and naturally low carb
Packed with melty cheese and savory bacon
Quick cook time using the air fryer
No oven needed—great for warm days
Looks fancy enough to serve for company but simple enough for every day
How To Make
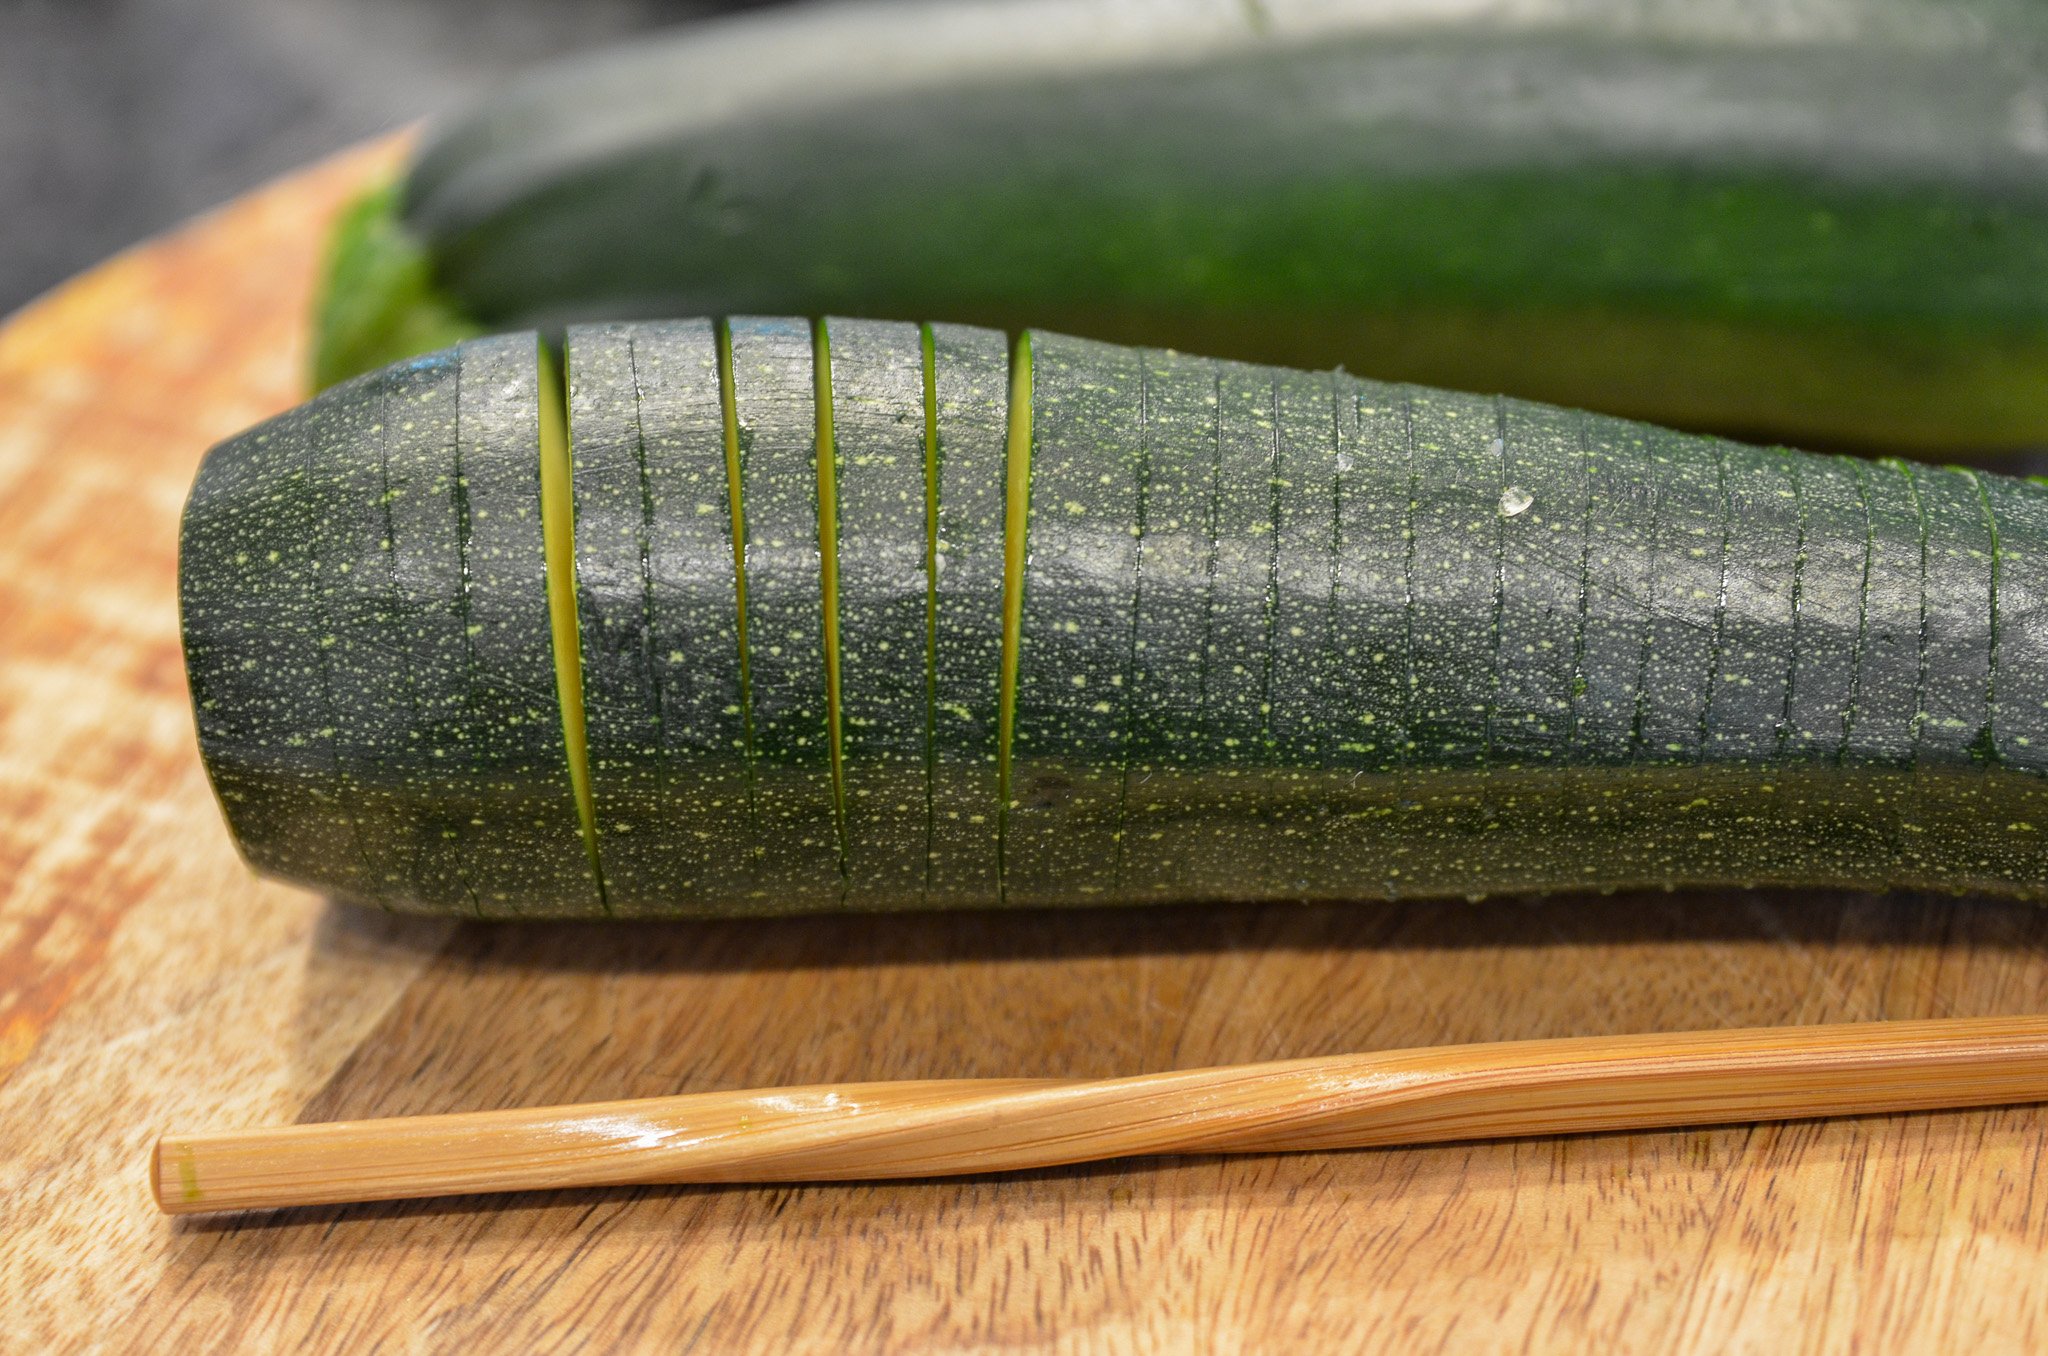
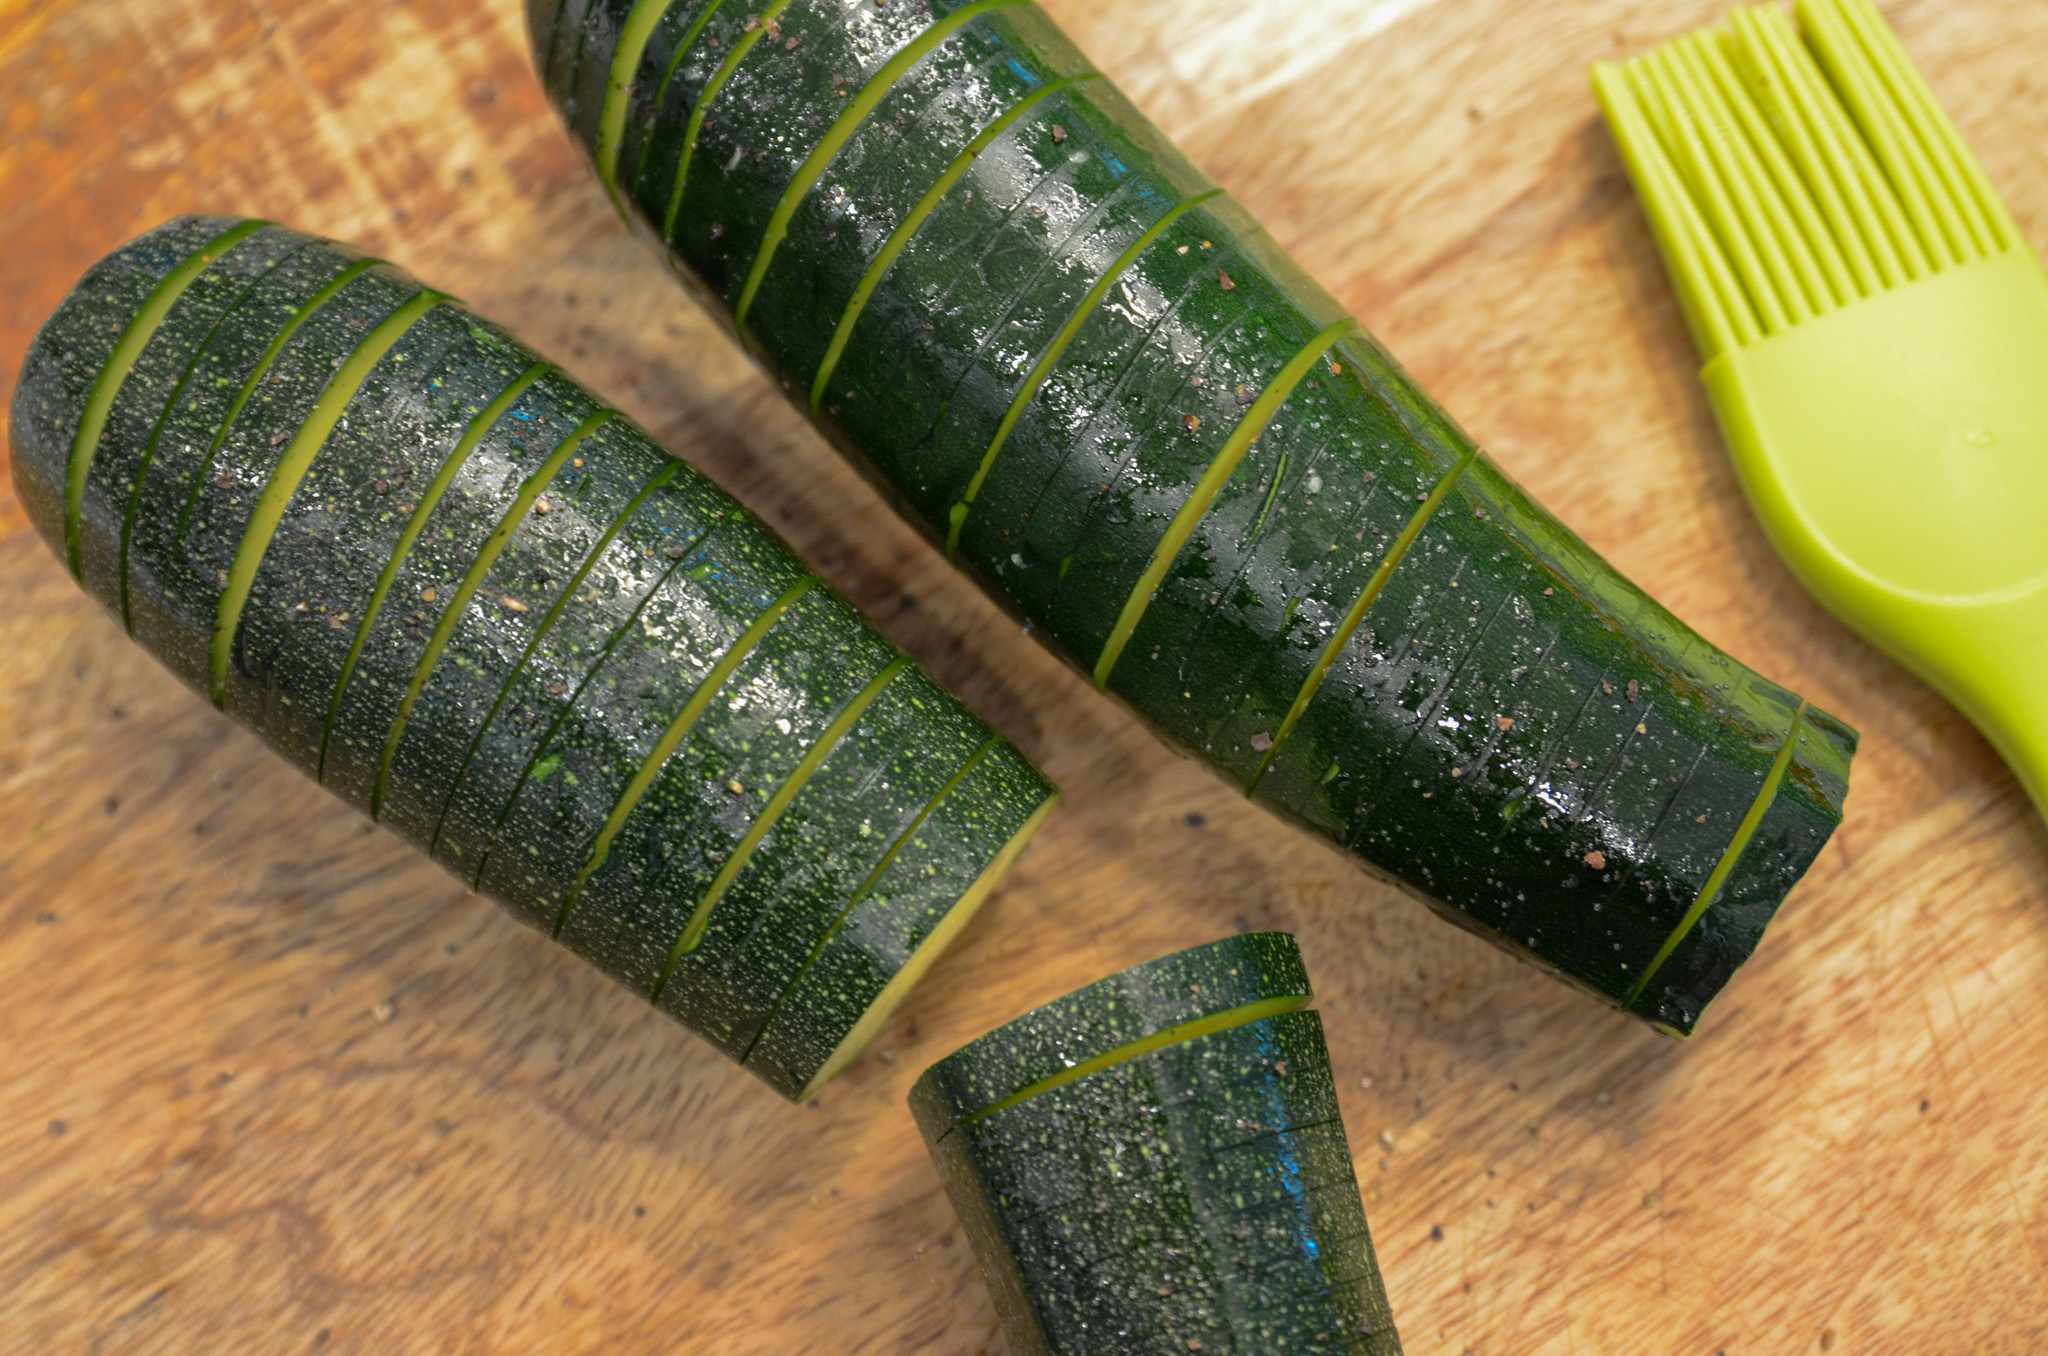
Step 1: Start by washing and drying your zucchini. Then you will cut your zucchini in thin slices, not fully cutting all the way through. Making it a Hasselback style. I used chopsticks to help ensure I didn’t cut through.
Step 2: Massage zucchini in olive oil and salt and pepper in between each slice. You can use the chopstick to push open slots to get in there.
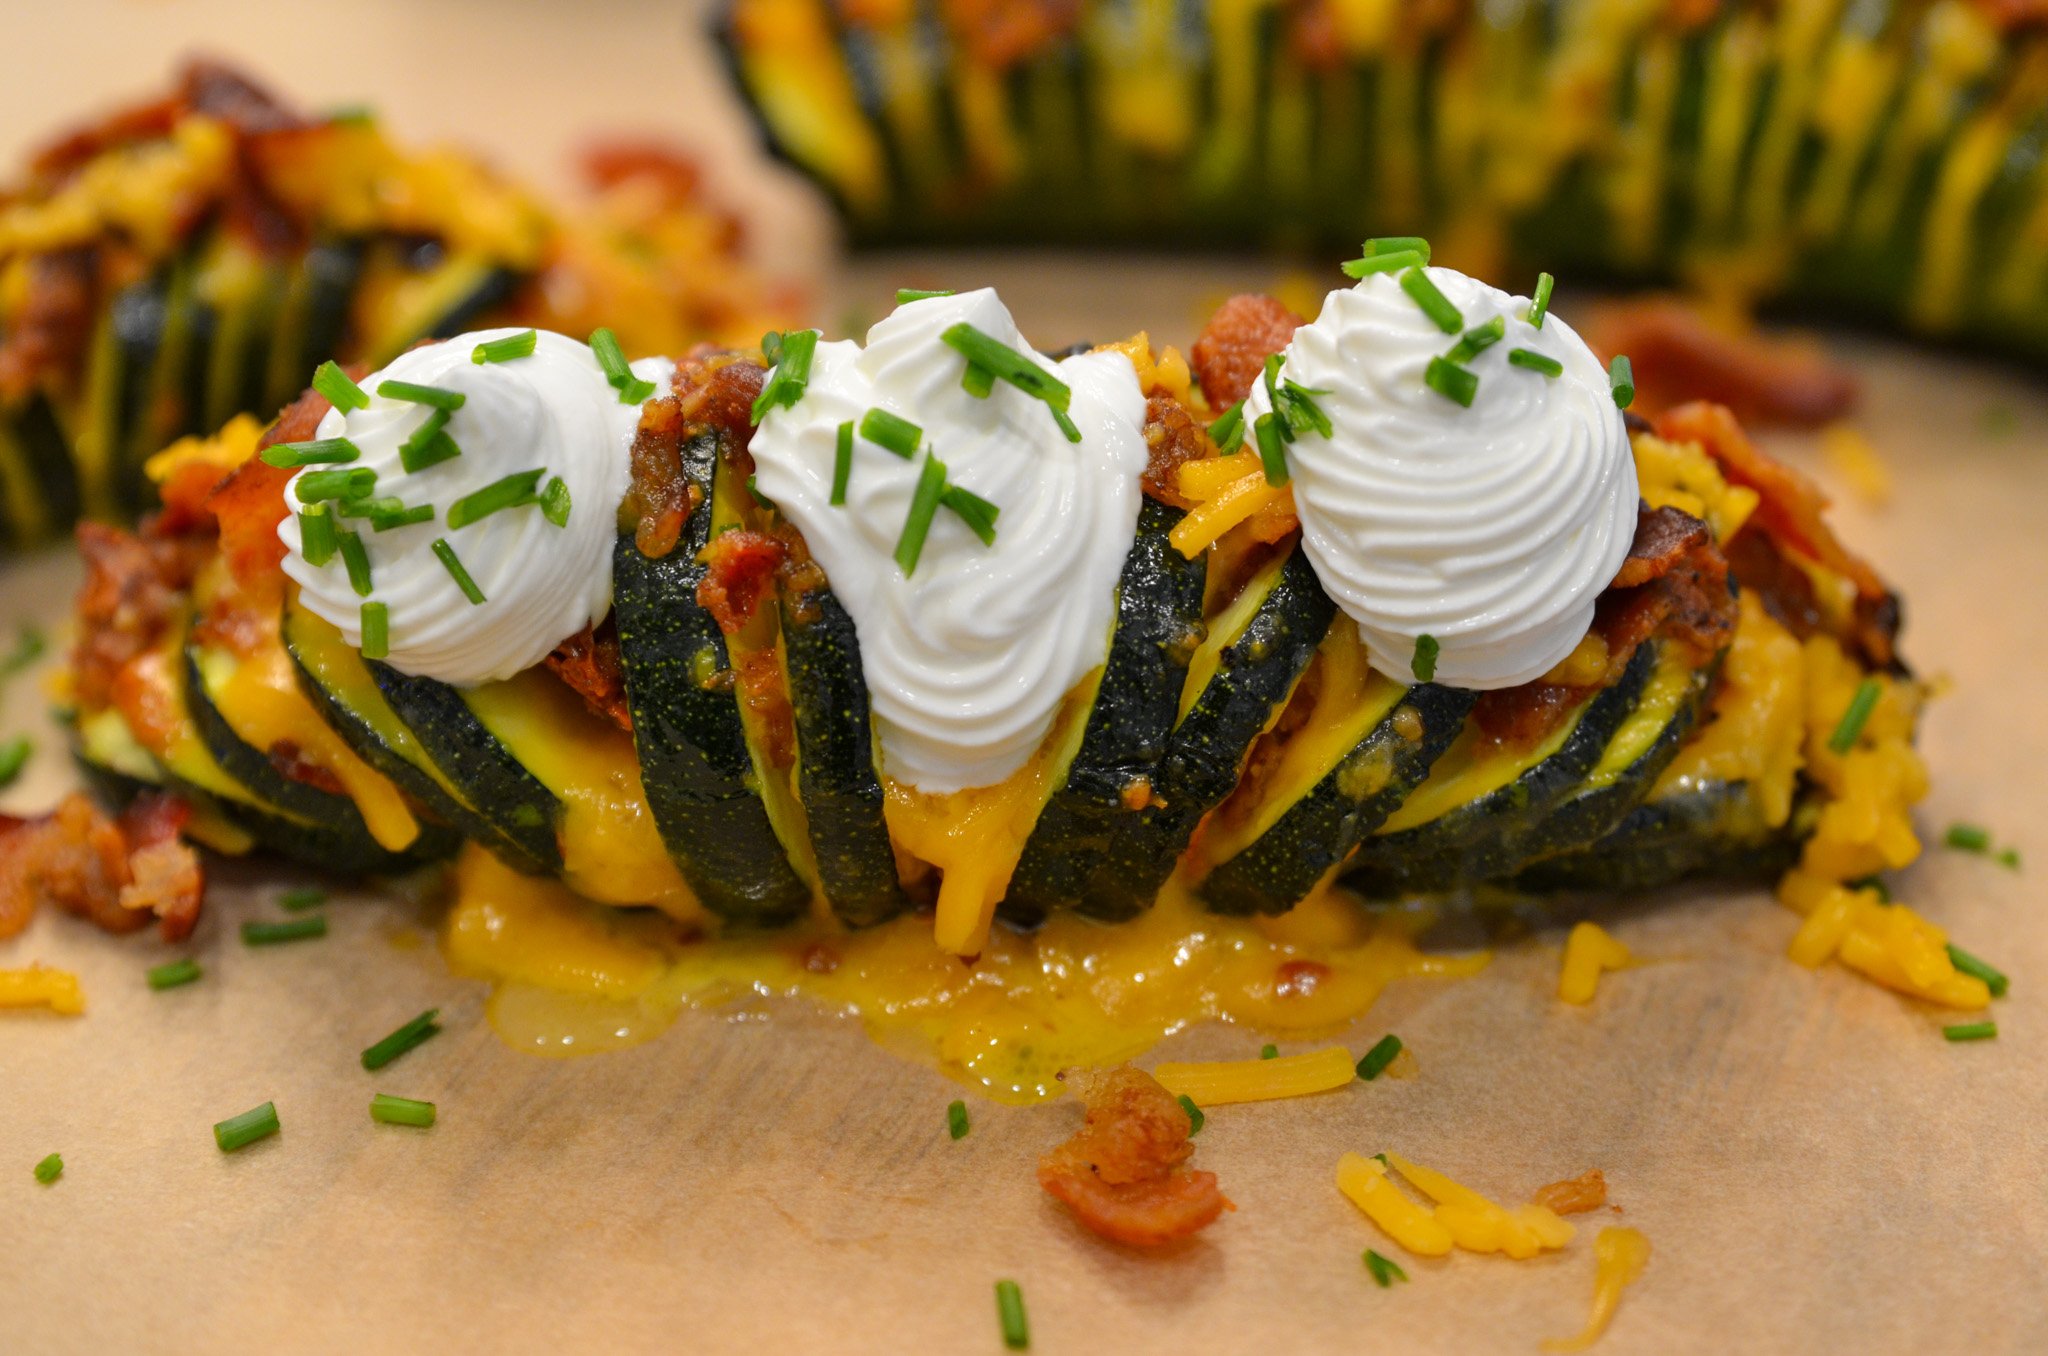
Step 3: Then place zucchini in the air fryer at 400 degrees and cook for 10 minutes. At that time remove your zucchini and then place the crumbled bacon and shredded cheese on the zucchini. You can use the chopstick to push open slots to get in there.

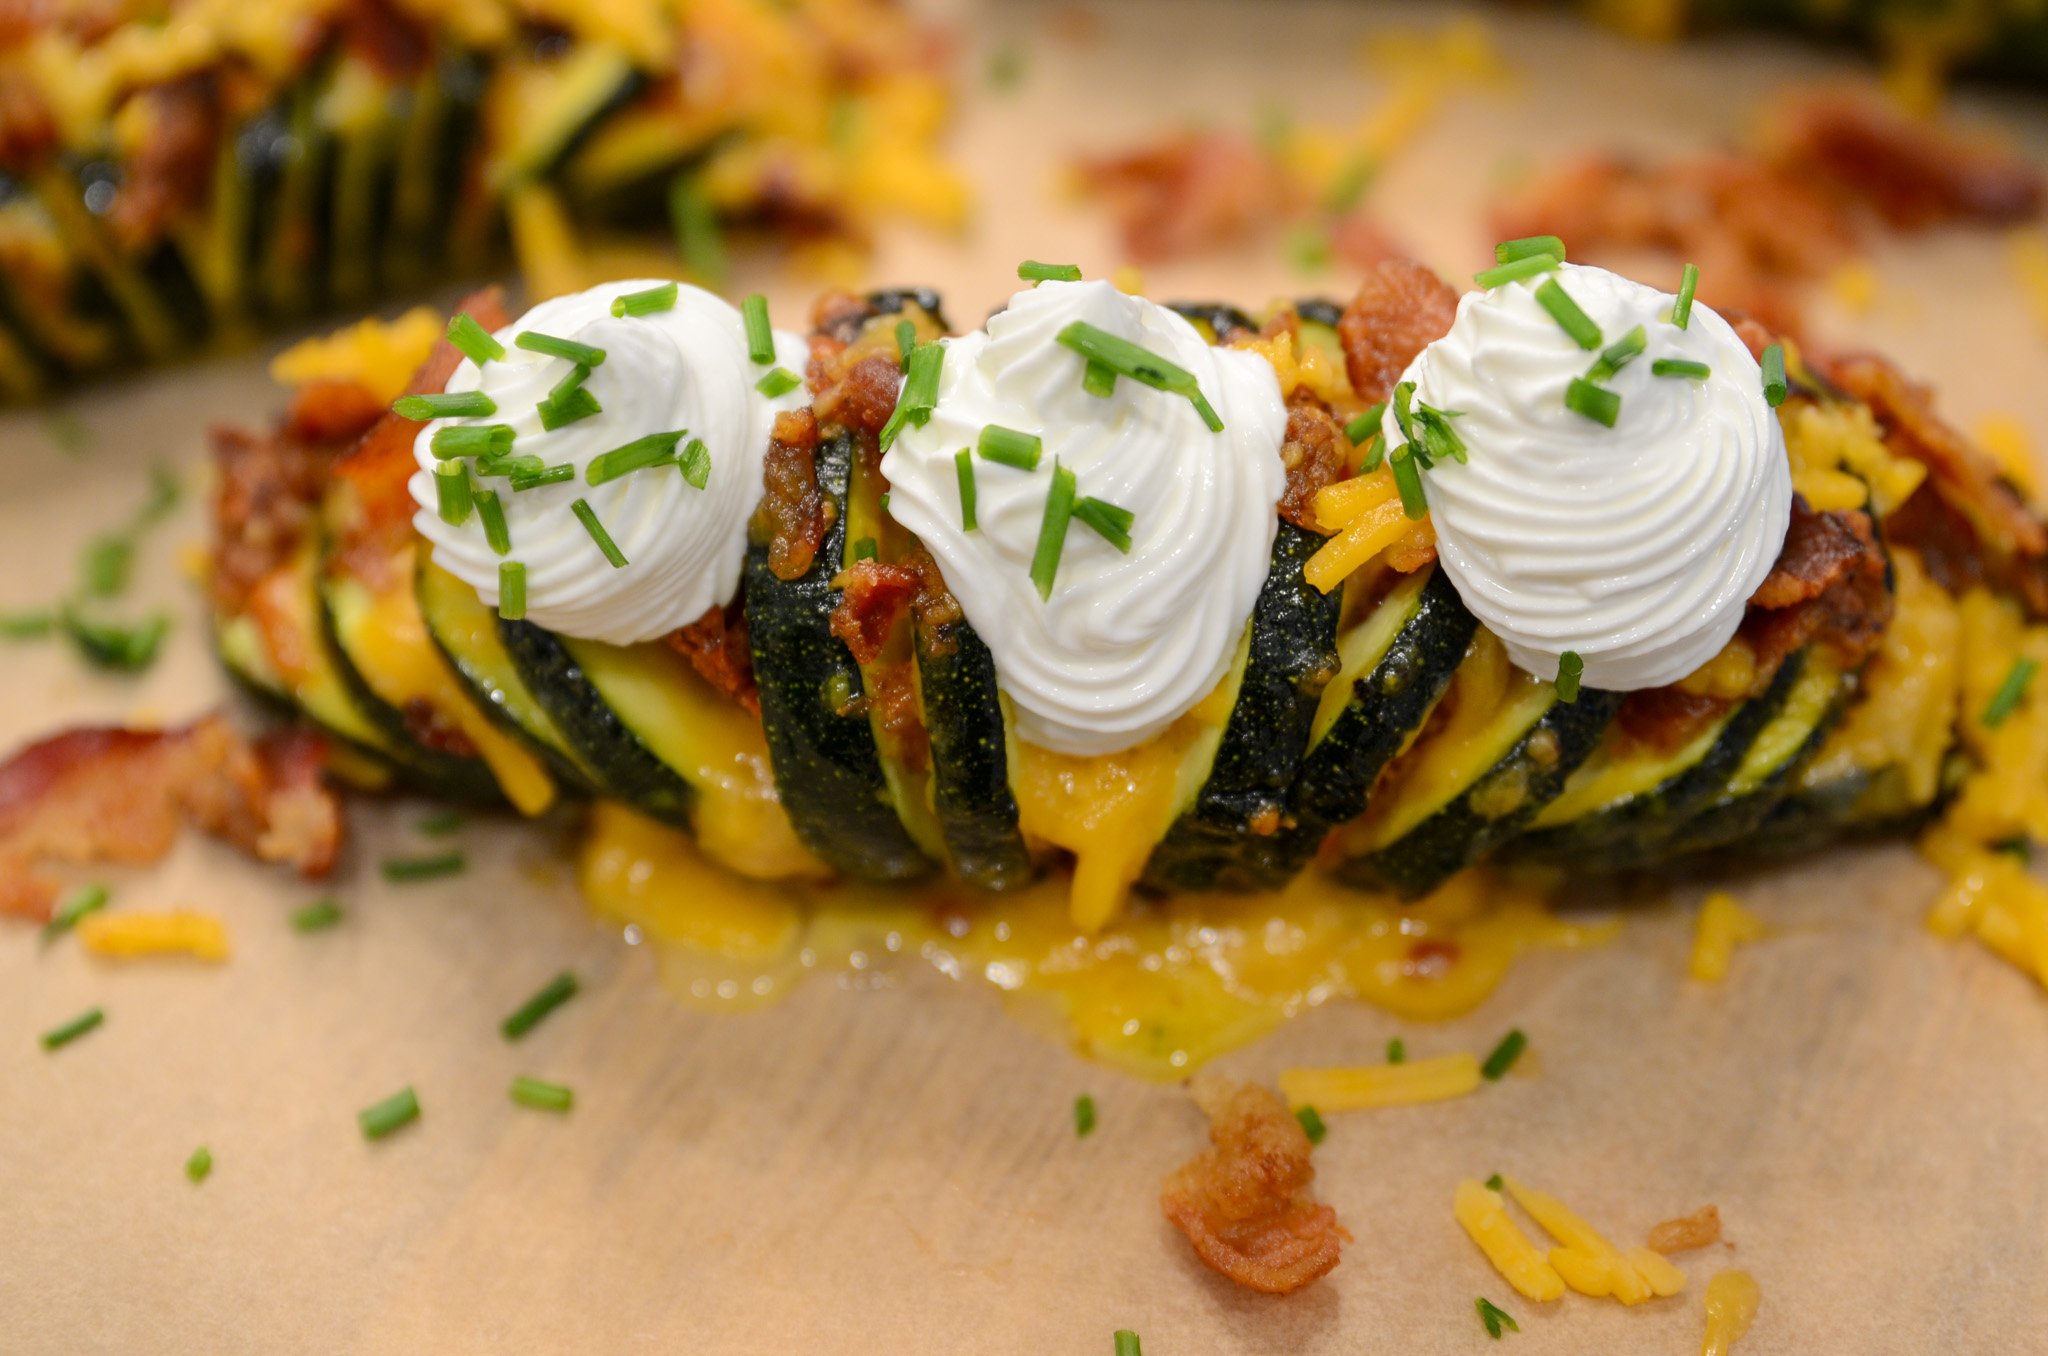
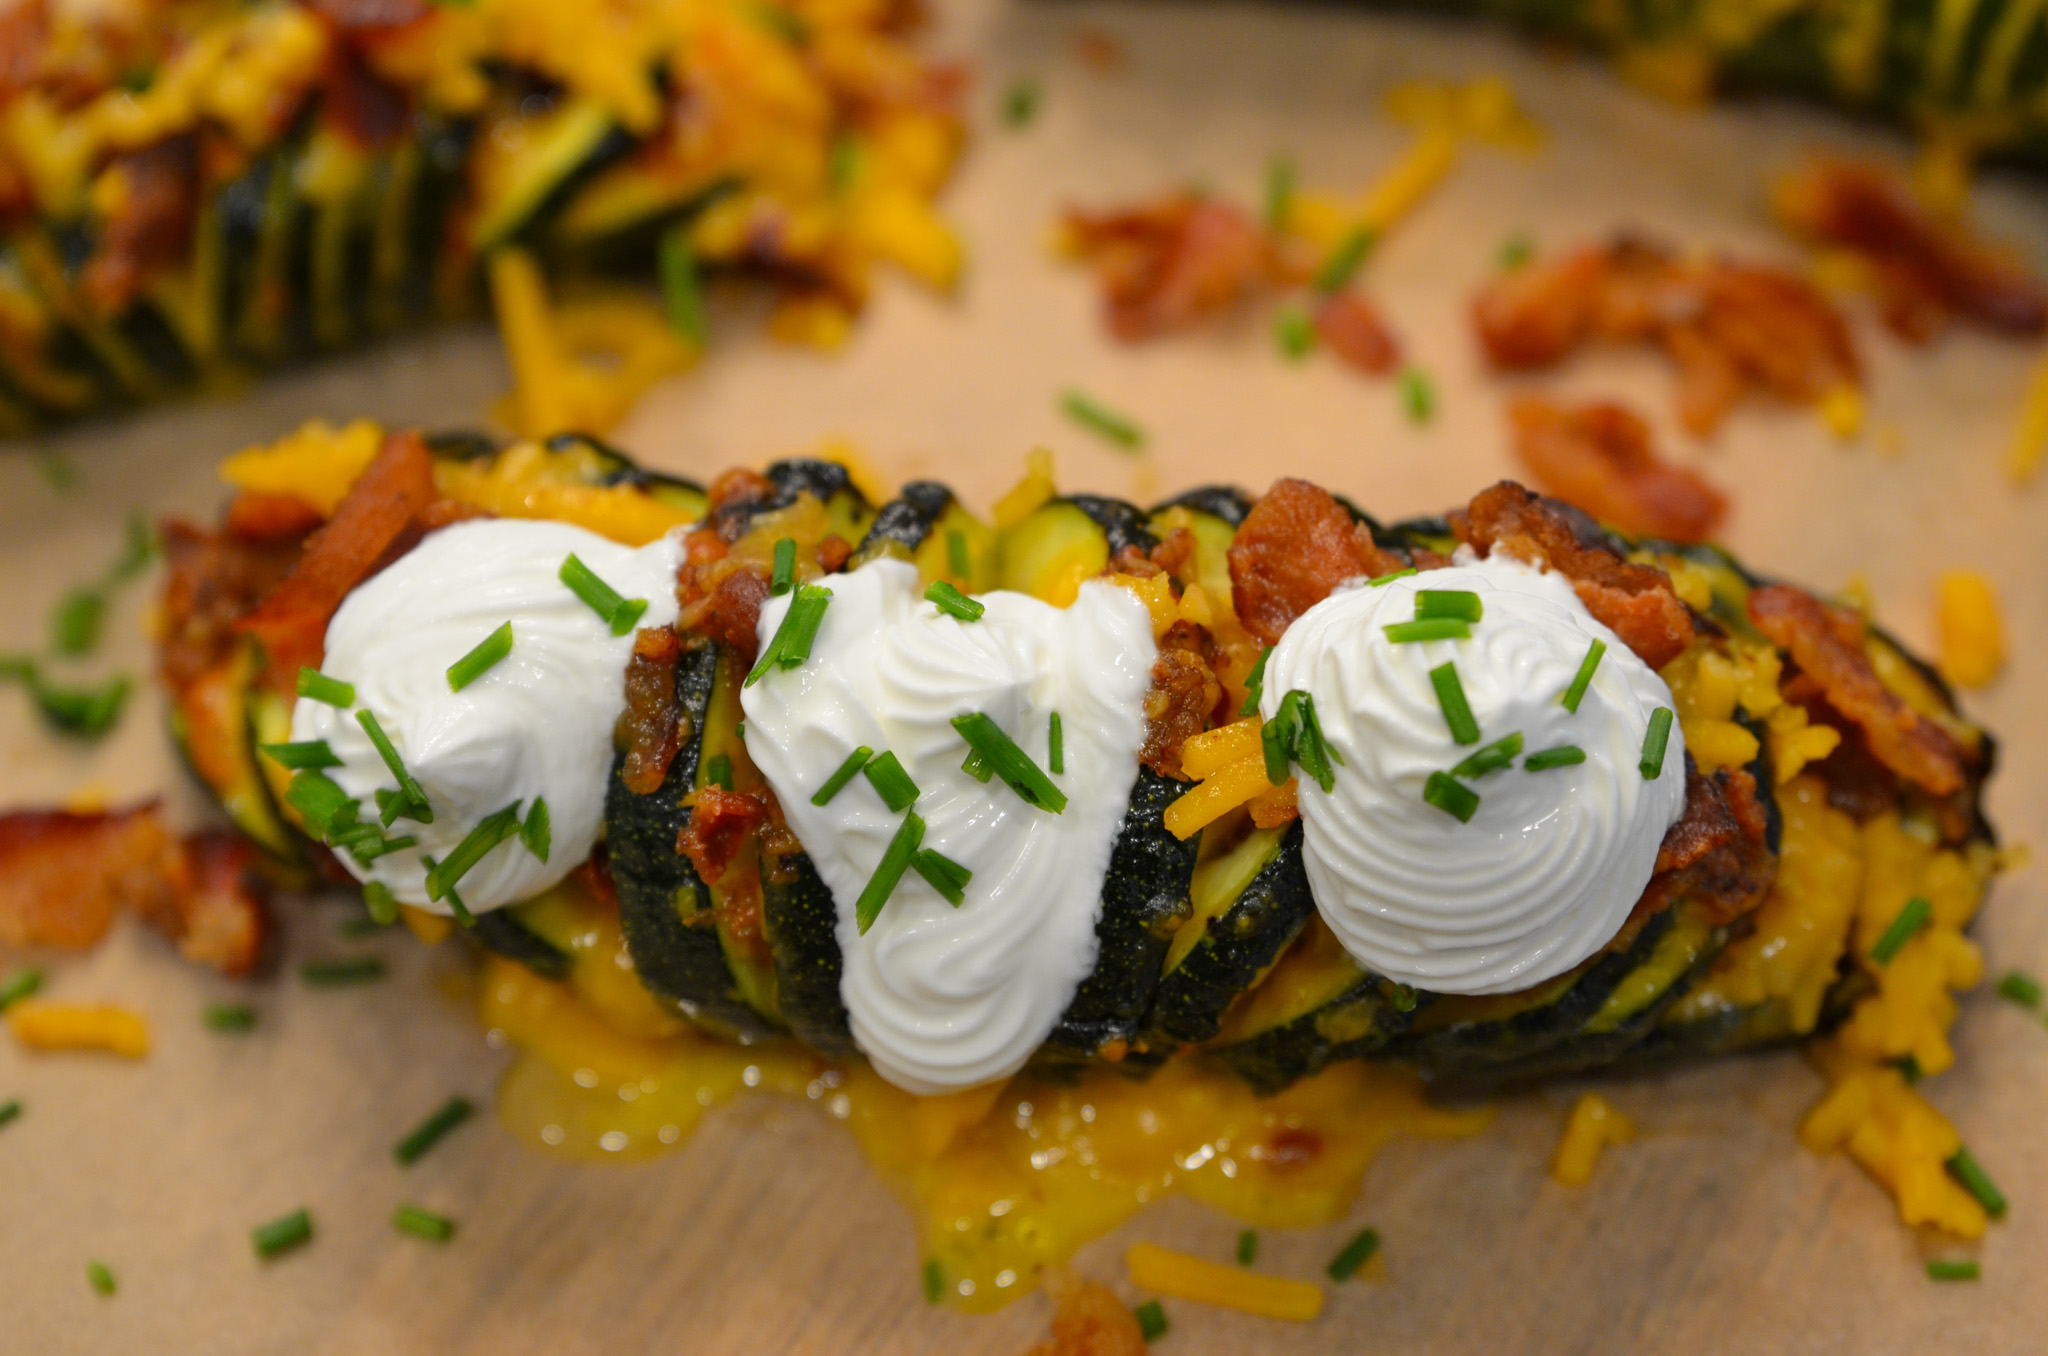
Step 4: Return loaded zucchini back into the air fryer and cook for another 10 minutes or so. Remove and serve!
How To Serve Up Zucchini
- Top with sour cream
- Use Greek Plain Yogurt to top
- Fresh Chives
- Drizzle on some hot sauce
- Salsa
- Eat plain
- Etc

Tips & Tricks
- Place chopsticks or wooden spoons on each side of the zucchini to help guide your knife and keep from slicing all the way through
- Massage the olive oil, salt, and pepper into the slices so the flavor gets into every bite
- Use thick shredded cheddar for the best melt and flavor
- Air fry times can vary slightly—check on your zucchini toward the end so your cheese doesn’t overcook
- These are best served hot, but you can reheat them in the air fryer to keep the texture
FAQs
Air Fryer Keto Loaded Hasselback Zucchini
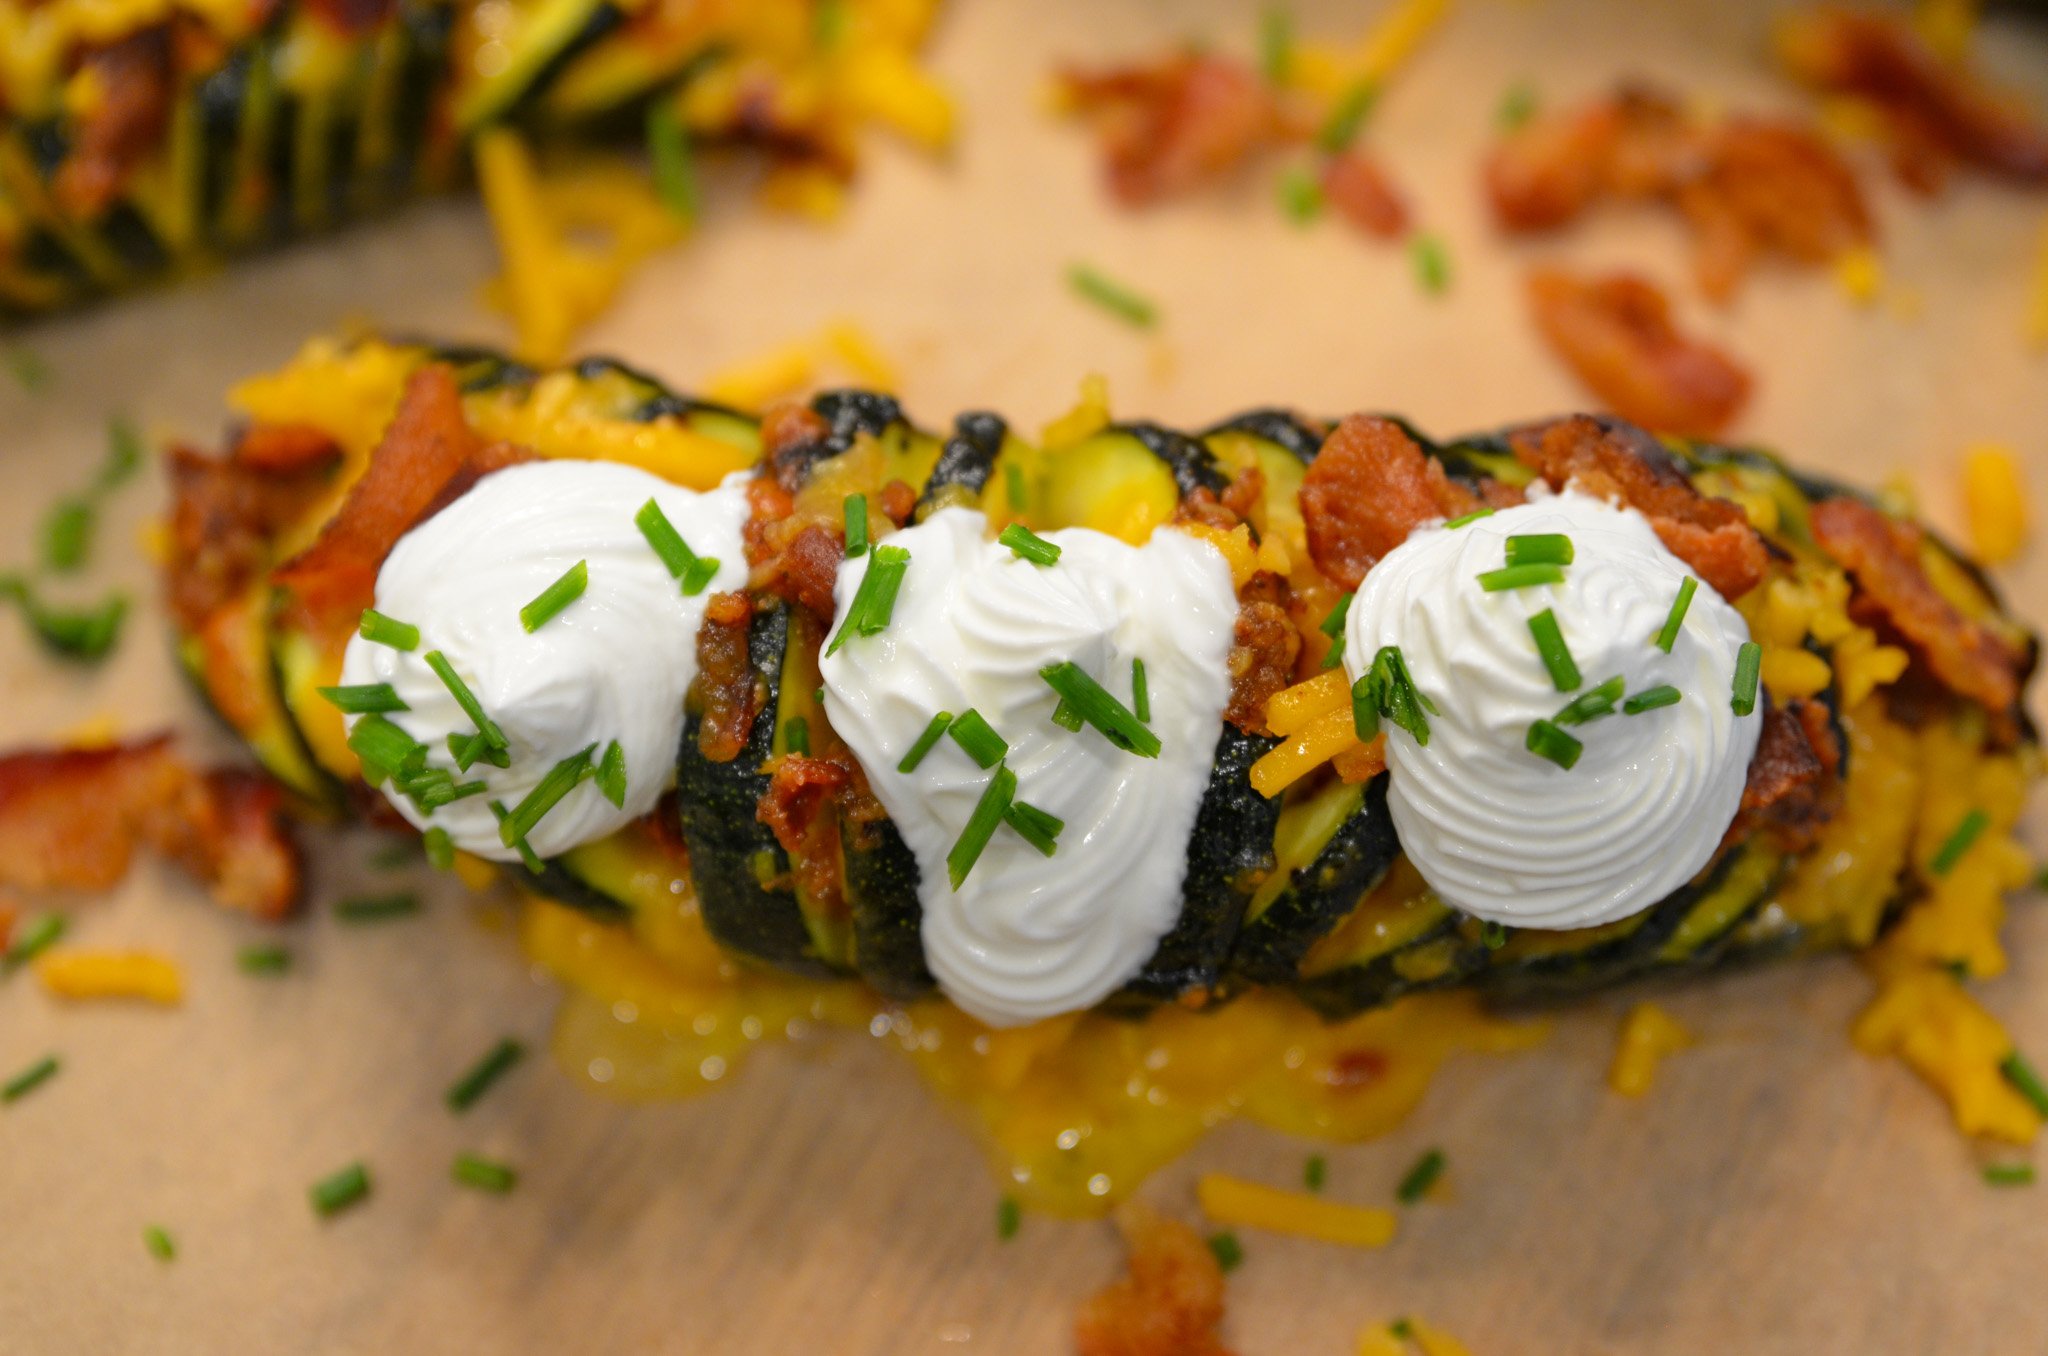
Air Fryer Keto Loaded Hasselback Zucchini is one incredible and savory way to use up zucchini from your garden. Bacon and cheese collide in this zucchini air fryer recipe.
Ingredients
- 3 Medium Zucchini
- 4 Slices Bacon, crumbled
- 2 Cups Shredded Cheddar Cheese
- 1 TBSP Olive Oil
- 1/4 Sour Cream (optional)
- Chives (optional)
Instructions
- Cut the ends of the zucchini off.
- Place a chop stick, or something of similar size/height, next t your zucchini and use it to prevent your knife from cutting completely through.
- Brush with olive oil. Season with salt & pepper. Massage a bit in between your slices helping the olive oil, salt and pepper to get in between.
- Preheat your air fryer to 400 degrees.
- Cook for 10 minutes. Remove from the air fryer carefully since your zucchini will be hot.
- Gently stuff (your chop stick will come in handy again, use your chopstick to gently open the slices) with shredded cheese and bacon crumbles.
- Place back in the air fryer and air fry for an additional 10 minutes.
- Remove from the air fryer, top with sour cream and chives.
Notes
*OVEN DIRECTIONS:
Preheat oven to 400 degrees. Line a baking sheet with foil. Prepare the zucchini as stated above. Bake for 15 minutes, remove from the oven. Stuff as stated above. Put back in the oven and bake for an additional 5-10 minutes until the cheese is completely melted.
Nutrition Information:
Yield:
3Serving Size:
1Amount Per Serving: Calories: 451Total Fat: 36gSaturated Fat: 17gTrans Fat: 1gUnsaturated Fat: 16gCholesterol: 90mgSodium: 757mgCarbohydrates: 9gFiber: 2gSugar: 4gProtein: 25g
I’m Melissa, the imaginative force behind Sparkles to Sprinkles, where creativity comes to life, and sprinkles of joy are scattered generously. Melissa is a proud Jersey girl who found love with a New York boy. As a mom to four wonderful boys and a few fur babies, her journey into the world of blogging began after making the life-changing decision to stay home and raise her children. Previously a dedicated workaholic, Melissa’s blog became her creative outlet and passion project. Inspired by her mother-in-law, a masterful cook renowned for her delicious home-cooked meals and legendary holiday feasts (think mouthwatering sausage stuffing), Melissa honed her culinary skills through a combination of family recipes and countless cooking classes. She often attended these classes with her son Michael, who shared her enthusiasm for cooking from a young age. Melissa’s love for learning extends beyond familiar cuisines, as she enjoys exploring international recipes in hands-on cooking classes. Her blog features a diverse array of recipes, showcasing her expertise with various kitchen appliances such as the Instant Pot, air fryer, Slow Cooker, Ninja Foodi, Instant Vortex Plus, and more. Join Melissa on her culinary adventures as she shares tried-and-true family favorites alongside exciting new discoveries!


