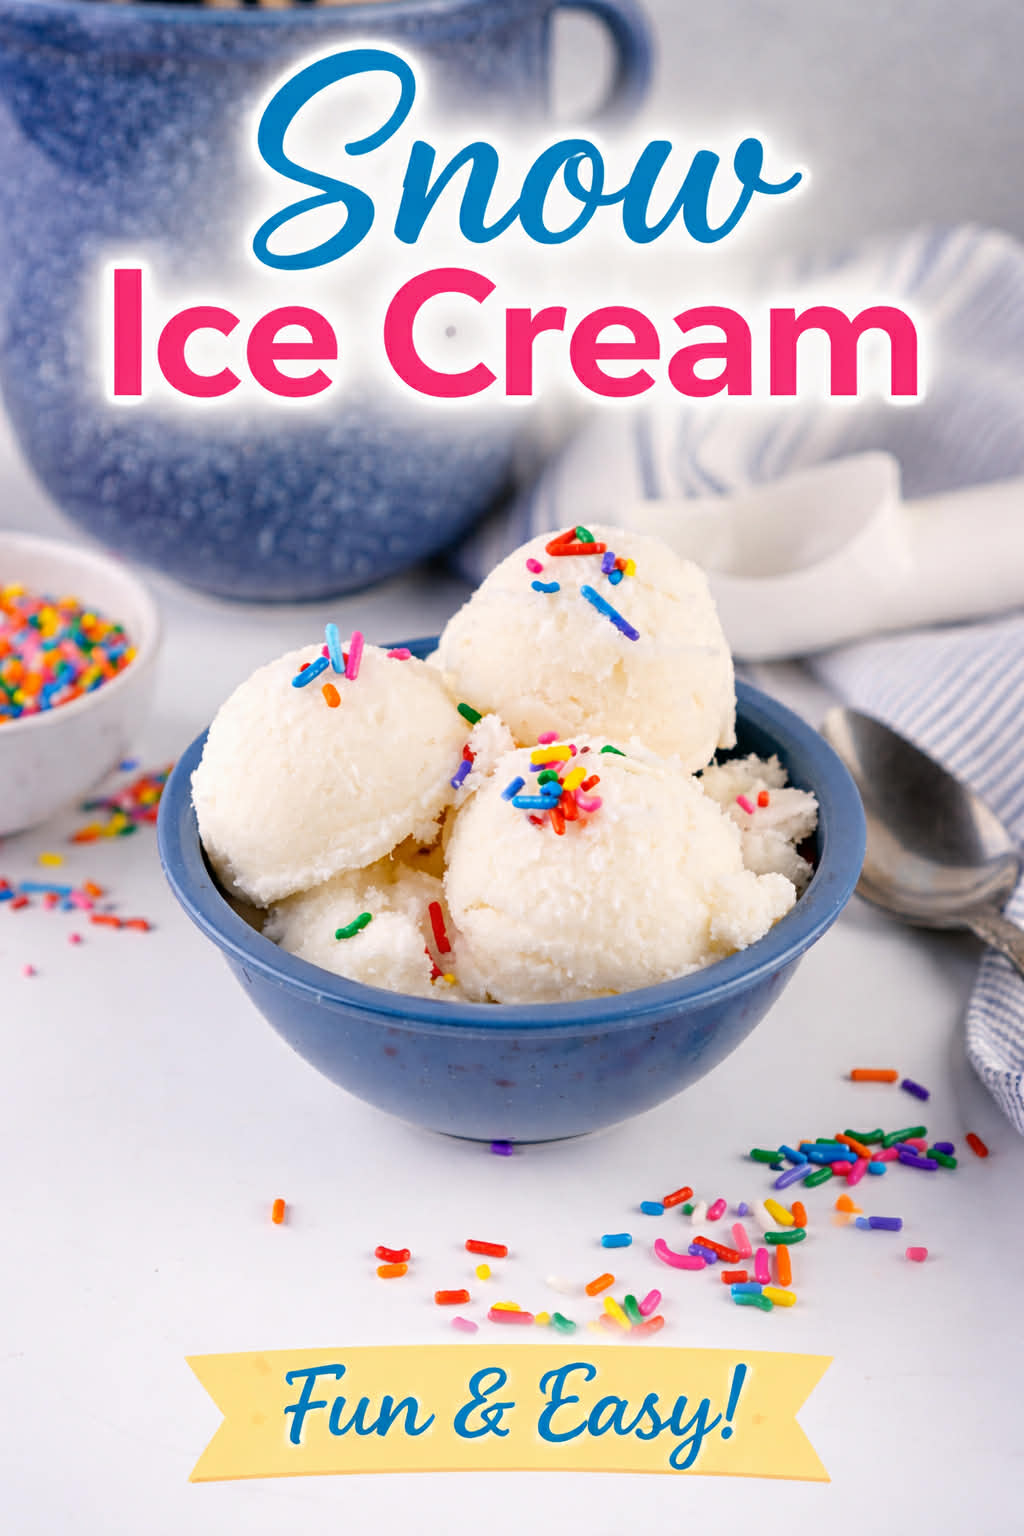
Snow Ice Cream
Snow Ice Cream is one of those simple winter treats that instantly brings back childhood memories. When the snow starts falling and sticking, this classic recipe turns a snowy day into something a little magical. Made with just milk, sugar, vanilla, and fresh clean snow, this old fashioned dessert comes together in minutes and feels just as special today as it did years ago.

Snow Ice Cream
This easy snow ice cream recipe is perfect for snowy afternoons at home and is a fun activity to make with kids or grandkids. If you love nostalgic desserts like this, you might also enjoy linking it with other cozy winter treats such as air fryer mini s’mores, hot chocolate charcuterie board, or crockpot hot chocolate. These kinds of recipes tend to perform especially well during winter storms and snow days when everyone is looking for something fun and comforting to make.
While there are many variations depending on where you grew up, this version is the classic method I had growing up. The combination of milk, sugar, and vanilla mixed with fluffy snow creates a creamy texture that tastes just like a soft serve style ice cream. It is quick, budget friendly, and a great way to make the most out of a fresh snowfall.
What You Will Love About This Recipe
It only takes about five minutes to make from start to finish
Uses simple pantry staples you already have on hand
A fun nostalgic winter activity for kids and adults
No cooking or special equipment required
Easy to customize with different toppings or milk options
Ingredients:
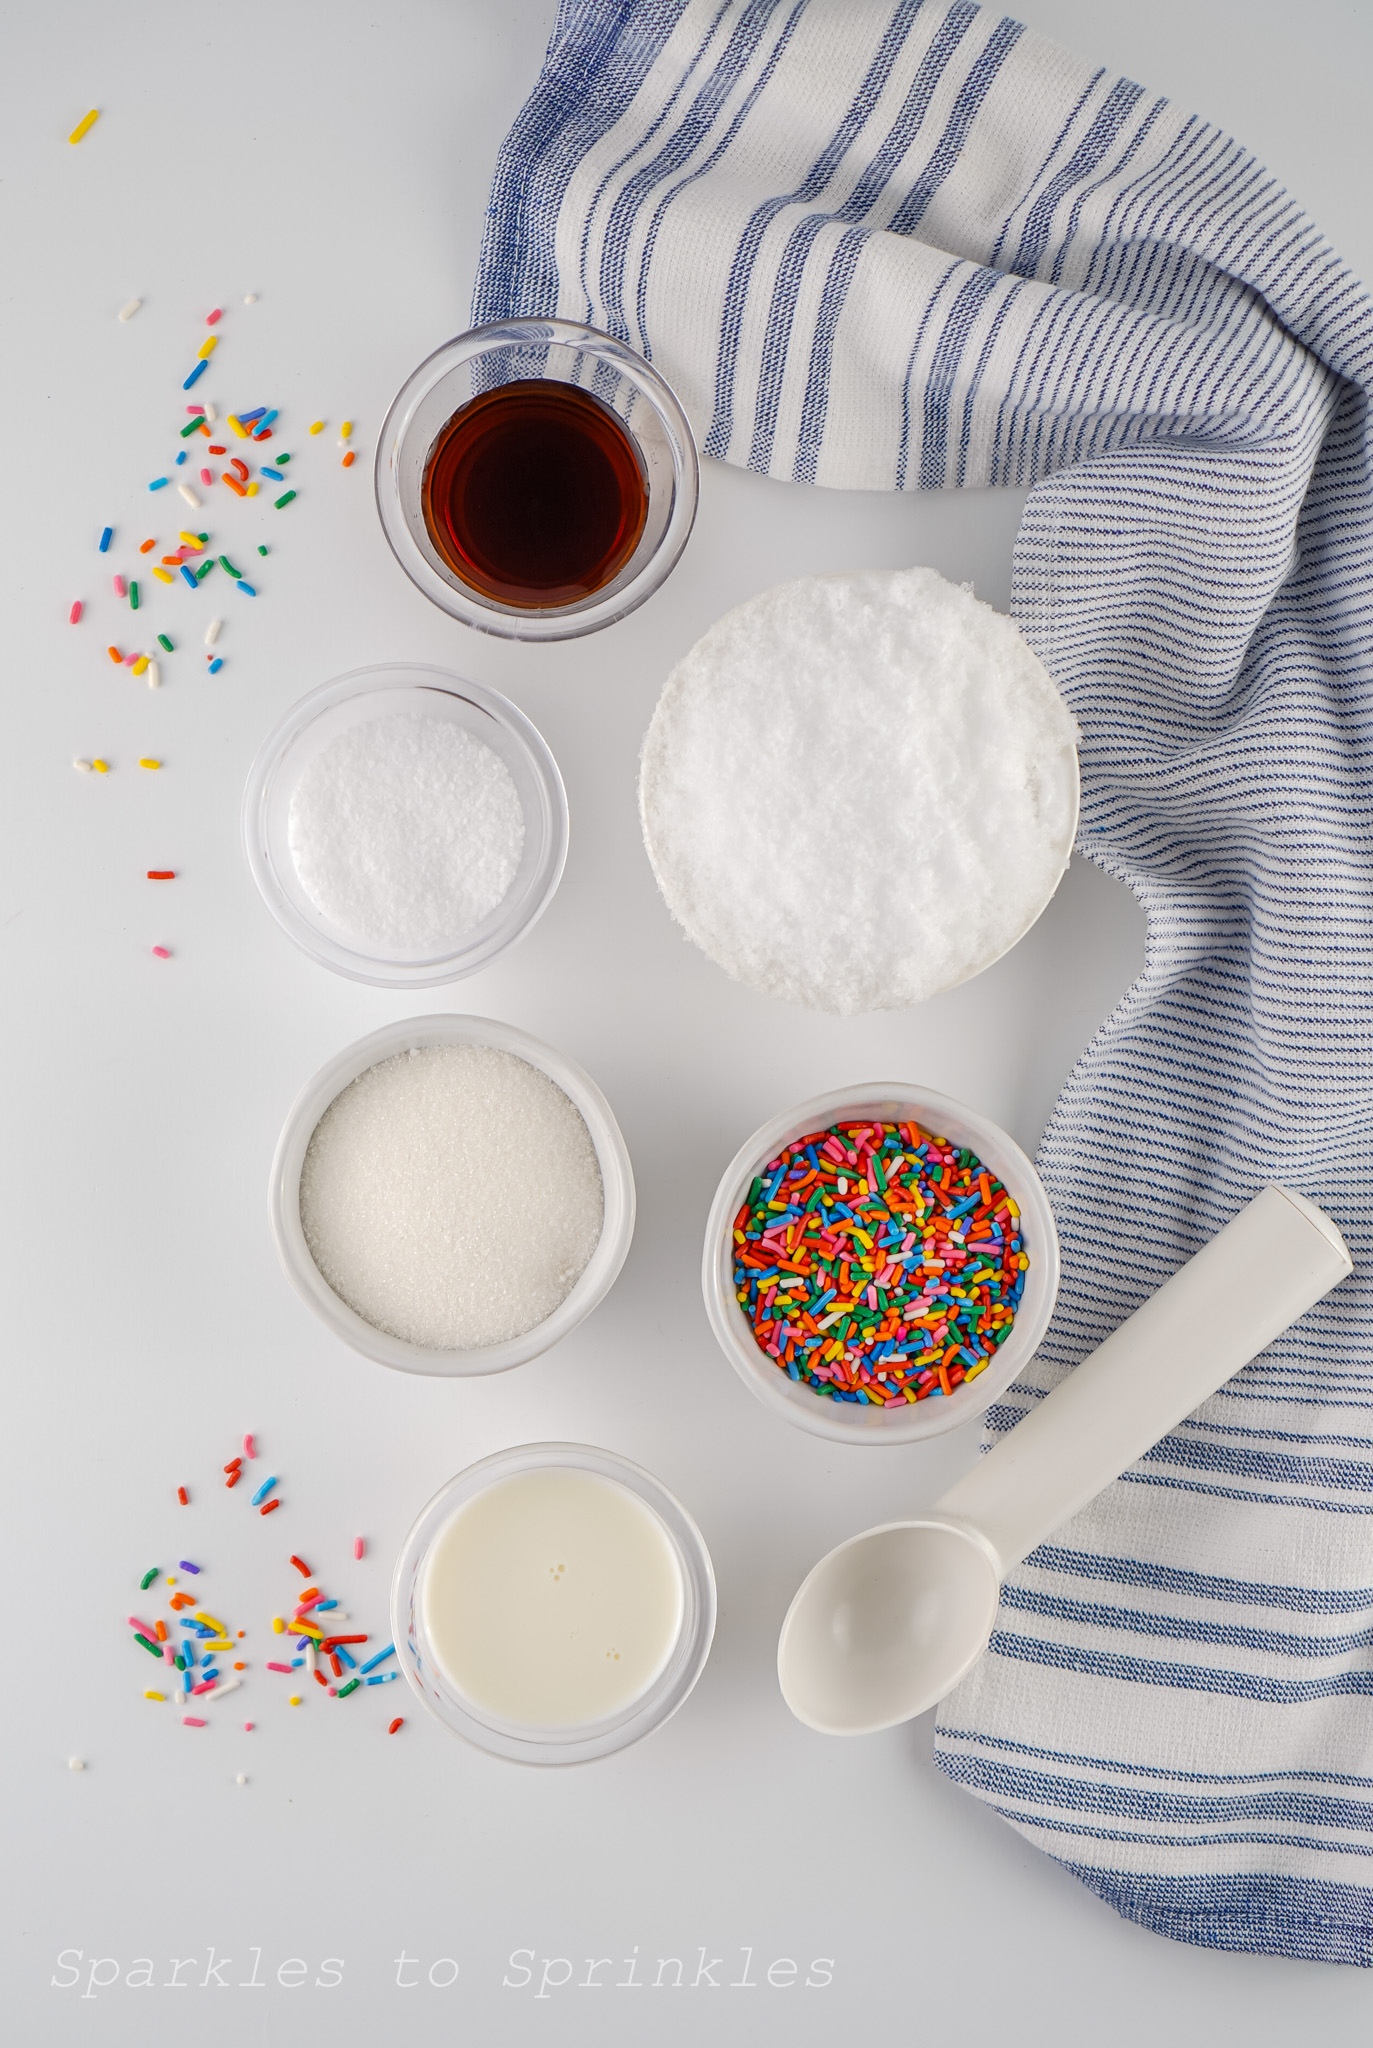
- 6 Cups Fresh Clean Snow
- ⅔ Cup Milk
- 4 Tablespoons White Granulated Sugar
- ½ Tablespoon Vanilla Extract
- 1/8th Teaspoon Salt (optional)
- Rainbow Sprinkles (optional)
Directions:
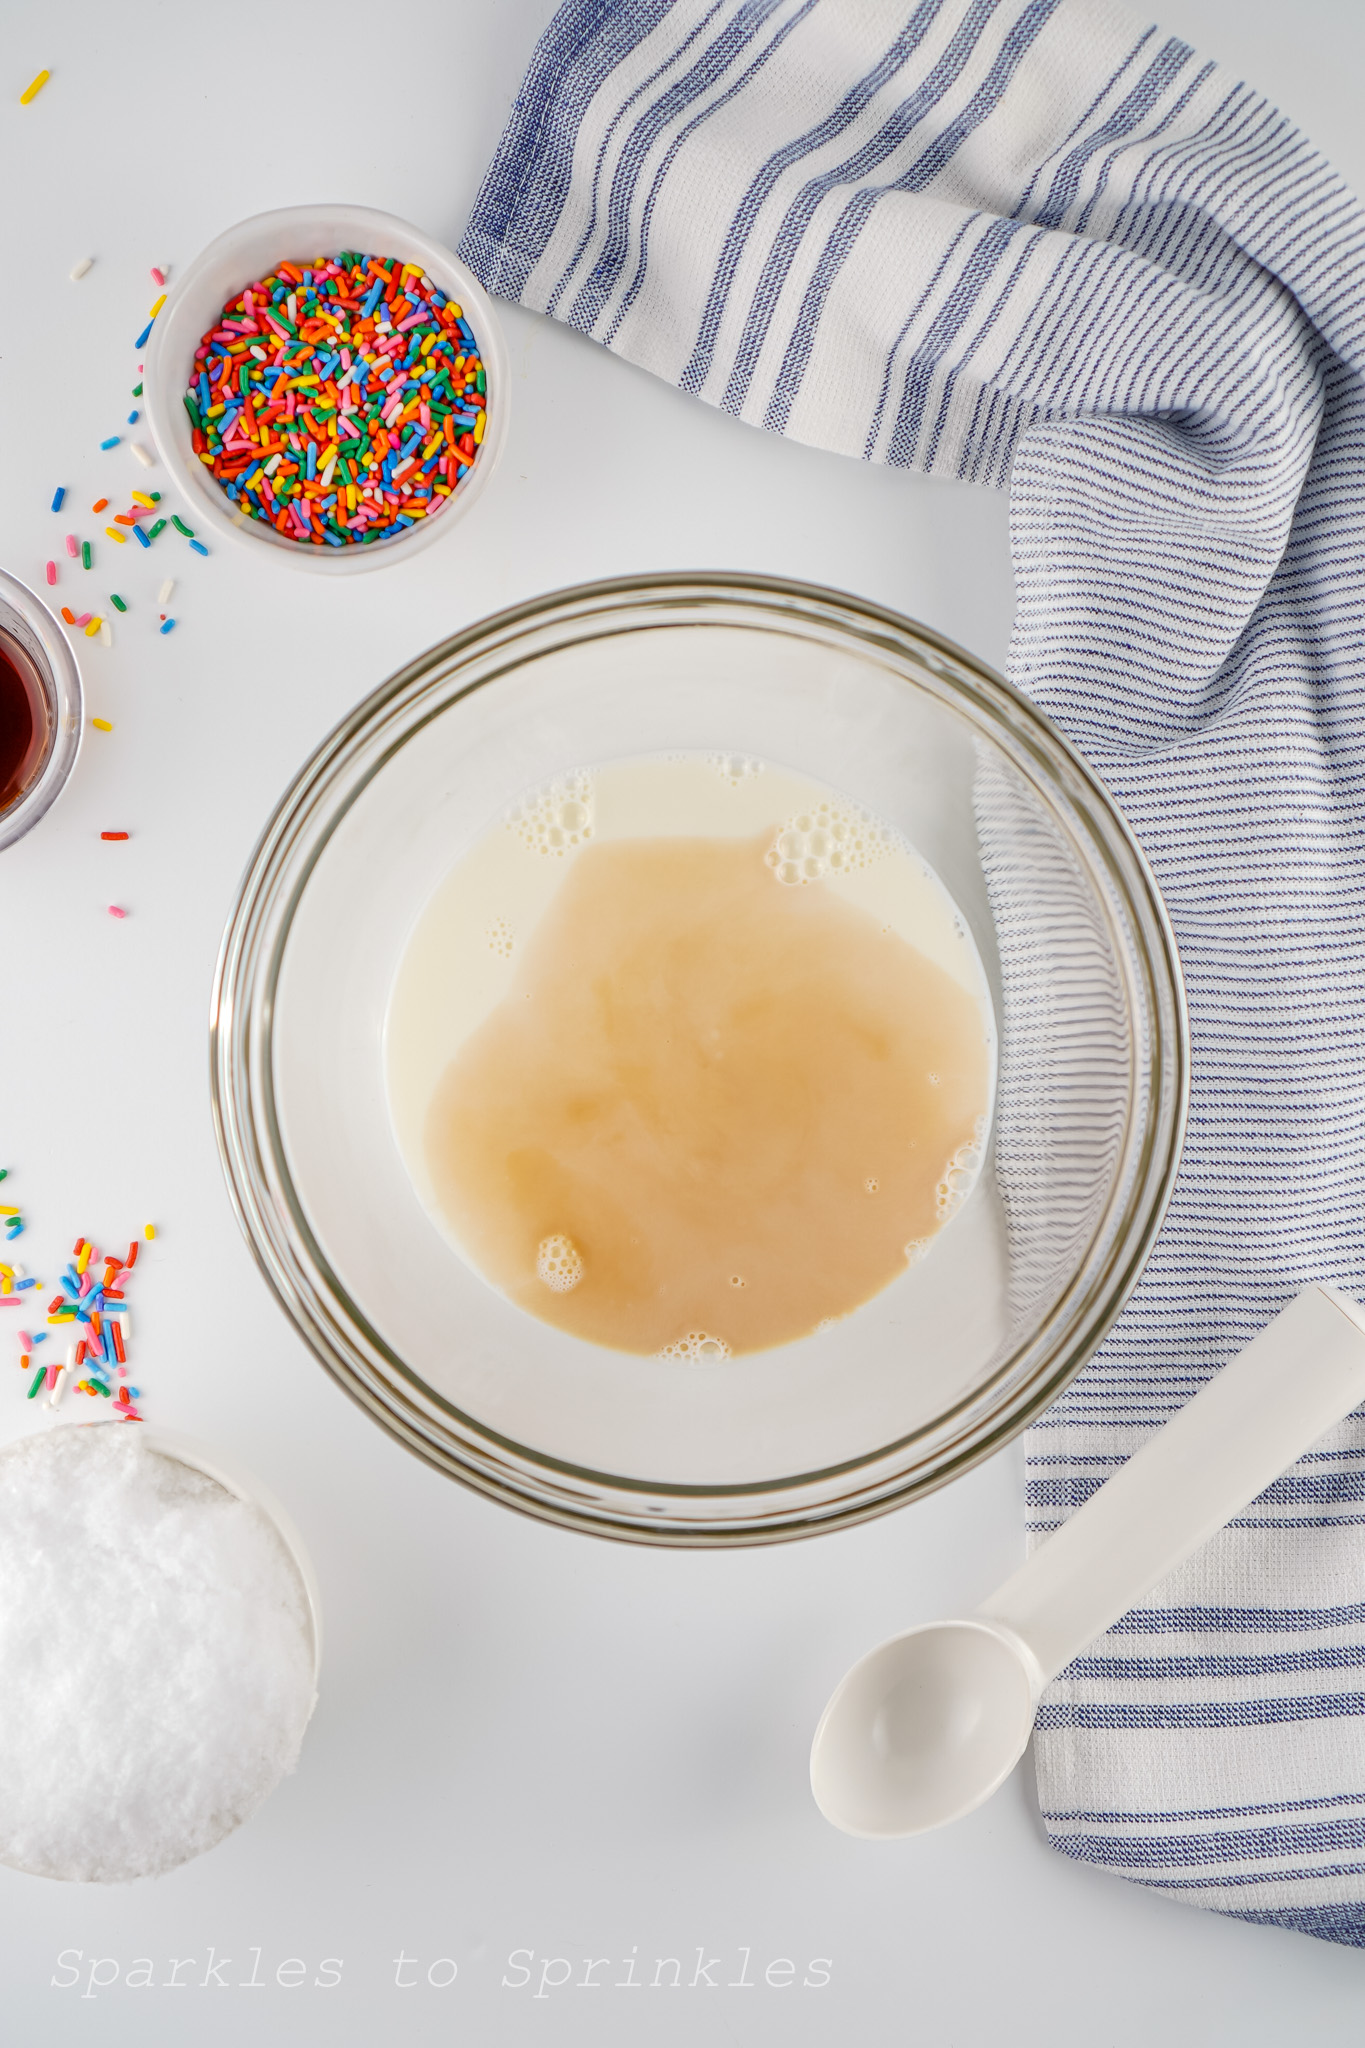
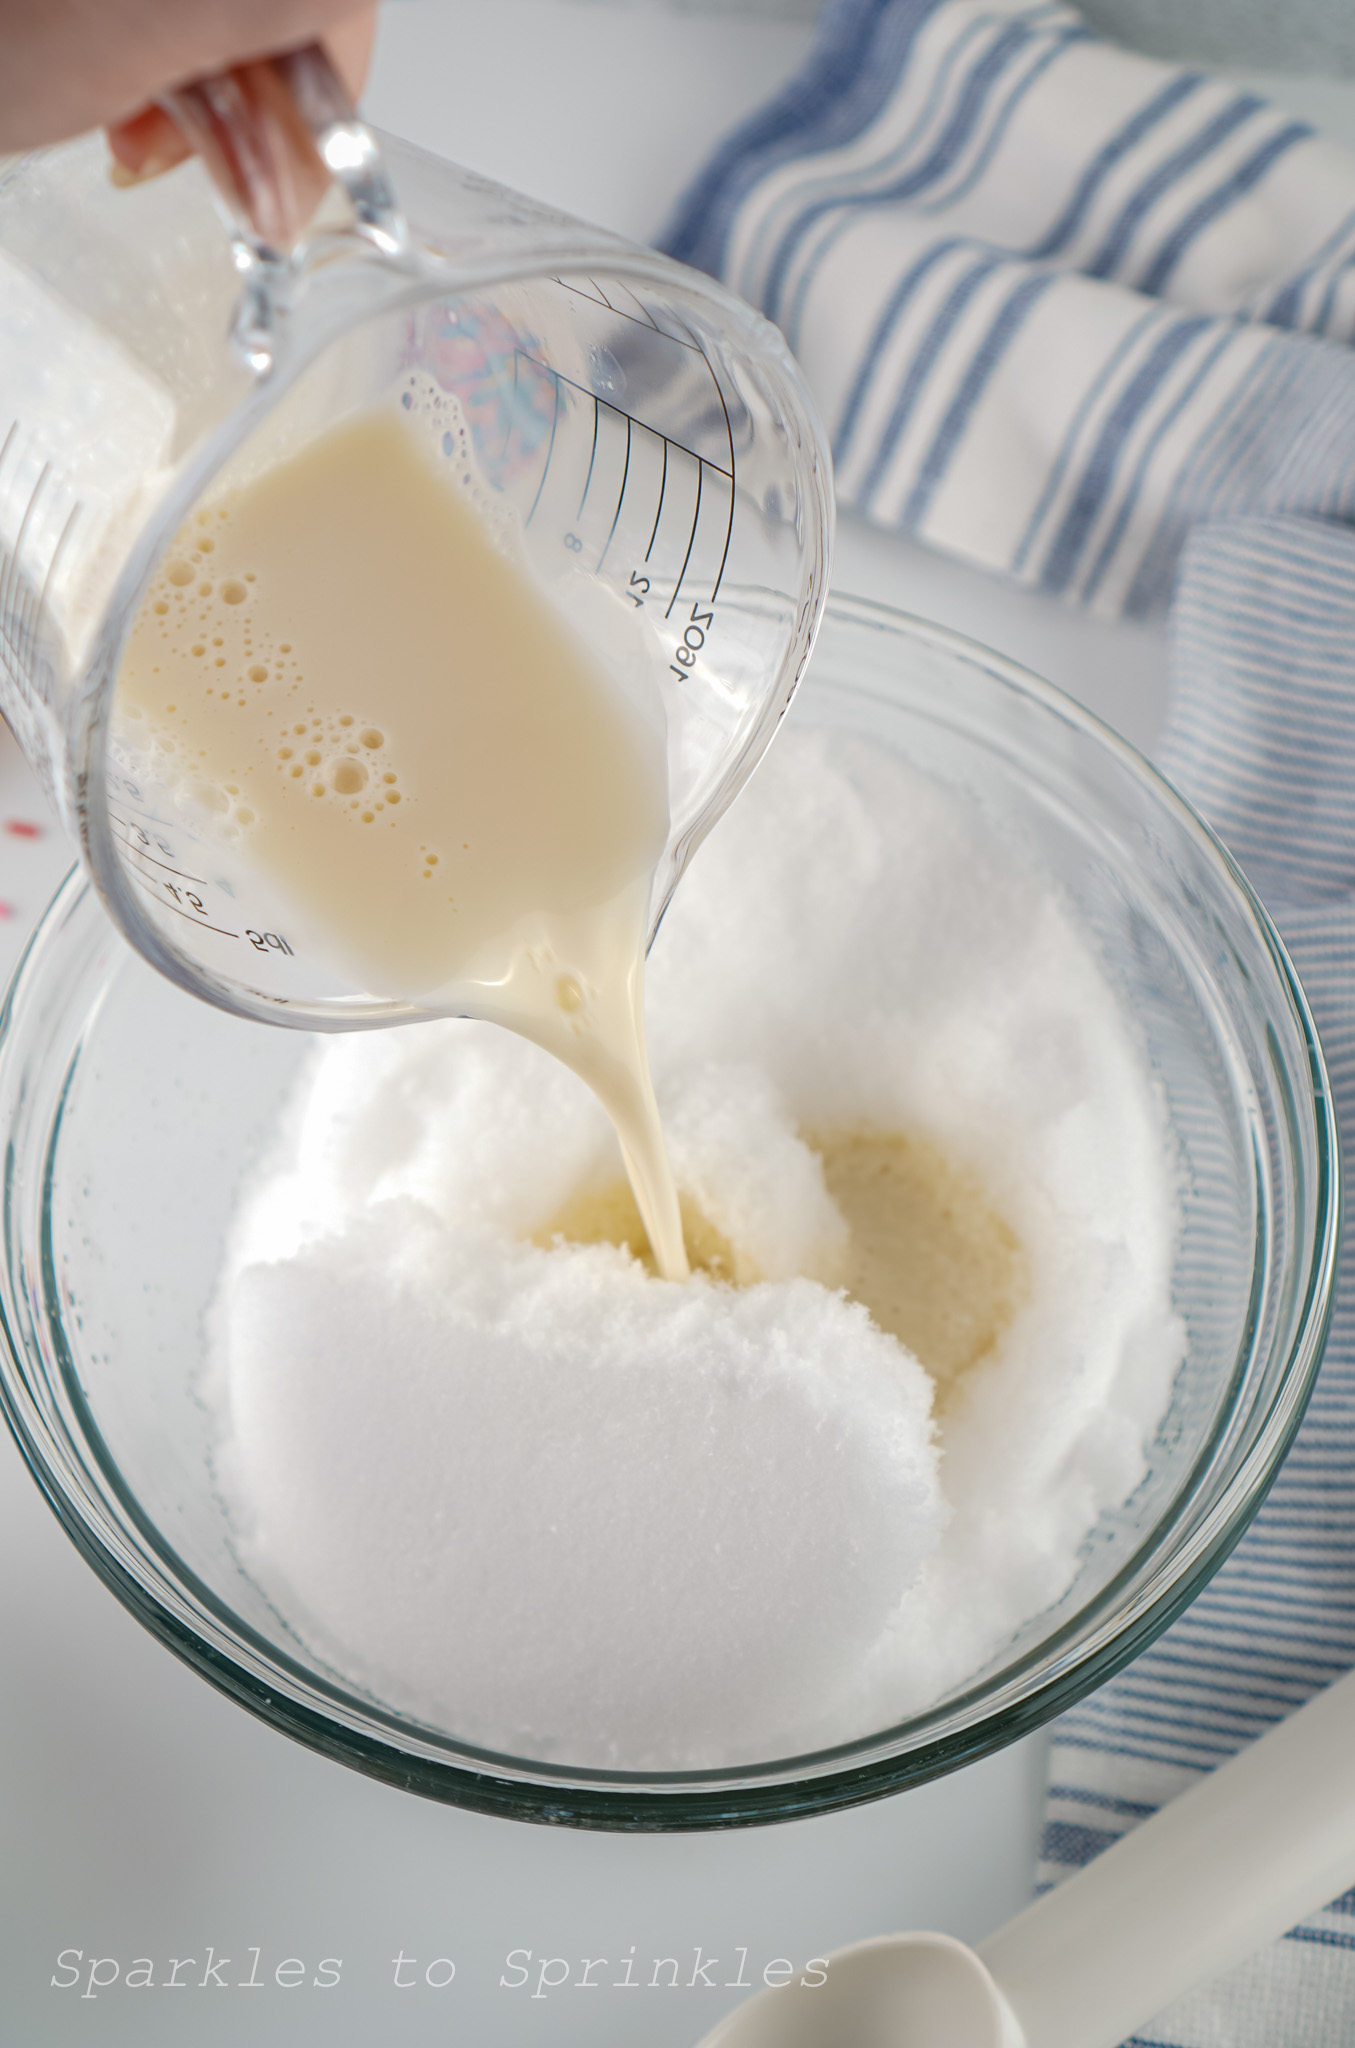
- Combine the milk, sugar, salt, and vanilla in a large mixing bowl. Mix well.
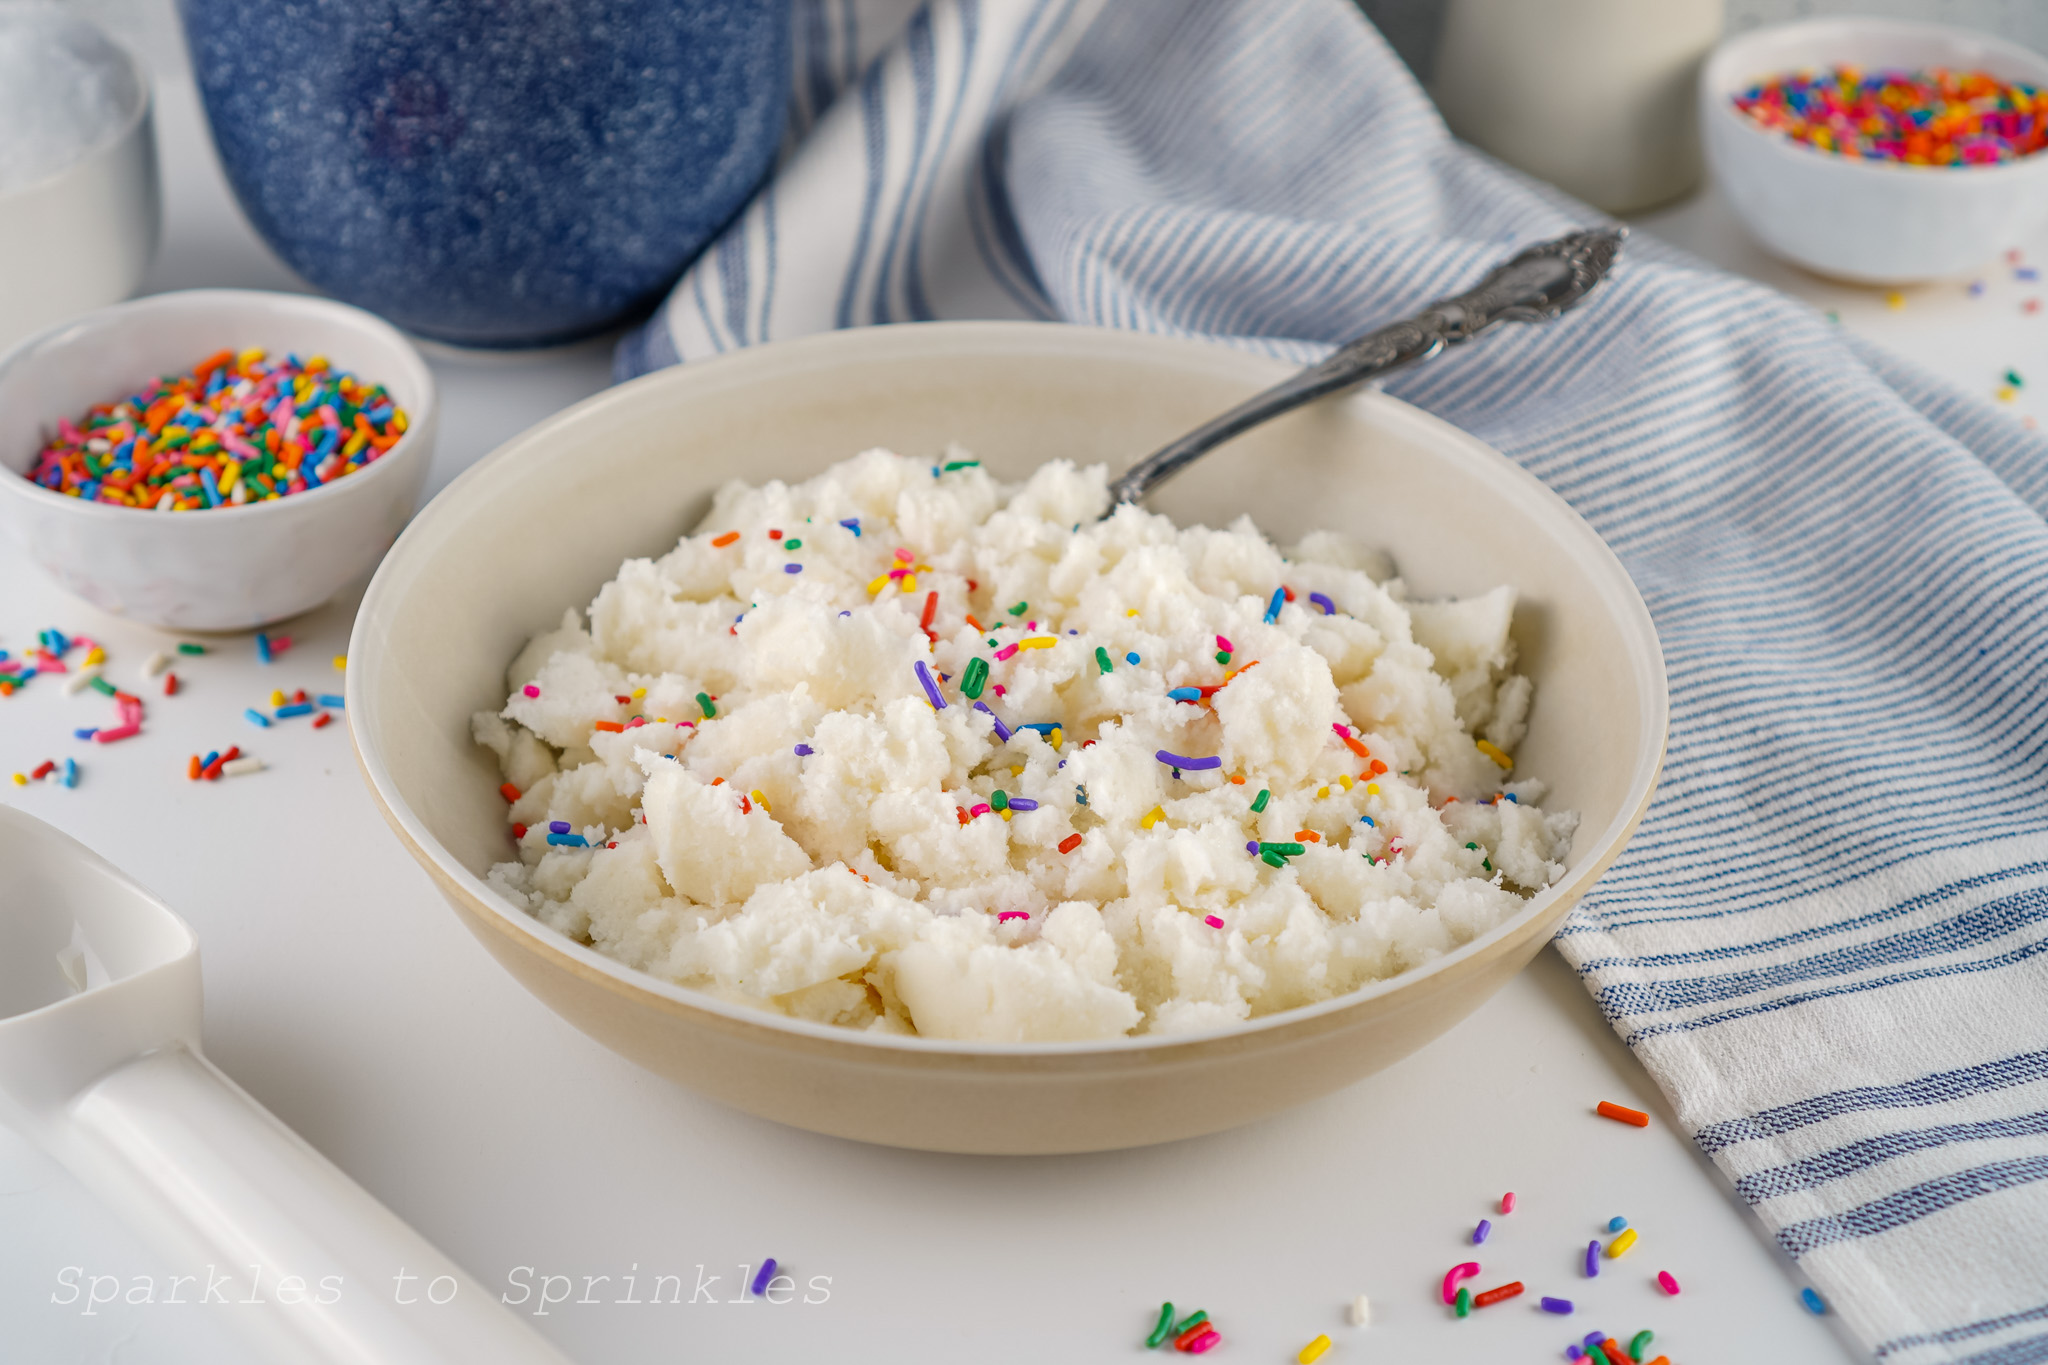
- Add to the snow and mix until fully combined.
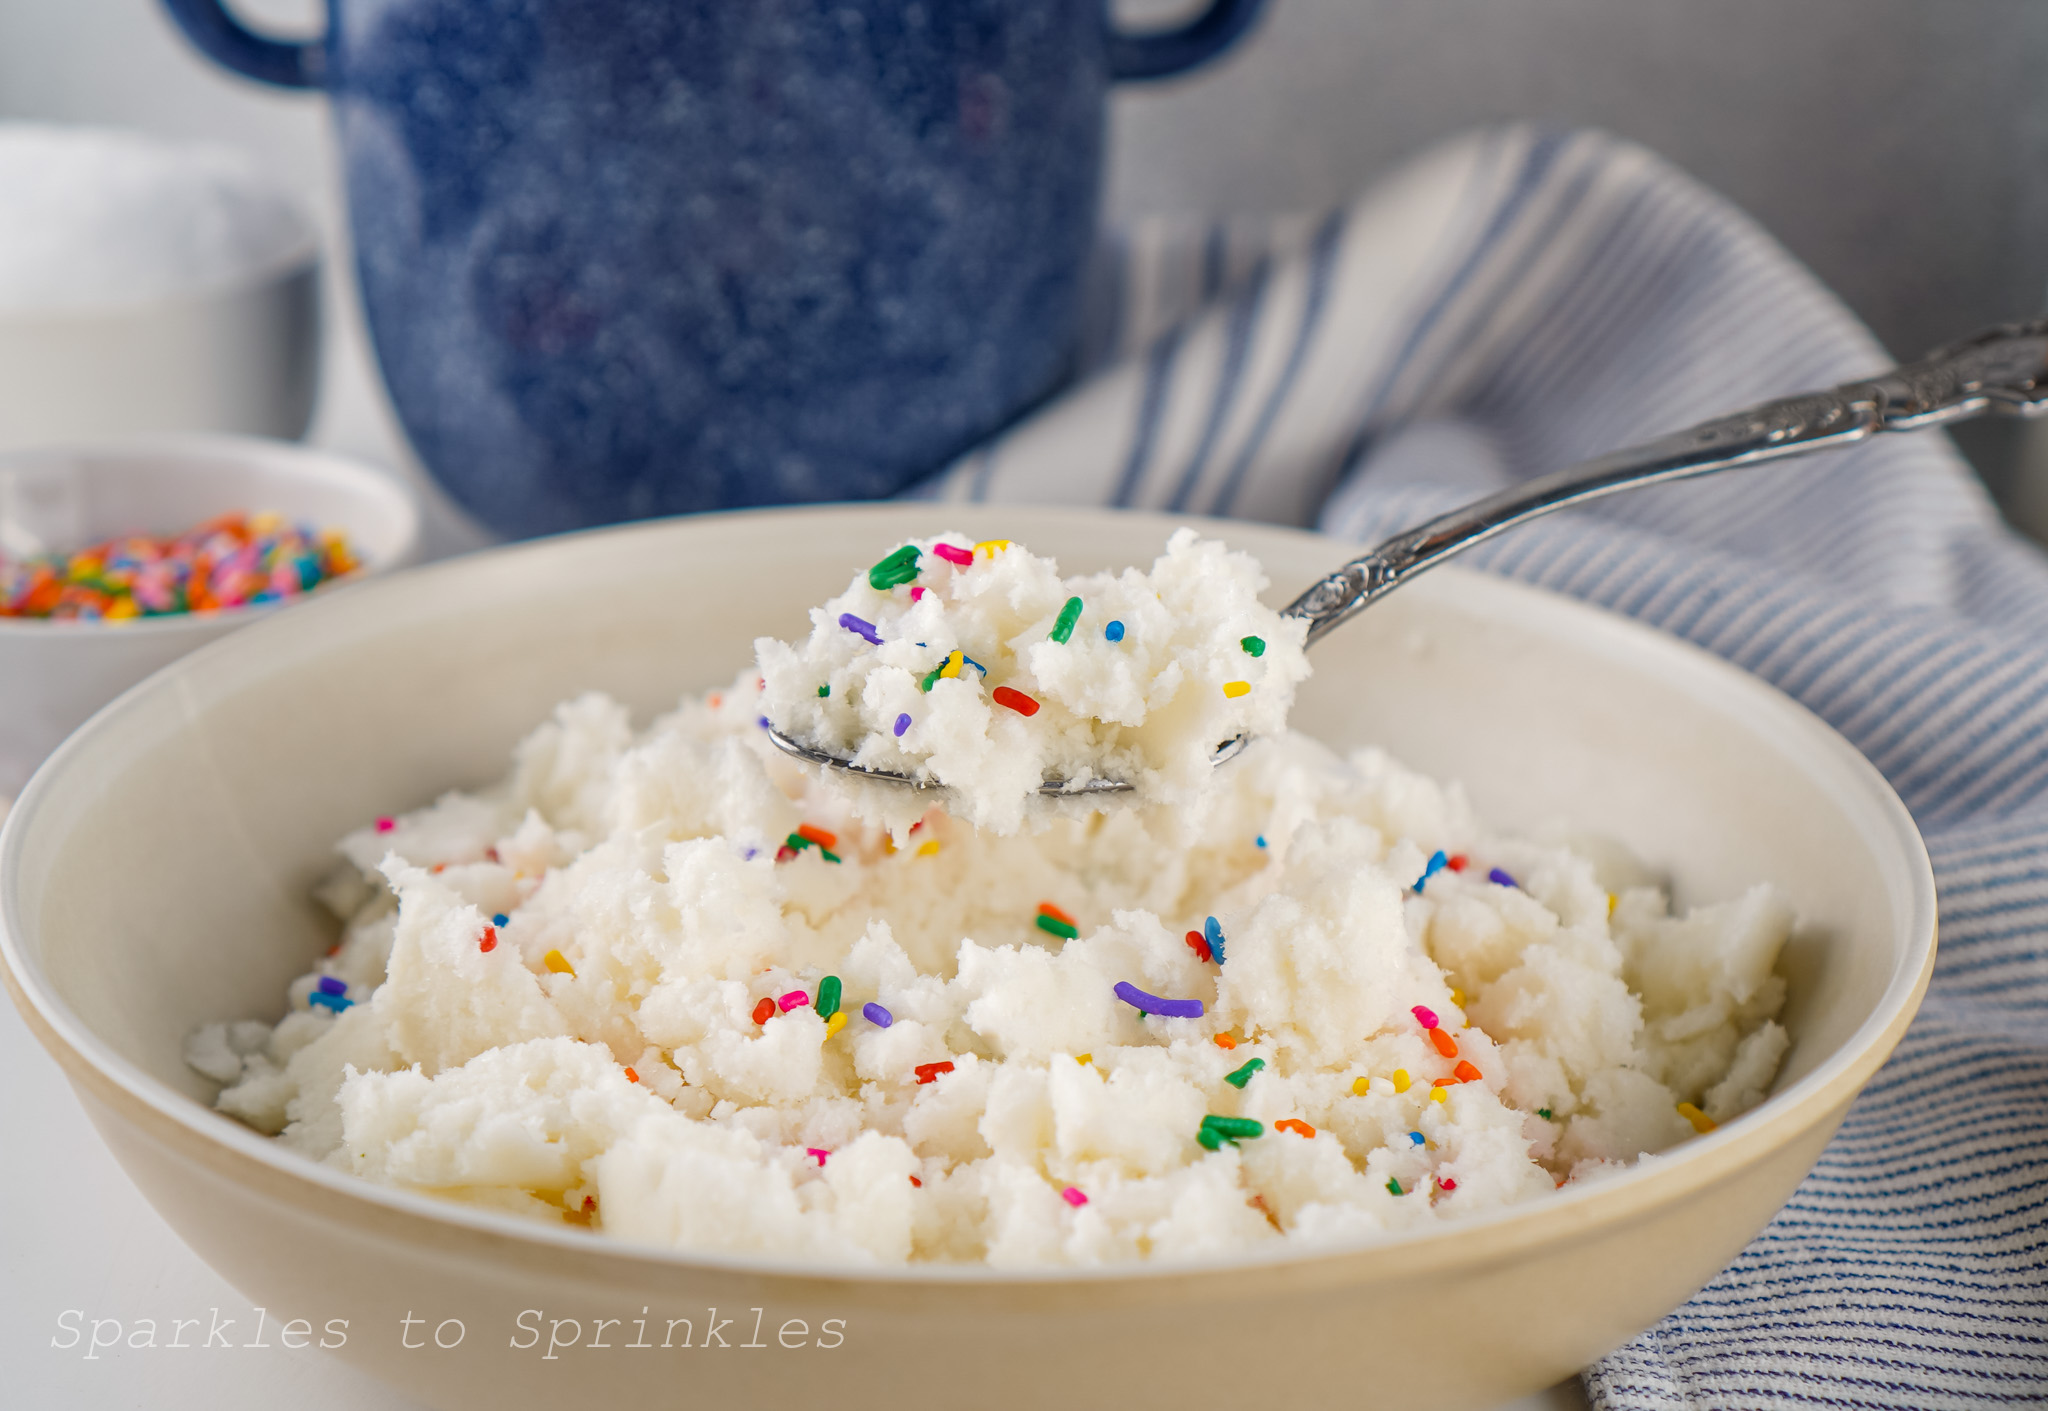
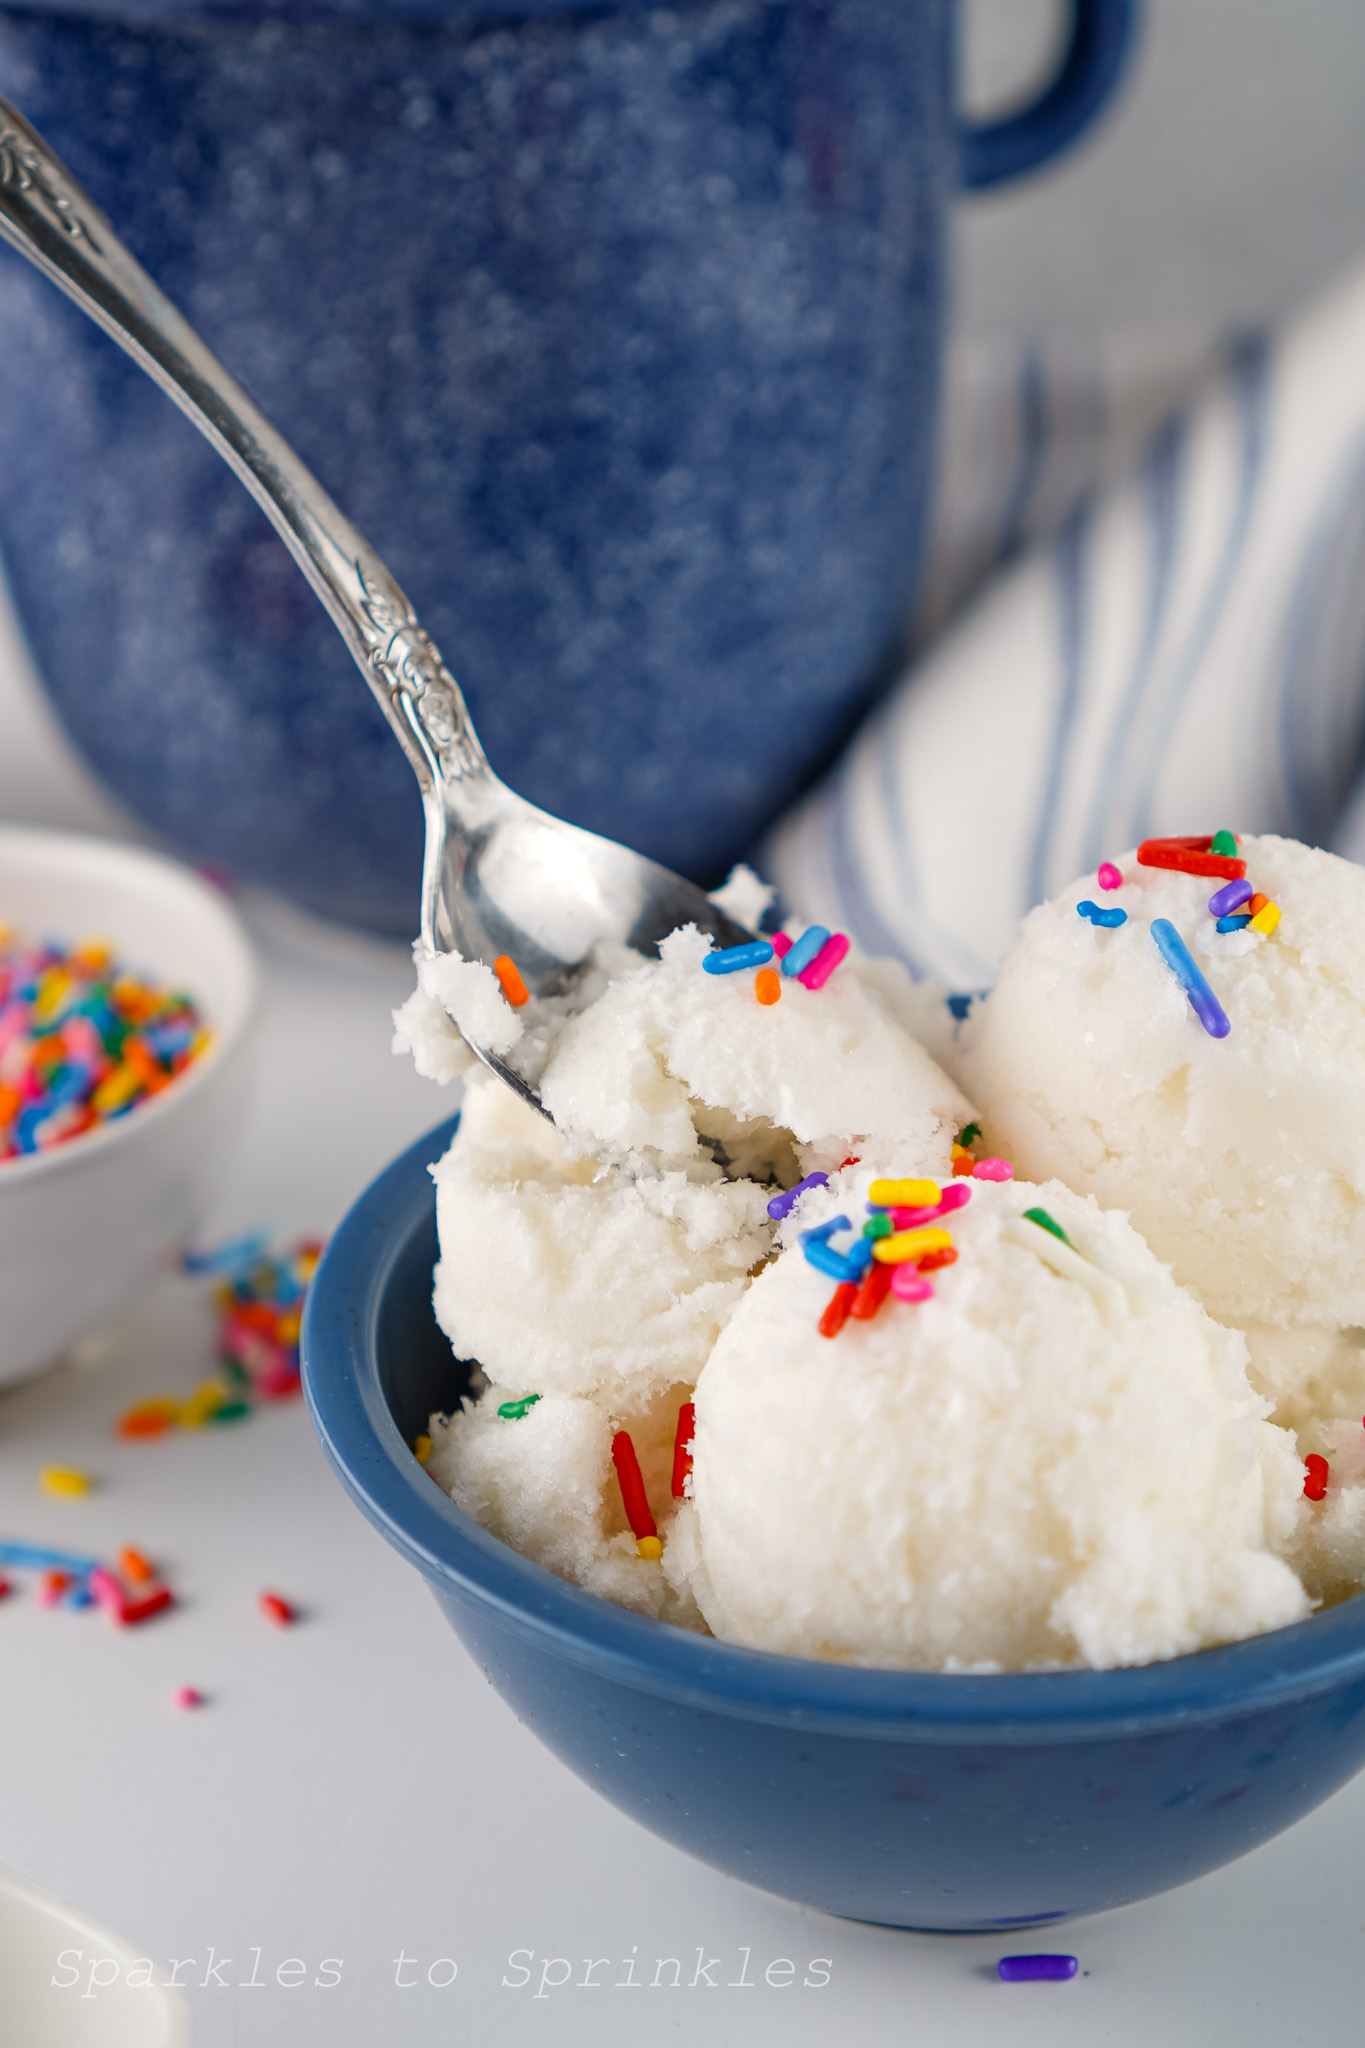
- Serve and top with sprinkles, if desired. Enjoy!
Tips & Tricks
- Snow ice cream is best enjoyed right away and should not be stored for later
- Adjust the amount of snow to get the texture you prefer since everyone likes it a little different
- If fresh snow is not available, shaved ice works as a good substitute
- Any type of milk can be used, but whole milk gives the richest flavor
- Toppings are optional, so feel free to add sprinkles, chocolate syrup, or your favorites
- The type of snow makes a difference
- Light fluffy snow usually requires more volume
- Heavy dense snow may need less, so adjust as you mix
FAQs

Snow Ice Cream
Ingredients
- 6 Cups Fresh Clean Snow
- ⅔ Cup Milk
- 4 Tablespoons White Granulated Sugar
- ½ Tablespoon Vanilla Extract
- 1/8th Teaspoon Salt (optional)
- Rainbow Sprinkles (optional)
Instructions
- Combine the milk, sugar, salt, and vanilla in a large mixing bowl. Mix well.
- Add the snow and mix until fully combined.
- Serve and top with sprinkles, if desired. Enjoy!
Notes
- Everyone prefers a different consistency with this classic dessert. Add less or more snow, based on your preferences.
- If you don’t have snow, use shaved ice.
- Any milk you prefer is just fine. Whole milk tends to have the best flavor, in my opinion.
- Any ice cream toppings are great! Have fun with it!
- Depending on the type of snow you get, you may have to use more or less snow. The light, fluffy snow sometimes takes a little more snow, but the thick, heavy snow might need less. This largely depends on your preferences.
Nutrition Information:
Yield:
6Serving Size:
1Amount Per Serving: Calories: 54Total Fat: 1gSaturated Fat: 0gUnsaturated Fat: 0gCholesterol: 2mgSodium: 15mgCarbohydrates: 11gSugar: 10gProtein: 1g
I’m Melissa, the imaginative force behind Sparkles to Sprinkles, where creativity comes to life, and sprinkles of joy are scattered generously. Melissa is a proud Jersey girl who found love with a New York boy. As a mom to four wonderful boys and a few fur babies, her journey into the world of blogging began after making the life-changing decision to stay home and raise her children. Previously a dedicated workaholic, Melissa’s blog became her creative outlet and passion project. Inspired by her mother-in-law, a masterful cook renowned for her delicious home-cooked meals and legendary holiday feasts (think mouthwatering sausage stuffing), Melissa honed her culinary skills through a combination of family recipes and countless cooking classes. She often attended these classes with her son Michael, who shared her enthusiasm for cooking from a young age. Melissa’s love for learning extends beyond familiar cuisines, as she enjoys exploring international recipes in hands-on cooking classes. Her blog features a diverse array of recipes, showcasing her expertise with various kitchen appliances such as the Instant Pot, air fryer, Slow Cooker, Ninja Foodi, Instant Vortex Plus, and more. Join Melissa on her culinary adventures as she shares tried-and-true family favorites alongside exciting new discoveries!