Halloween Jack-O’-Lantern Cake
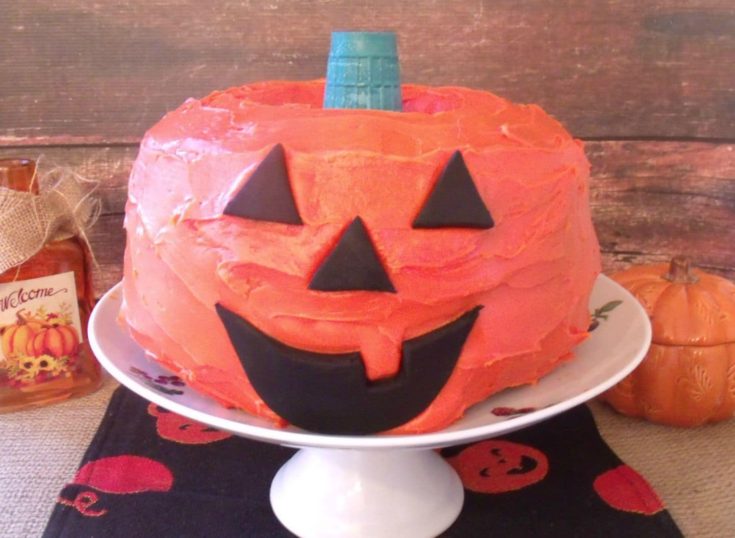
As the crisp autumn leaves rustle underfoot and the shadows grow longer, the enchanting allure of Halloween beckons, promising a bewitching fusion of creativity and culinary delights. Among the many traditions that capture the spirit of this spooky season, crafting a Halloween Jack-O’-Lantern Cake stands as a delightful endeavor that seamlessly blends the art of baking with the eerie aesthetics of the holiday. This confectionary masterpiece not only tantalizes the taste buds but also serves as a visual treat, transforming a simple cake into a whimsical pumpkin-shaped canvas ready to be adorned with vibrant orange frosting and an array of creepy, edible decorations.
Isn’t this cake just the cutest thing EVER!!! Halloween is one of my favorite holidays. I love this time of year, I love decorating for Halloween, I love how excited my kids get, I love seeing all the kids trick or treating, I love the CANDY CORN, I love the treats! There is not much I do not love about Halloween, except maybe the haunted houses. LOL
Halloween is a magical time of year. If you have a few good tricks in your back pocket like this adorable Halloween Jack-O’-Lantern Cake you are sure to impress the best. I remind you all, often, that baking is not my forte. I love to cook but I also love bakeries. 😋 Most of my time and effort is put into cooking and rarely baking. So if there is a recipe on my blog that falls into the baking category then we can label it VERY EASY.
The smiles on my boys faces when they saw this cake was absolutely priceless!
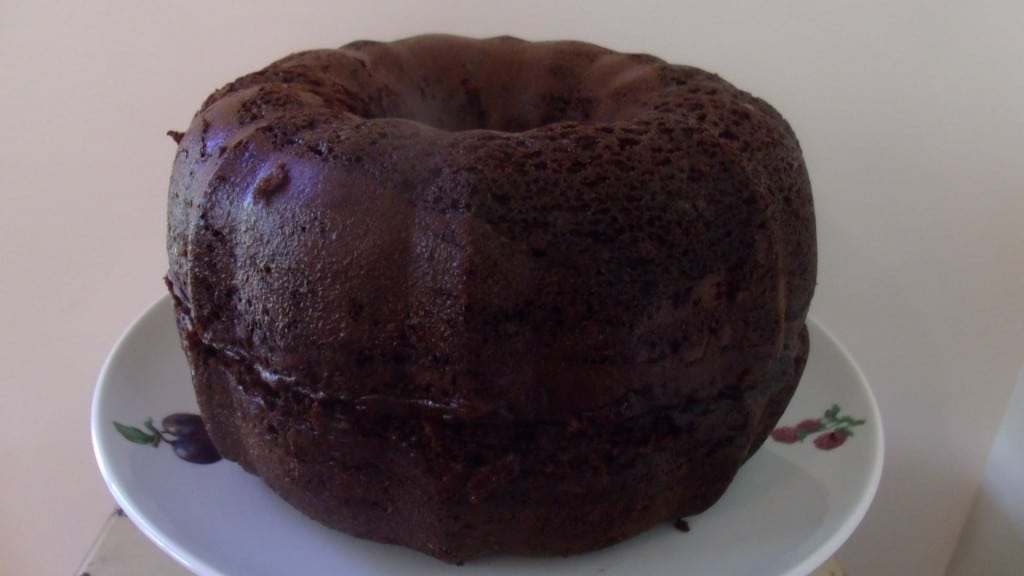
Before frosting
You can decorate your cake to be a scary or sweet Jack-O’-Lantern, the possibilities are endless.
If you are having trouble finding the cones and fondant, here is where you can find them on Amazon

Halloween Jack-O'-Lantern Cake
Ingredients
- 2 Packages of Cake Mix, your choice on flavor
- 1 Colored Ice Cream Cone
- 2 Cans Orange Frosting
- 1 Package Black Fondant
Instructions
- Prepare and cook cake mixes per package instructions in 2 bundt cake pans.
- Once cakes are cool you will put the two pieces together creating your pumpkin shape.
- You may need to trim/slice off some of the bottom of the cakes so they sit well without wobbling. Depending on the size of your cone you may want to stick a piece of tin foil in the top center hole, so that when you place the ice cream cone, it will stay steady in place.
- Frost your cakes as neatly as possible. Roll out your black fondant and flatten to about 1/8 inch thickness.
- Cut out your shapes and press into the frosting.
- Place your ice cream cone in the top.
Notes
Adapted from Taste of Home Halloween
I’m Melissa, the imaginative force behind Sparkles to Sprinkles, where creativity comes to life, and sprinkles of joy are scattered generously. Melissa is a proud Jersey girl who found love with a New York boy. As a mom to four wonderful boys and a few fur babies, her journey into the world of blogging began after making the life-changing decision to stay home and raise her children. Previously a dedicated workaholic, Melissa’s blog became her creative outlet and passion project. Inspired by her mother-in-law, a masterful cook renowned for her delicious home-cooked meals and legendary holiday feasts (think mouthwatering sausage stuffing), Melissa honed her culinary skills through a combination of family recipes and countless cooking classes. She often attended these classes with her son Michael, who shared her enthusiasm for cooking from a young age. Melissa’s love for learning extends beyond familiar cuisines, as she enjoys exploring international recipes in hands-on cooking classes. Her blog features a diverse array of recipes, showcasing her expertise with various kitchen appliances such as the Instant Pot, air fryer, Slow Cooker, Ninja Foodi, Instant Vortex Plus, and more. Join Melissa on her culinary adventures as she shares tried-and-true family favorites alongside exciting new discoveries!


I LOVE this cake!!! So happy and yummy!! I would like to invite you to my DIY Crush Craft Party which starts at 7pm EST. and is new every Thursday. I’ll pin every post!! 😉
I really love Halloween, too!! This cake came out great and I bet it was delicious!!