
Donut Eyeballs – A Scary Easy Halloween Treat
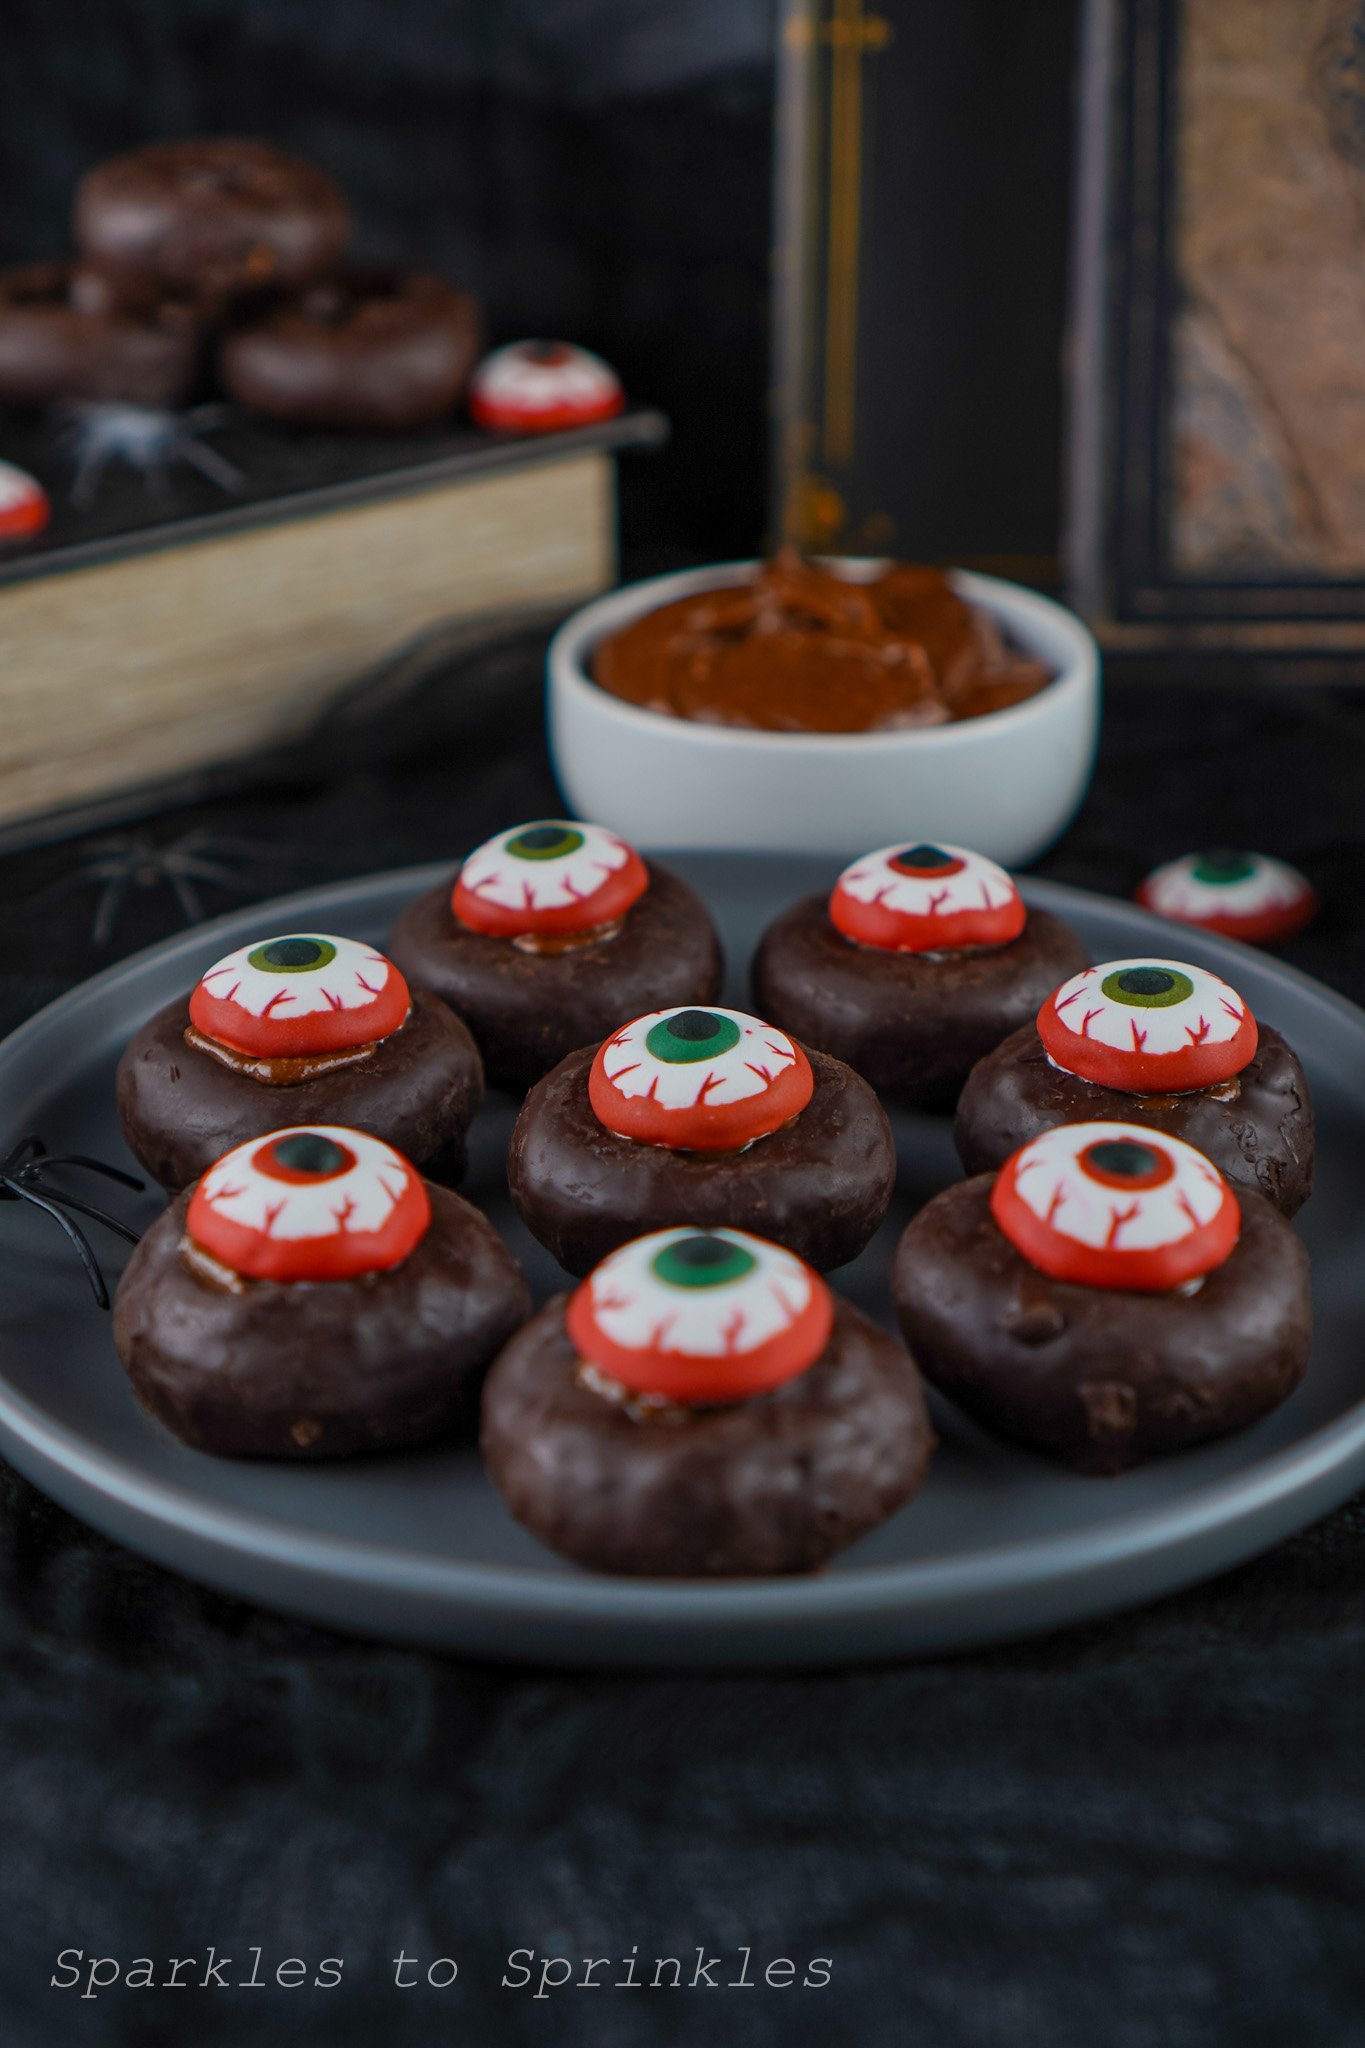
Looking for a spooky treat that doesn’t take forever to make? These Eyeball Donuts are the perfect no-fuss snack for Halloween. You only need three simple ingredients and about five minutes to pull together a festive tray of mini donuts that’ll have everyone doing a double take. Whether you’re prepping for a party or surprising your kids with a fun snack, this recipe is all about easy fun without the mess.
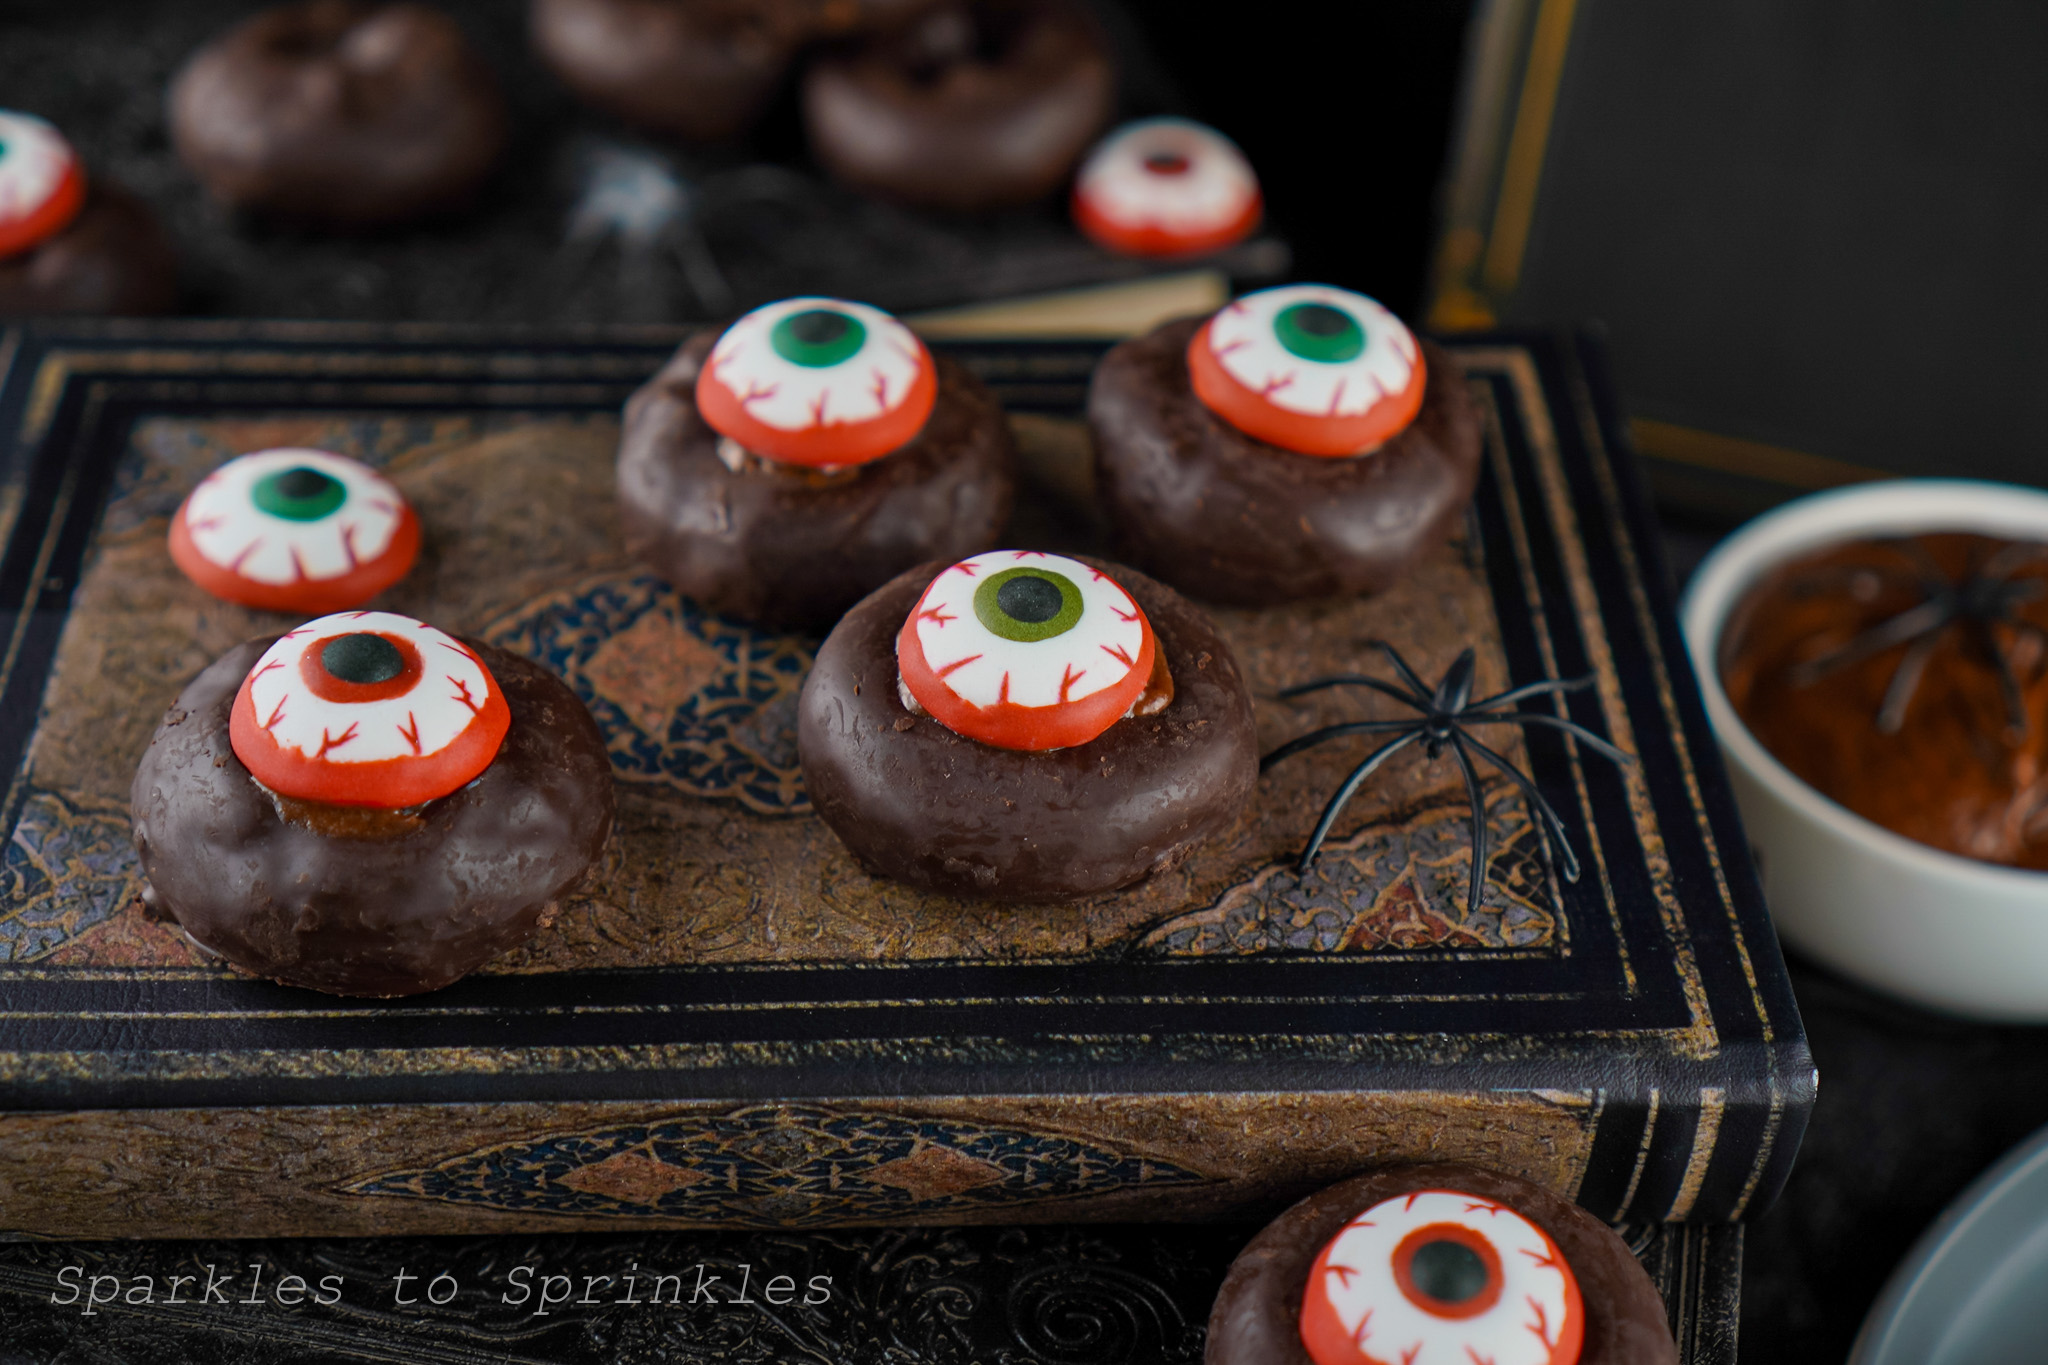
Eyeball Donuts
If you’re in full Halloween mode, you’ll also love [LINK TO FIRST RECIPE], [LINK TO SECOND RECIPE], and [LINK TO THIRD RECIPE] — all fun, festive, and perfect for a spooky season spread. This recipe skips the need for baking or complicated decorating. Just grab a pack of mini donuts, a few sugar eyes, and a little chocolate frosting, and you’re good to go.
The best part? You don’t need any baking skills. These come together so fast that you can even let the kids help. Keep this idea in your back pocket for classroom parties, last-minute get-togethers, or when you just want something that makes people smile. No oven required and no cleanup headache.
What You Will Love About This Recipe
Only 3 ingredients and no baking involved
Ready in under 5 minutes
Kid-friendly and perfect for Halloween parties

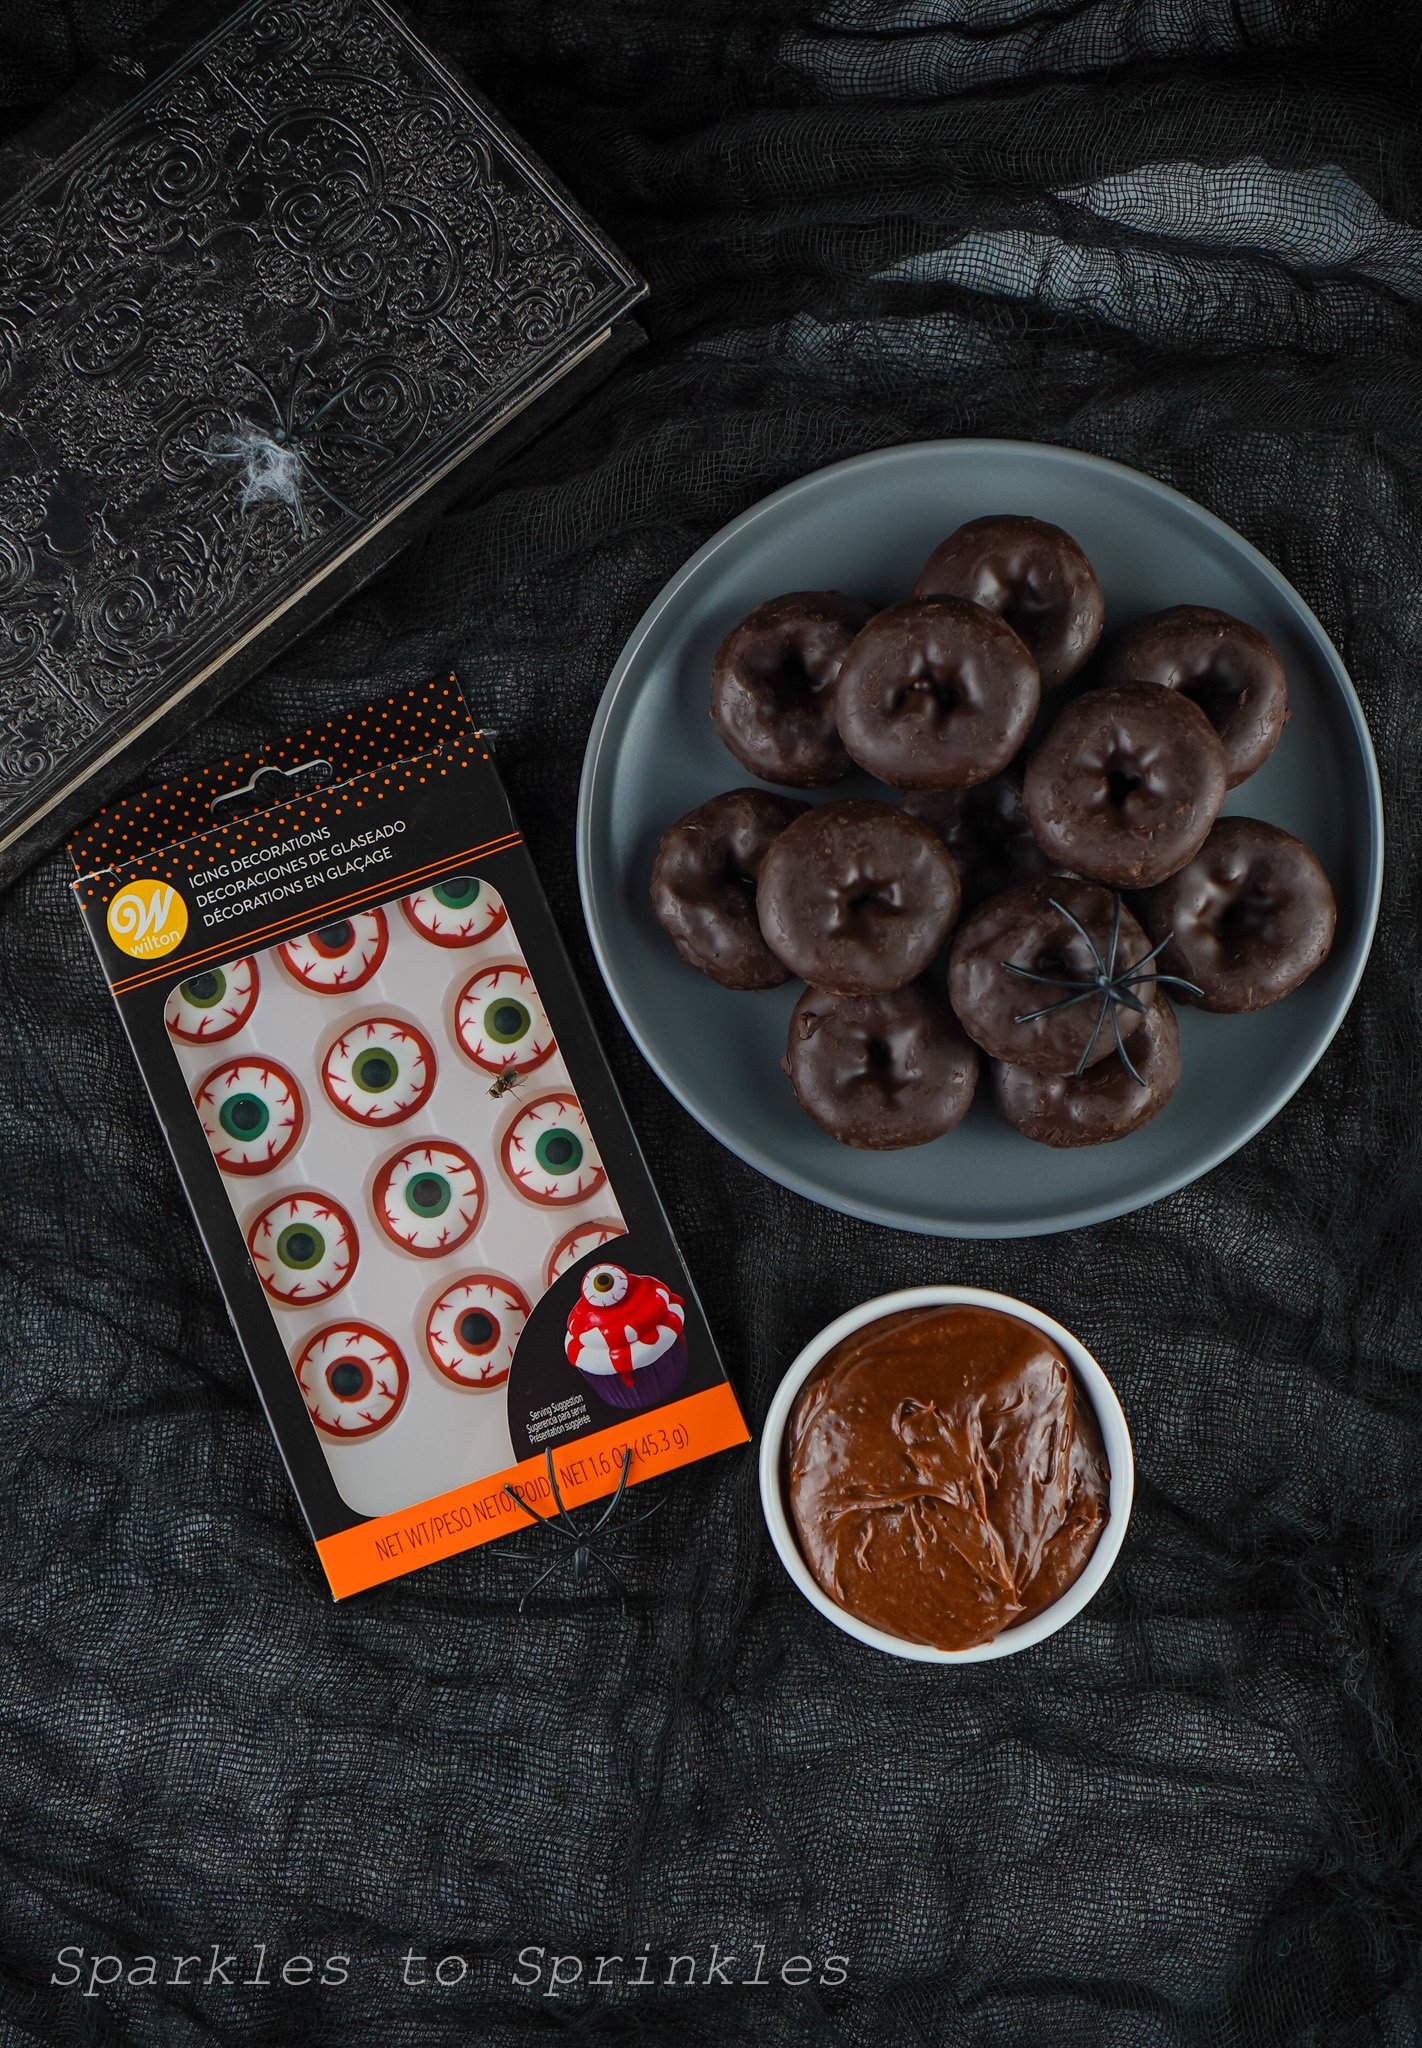
Ingredients:
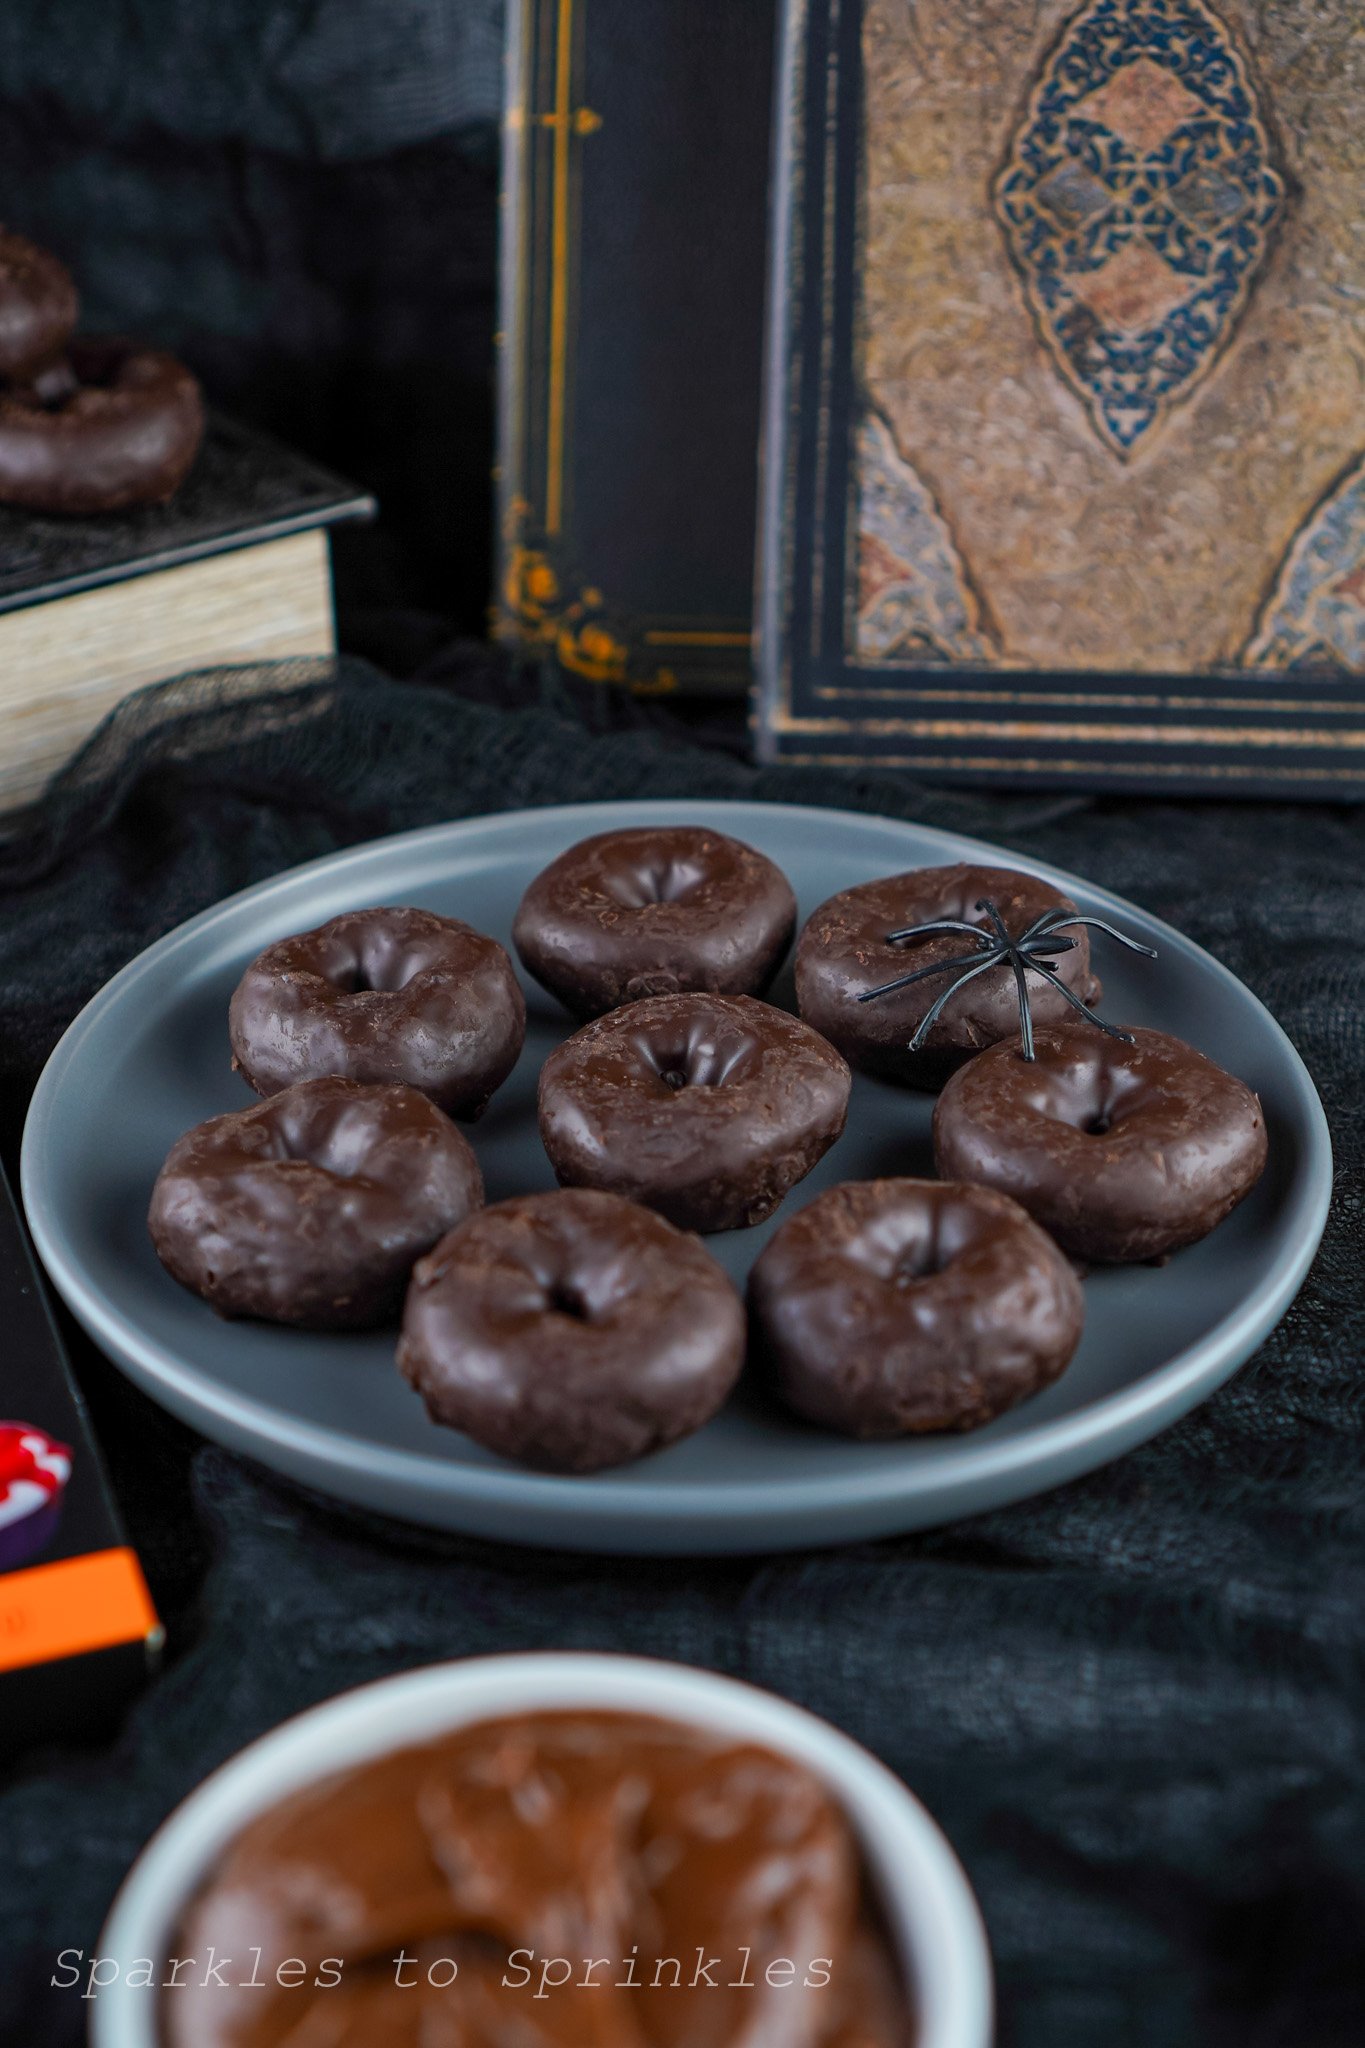
- 12 Mini Chocolate Donuts
- 12 Icing Decoration Eyes
- 3 Teaspoons Chocolate Frosting (give or take)
Items Needed:
- Frosting Bag (optional)
- Small Frosting Tip (optional)
Directions:
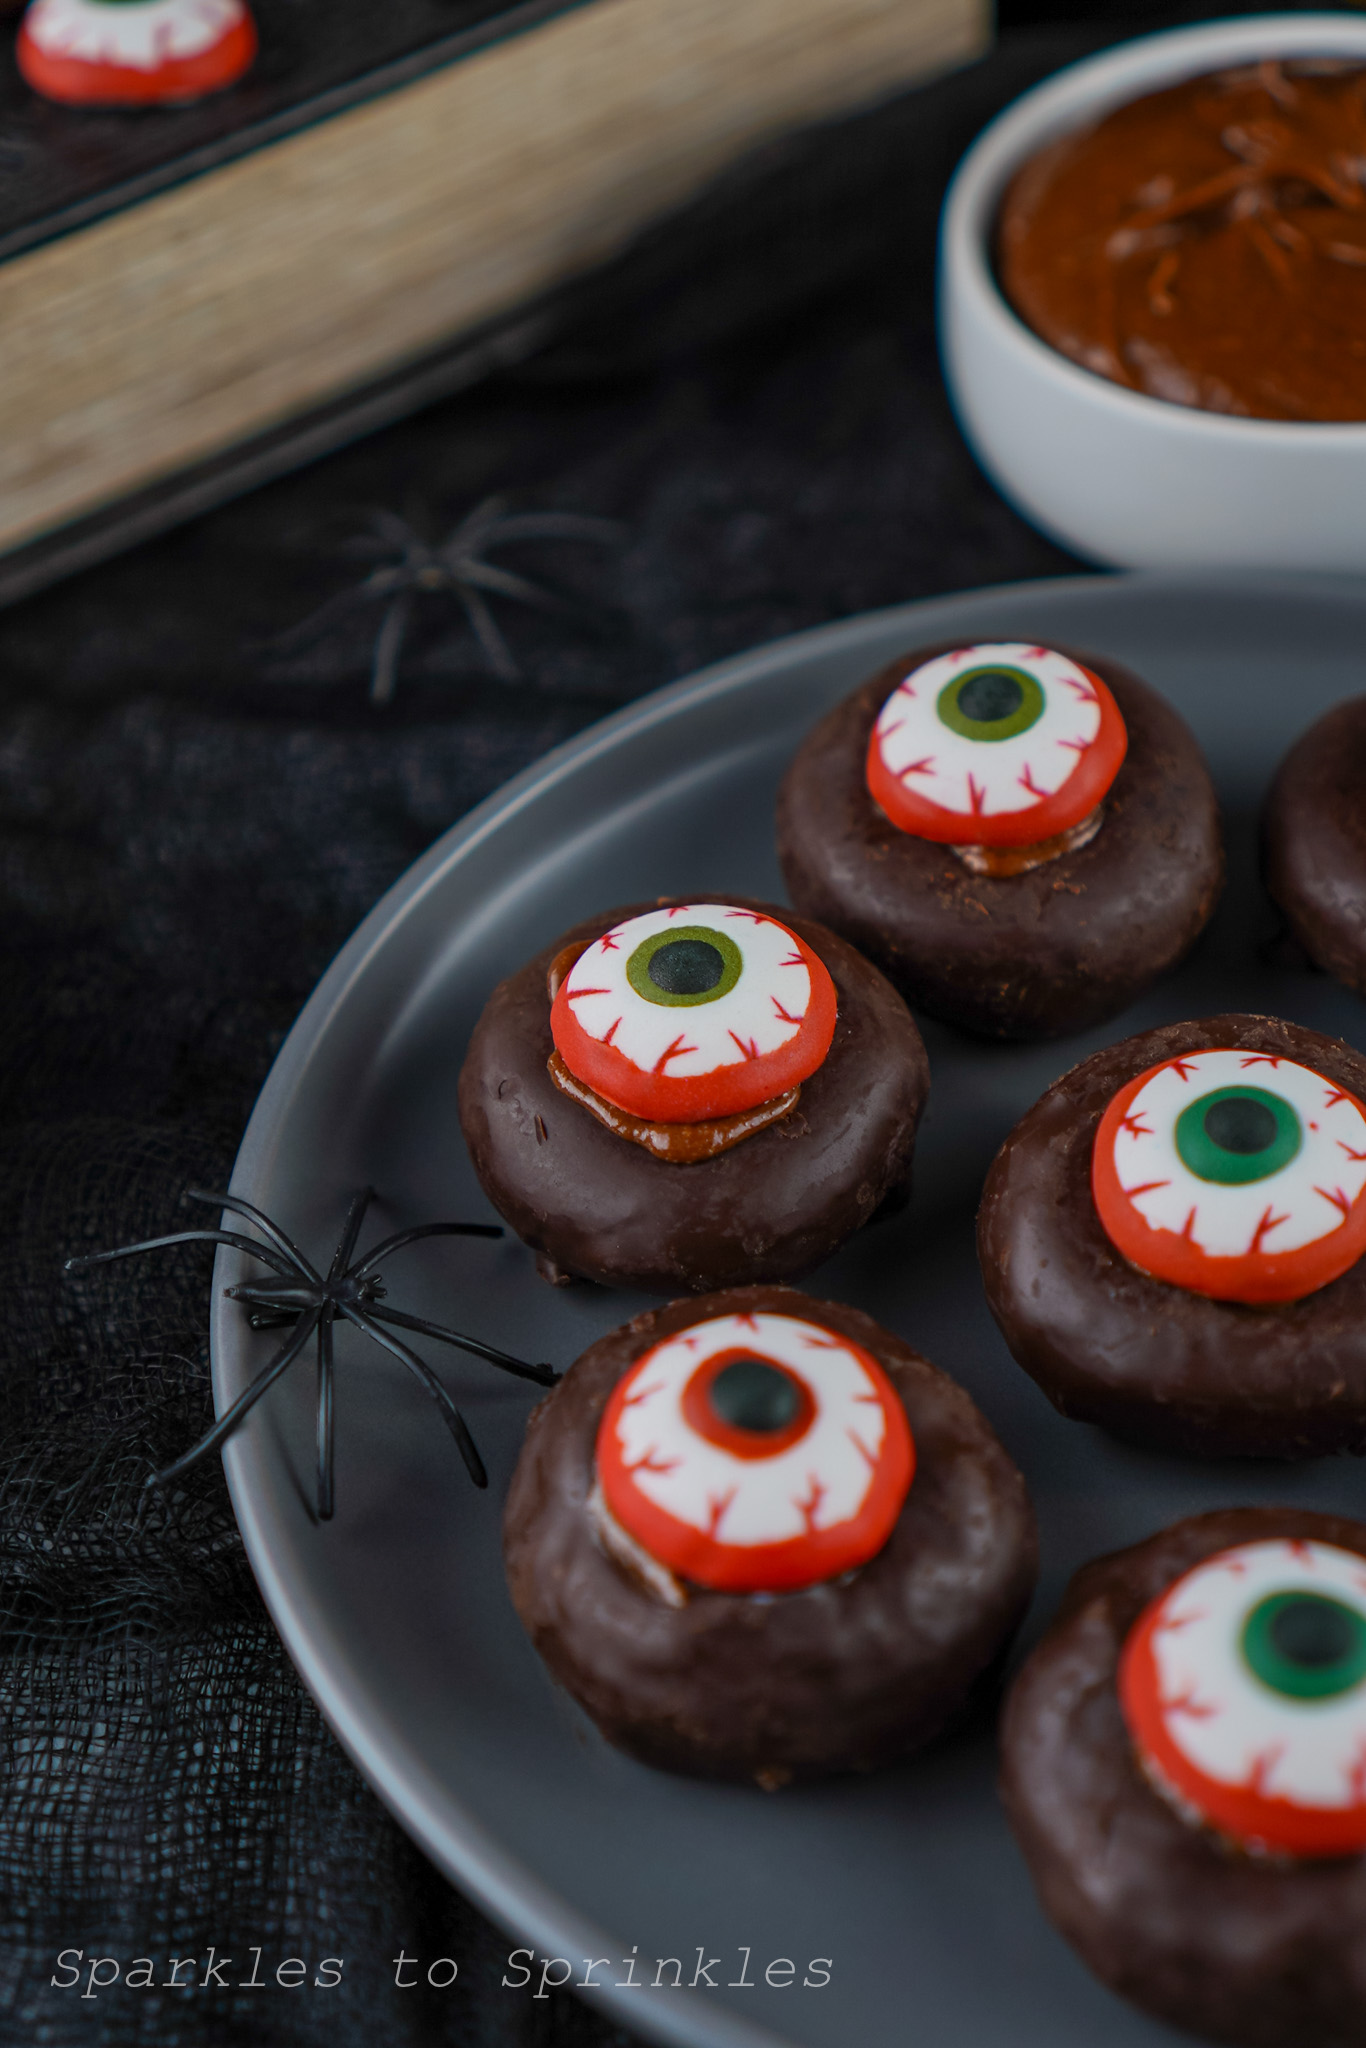
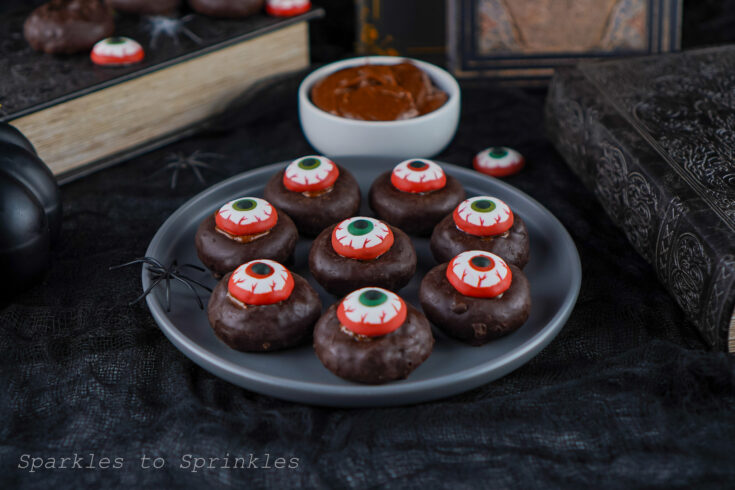
- Line up the donuts, in one layer, on a plate or other flat dish.
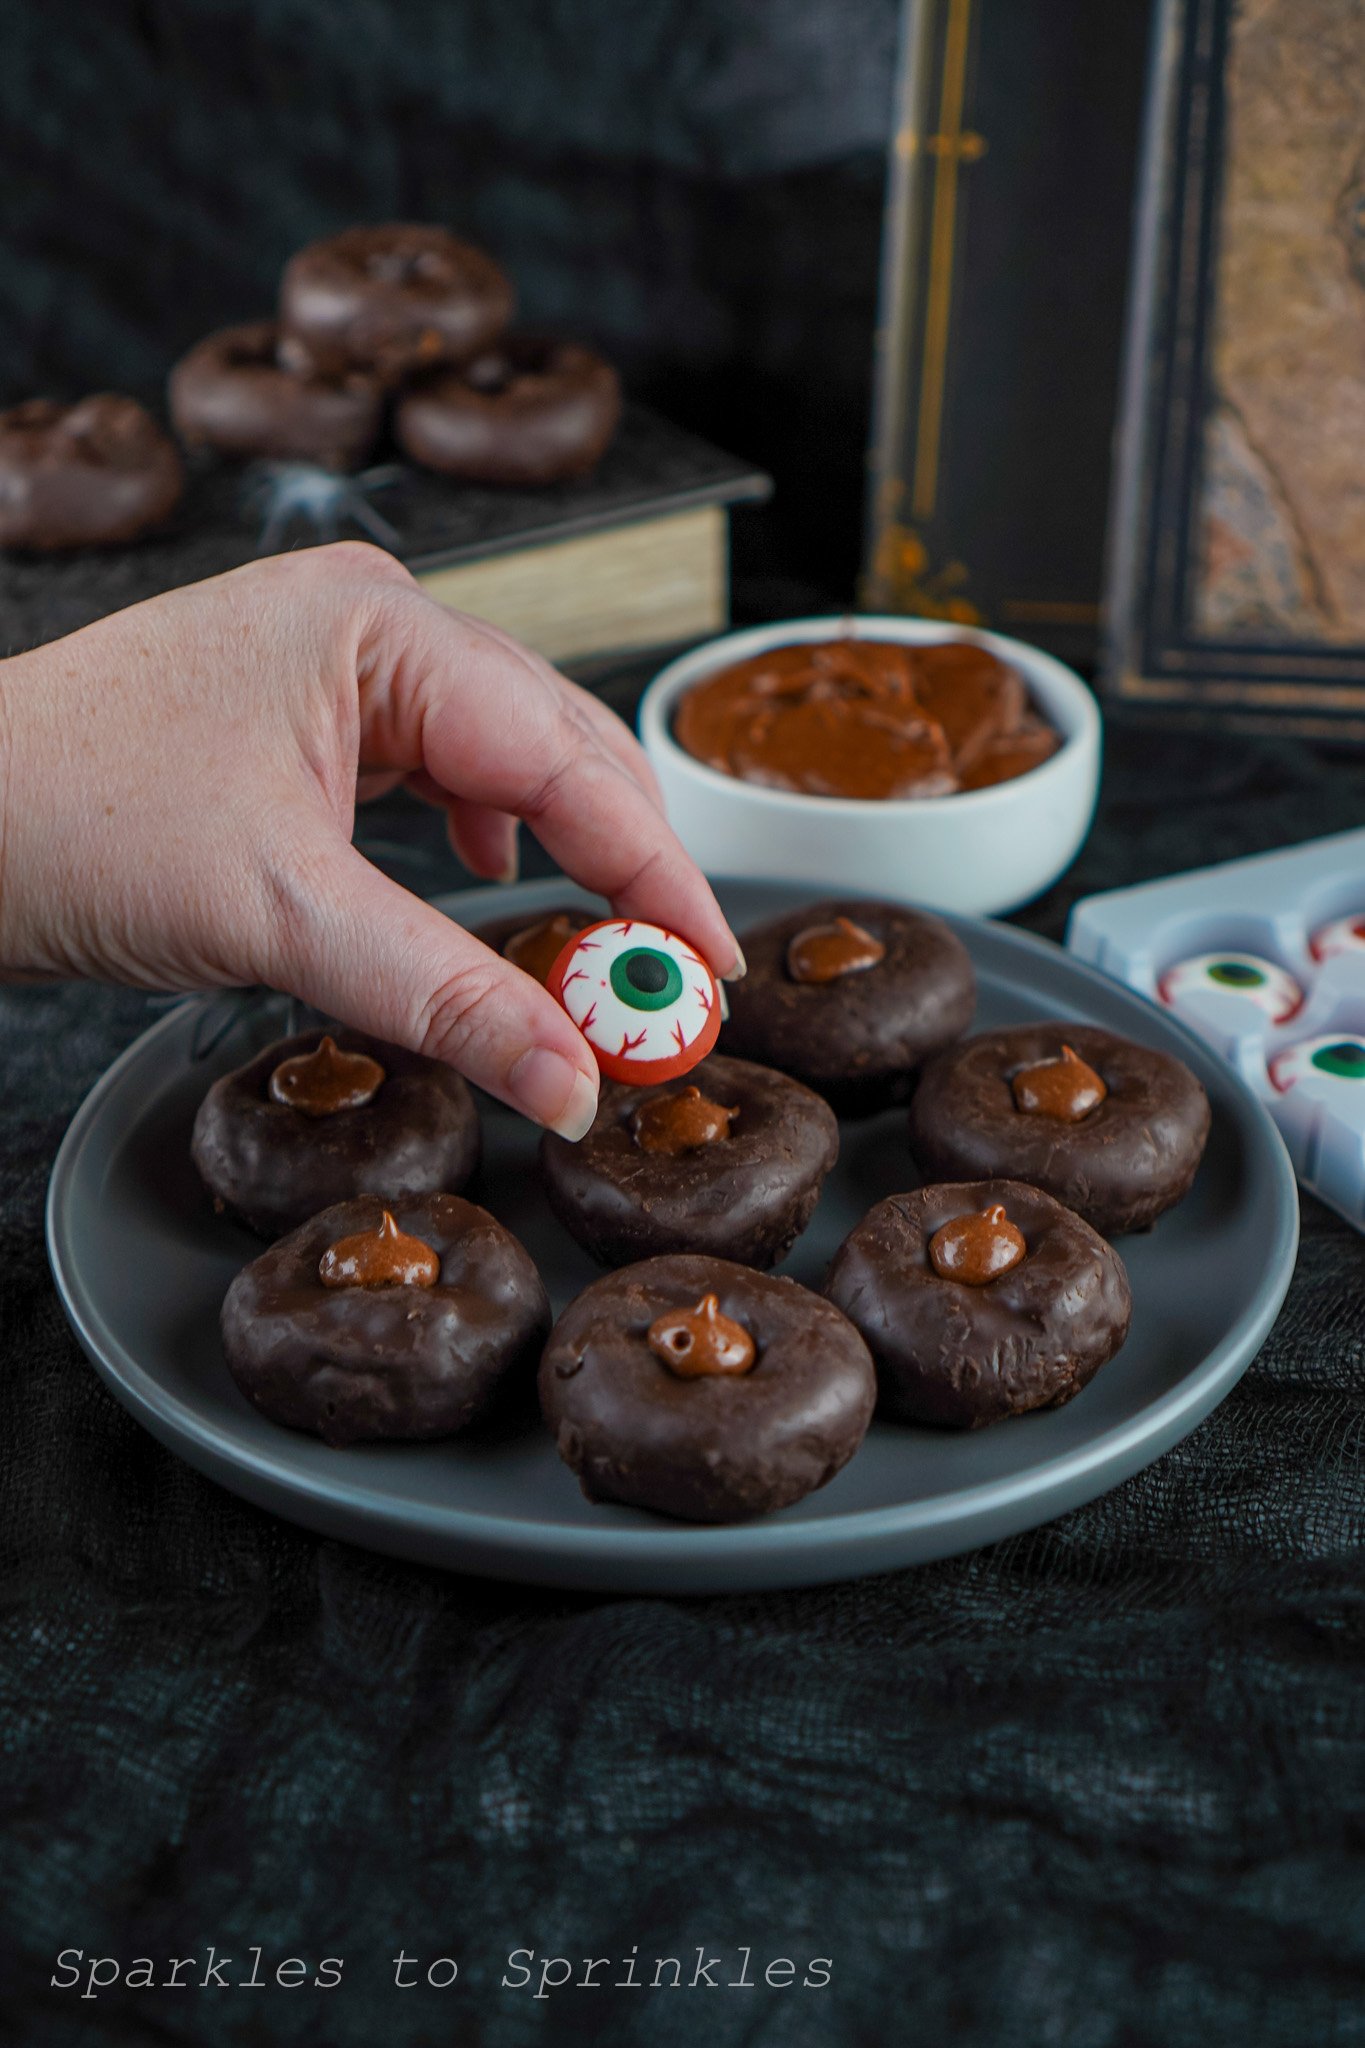
- Apply a small dollop of chocolate frosting in the small dip, in the middle of the donuts. Not too much (like ¼ teaspoon each donut), but this part doesn’t have to be exact. I use a frosting bag and small frosting tip to make this step quick, easy, and less messy.

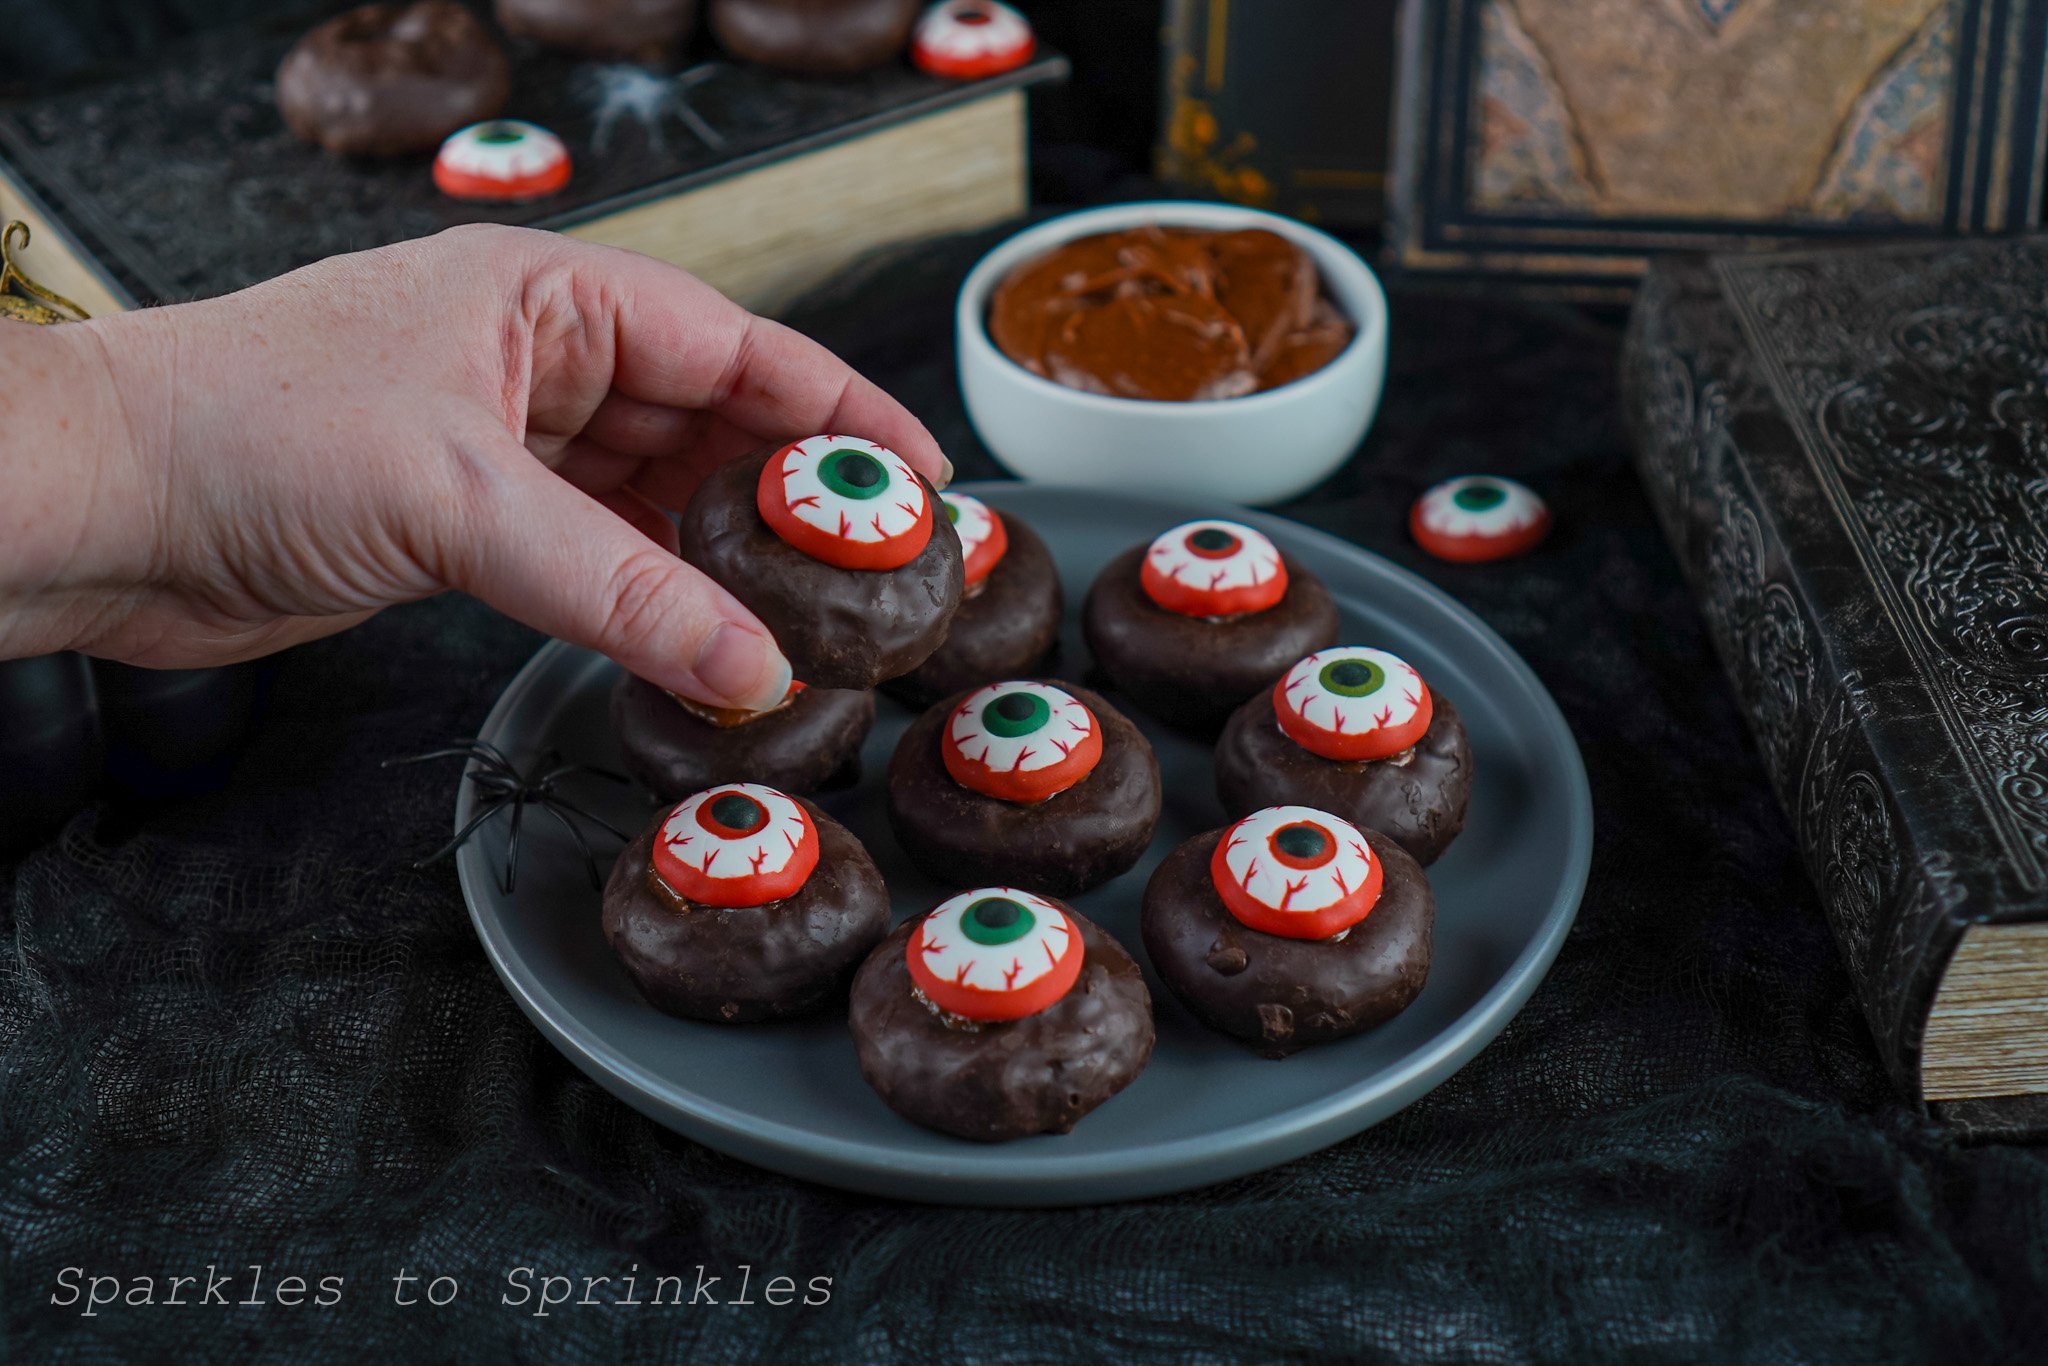
- Place the sugar eyeballs in the middle of the donuts, eye side up. Lightly press into the frosting, and enjoy!
Tips & Tricks
- Use a frosting bag and small frosting tip for cleaner, quicker assembly
- Keep the donuts cool before decorating to avoid melting or mess
- Large sugar eyes work best for visual impact
- Serve immediately for best texture and presentation
FAQs

Eyeball Donuts
These Mini Donut Eyeballs only take three ingredients and a few minutes to whip up. Perfect for a party treat or just a fun snack for the kids around Halloween.
Ingredients
- 12 Mini Chocolate Donuts
- 12 Icing Decoration Eyes
- 3 Teaspoons Chocolate Frosting (give or take)
Instructions
- Line up the donuts, in one layer, on a plate or other flat dish.
- Apply a small dollop of chocolate frosting in the small dip, in the middle of the donuts. Not too much (like ¼ teaspoon each donut), but this part doesn’t have to be exact. I use a frosting bag and small frosting tip to make this step quick, easy, and less messy.
- Place the sugar eyeballs in the middle of the donuts, eye side up. Lightly press into the frosting, and enjoy!
Notes
Items Needed:
Frosting Bag (optional)
Small Frosting Tip (optional)
Tips:
- Do not store. Best if eaten immediately.
- You can use any large candy or sugar eyes, especially if you have a lot to make, and need to buy in bulk.
- The tiny candy eyes don’t look the greatest and are too small to really make the snack pop.
- Keeping the donuts in a cool, dry area before using makes it easier to handle them while applying the eyes. Otherwise, they will be melting and hard to handle without making a mess.
I’m Melissa, the imaginative force behind Sparkles to Sprinkles, where creativity comes to life, and sprinkles of joy are scattered generously. Melissa is a proud Jersey girl who found love with a New York boy. As a mom to four wonderful boys and a few fur babies, her journey into the world of blogging began after making the life-changing decision to stay home and raise her children. Previously a dedicated workaholic, Melissa’s blog became her creative outlet and passion project. Inspired by her mother-in-law, a masterful cook renowned for her delicious home-cooked meals and legendary holiday feasts (think mouthwatering sausage stuffing), Melissa honed her culinary skills through a combination of family recipes and countless cooking classes. She often attended these classes with her son Michael, who shared her enthusiasm for cooking from a young age. Melissa’s love for learning extends beyond familiar cuisines, as she enjoys exploring international recipes in hands-on cooking classes. Her blog features a diverse array of recipes, showcasing her expertise with various kitchen appliances such as the Instant Pot, air fryer, Slow Cooker, Ninja Foodi, Instant Vortex Plus, and more. Join Melissa on her culinary adventures as she shares tried-and-true family favorites alongside exciting new discoveries!


One Comment