
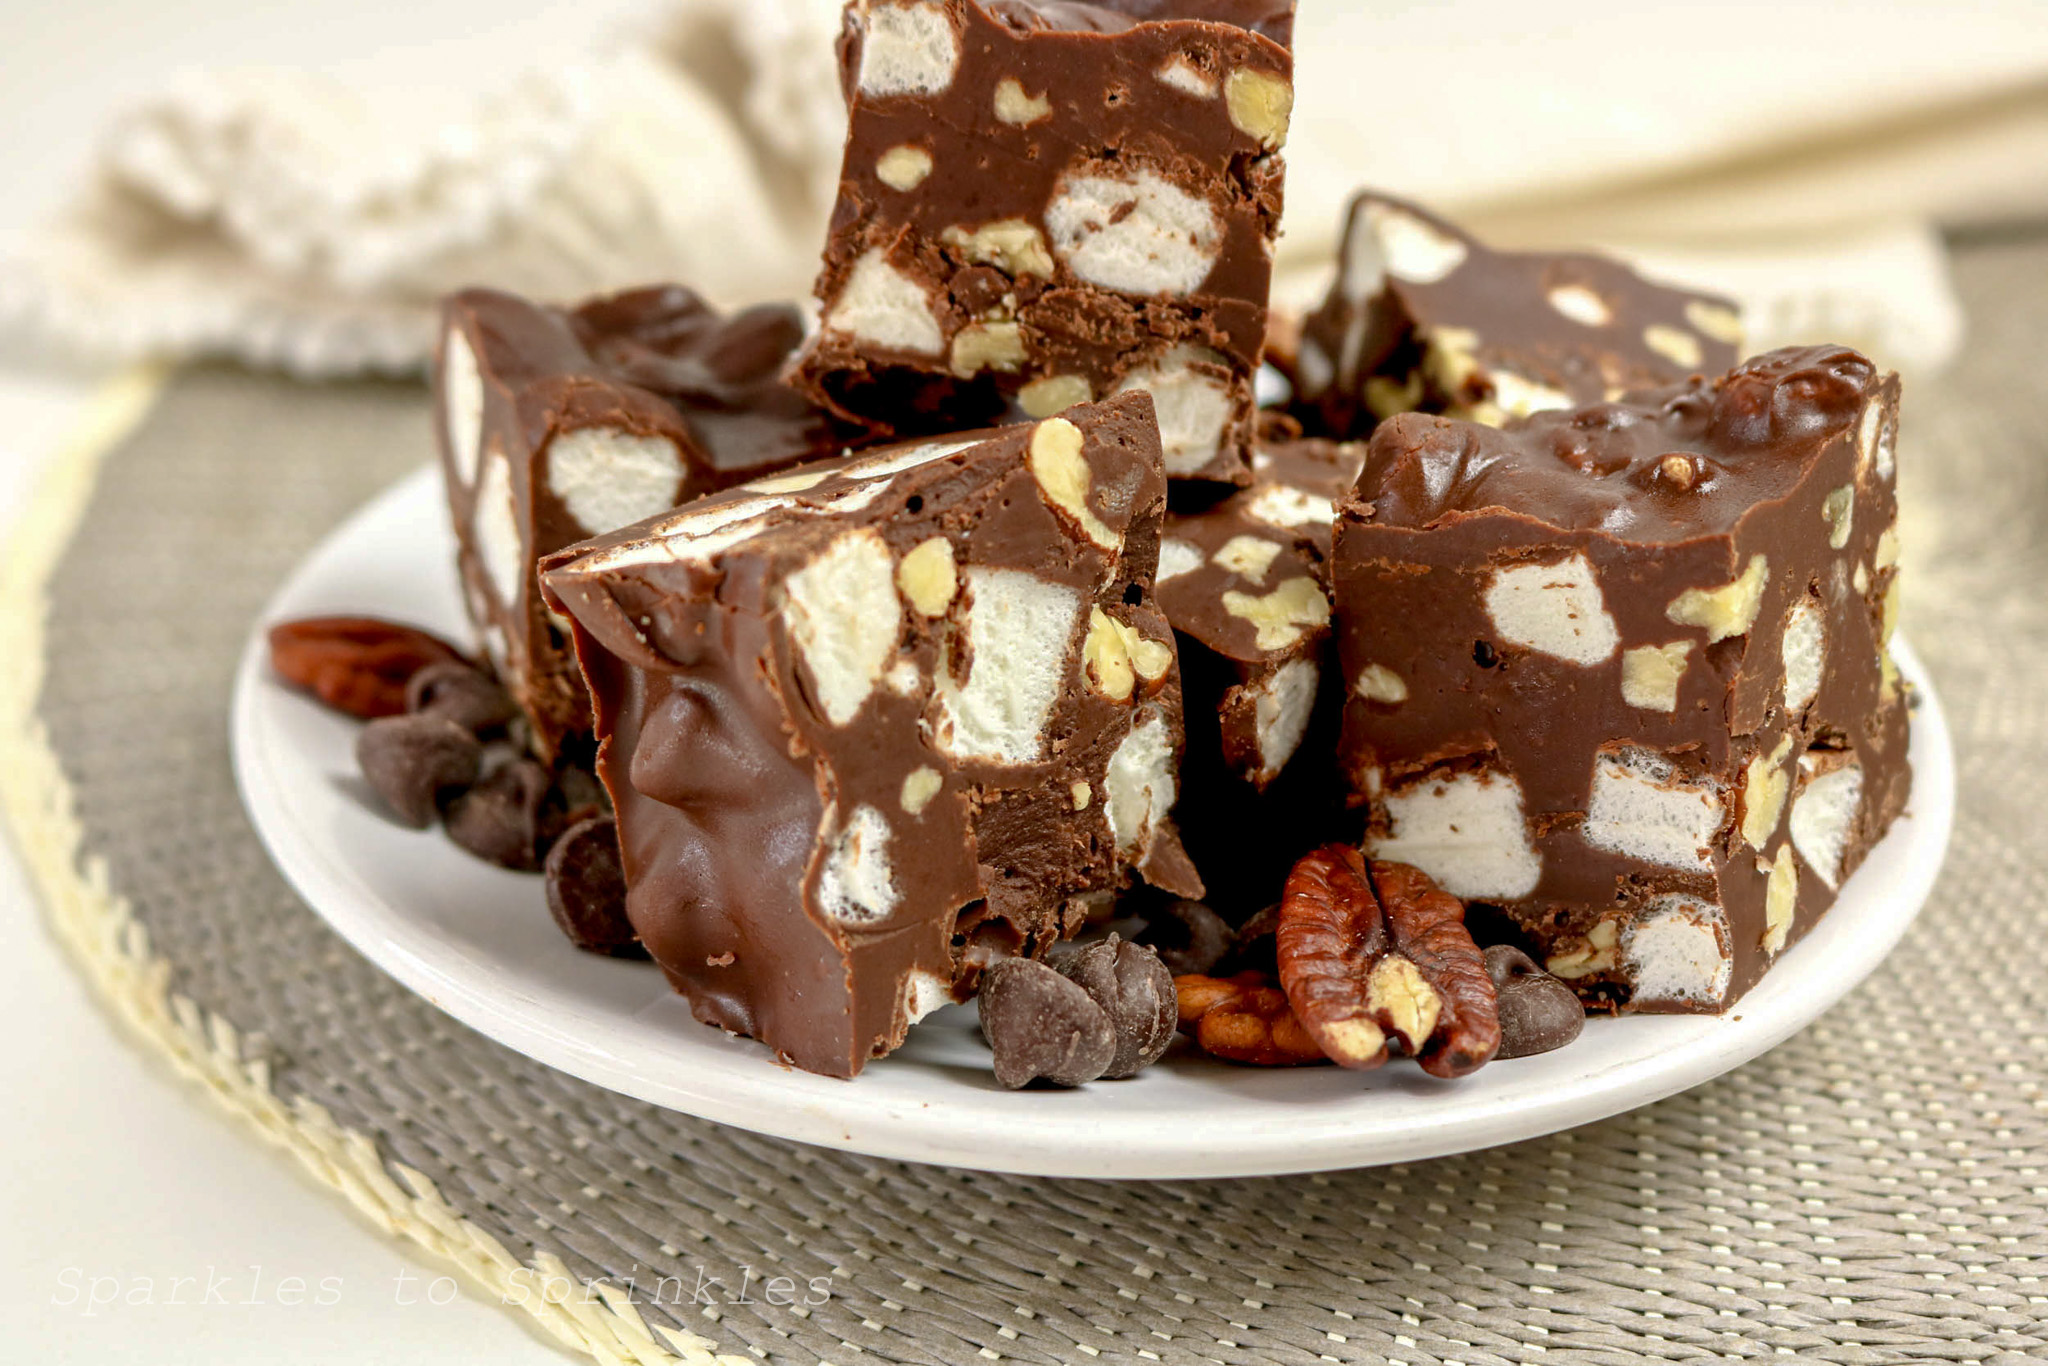
Rocky Road Candy
Rocky Road Candy is a classic no bake treat that never goes out of style. With just a few ingredients, you can whip up a batch of creamy, chocolatey squares packed with marshmallows and crunchy nuts. This candy is perfect for holiday platters, bake sales, or simply keeping in the fridge when you need a sweet bite.
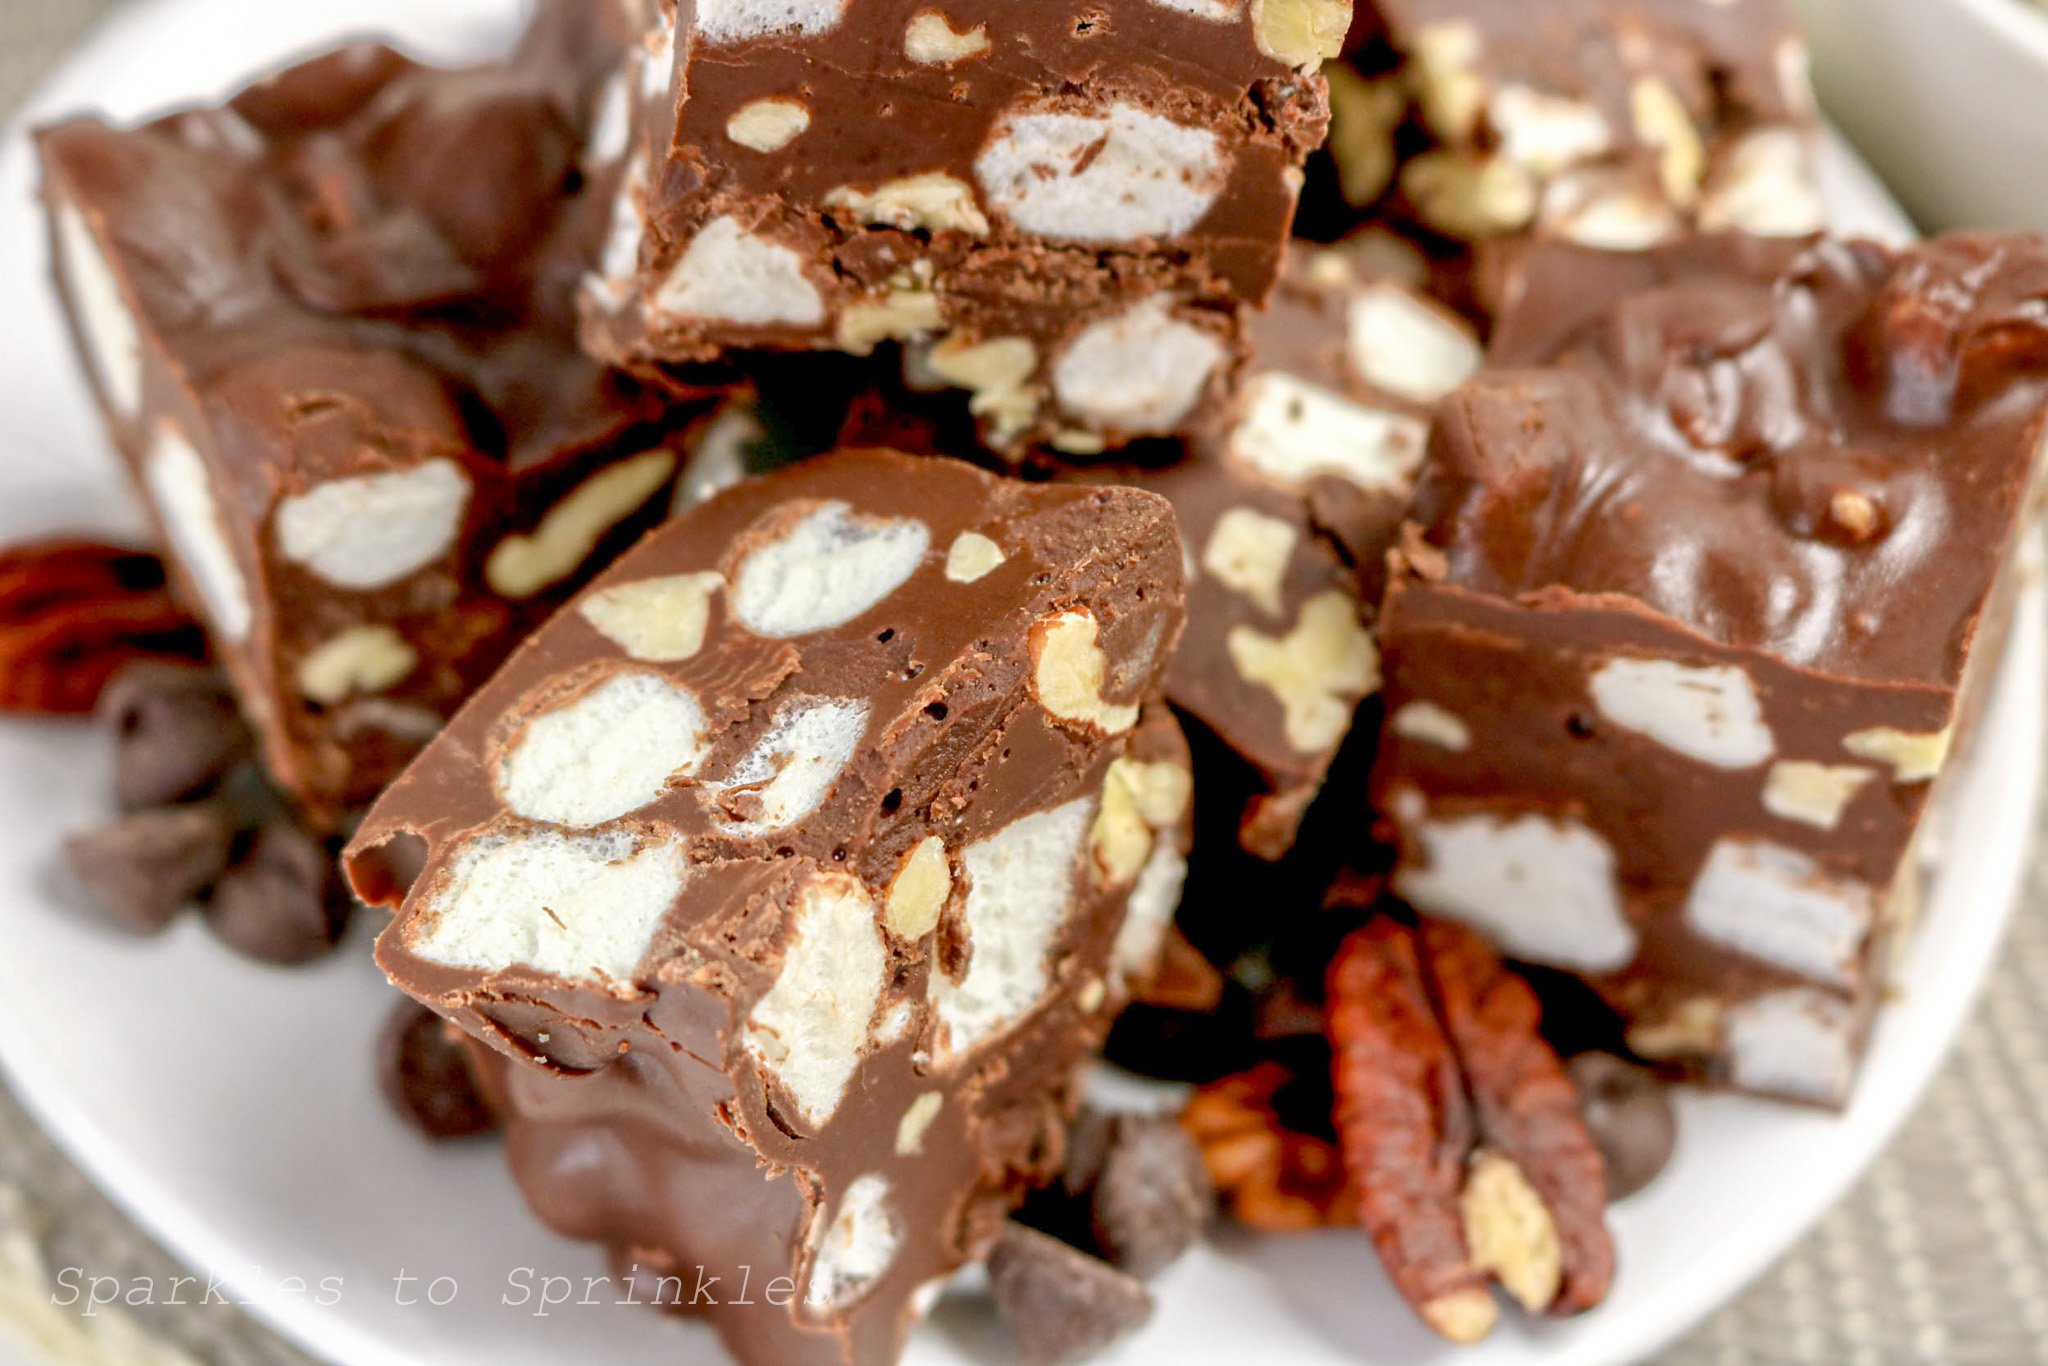
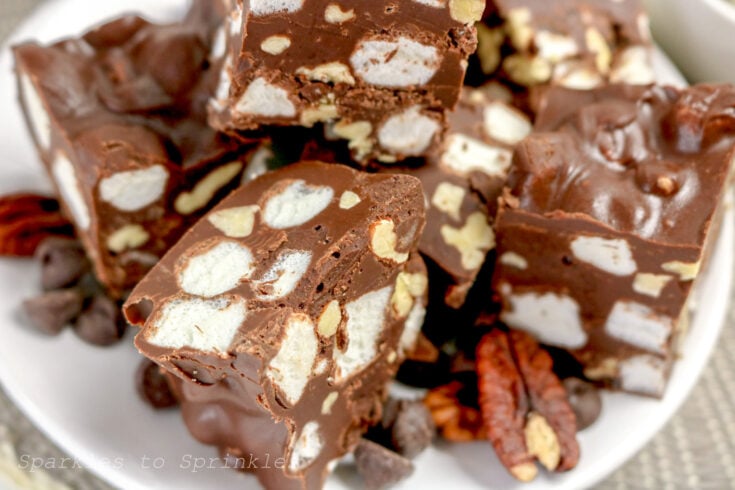
Rocky Road Candy
This recipe comes together in minutes and is so versatile that you can make it your own. The chocolate and peanut butter base is rich and smooth, while the marshmallows and nuts add the perfect mix of chewy and crunchy. If you love quick homemade treats, you’ll also enjoy [spot for related recipe link], [spot for related recipe link], and [spot for related recipe link].
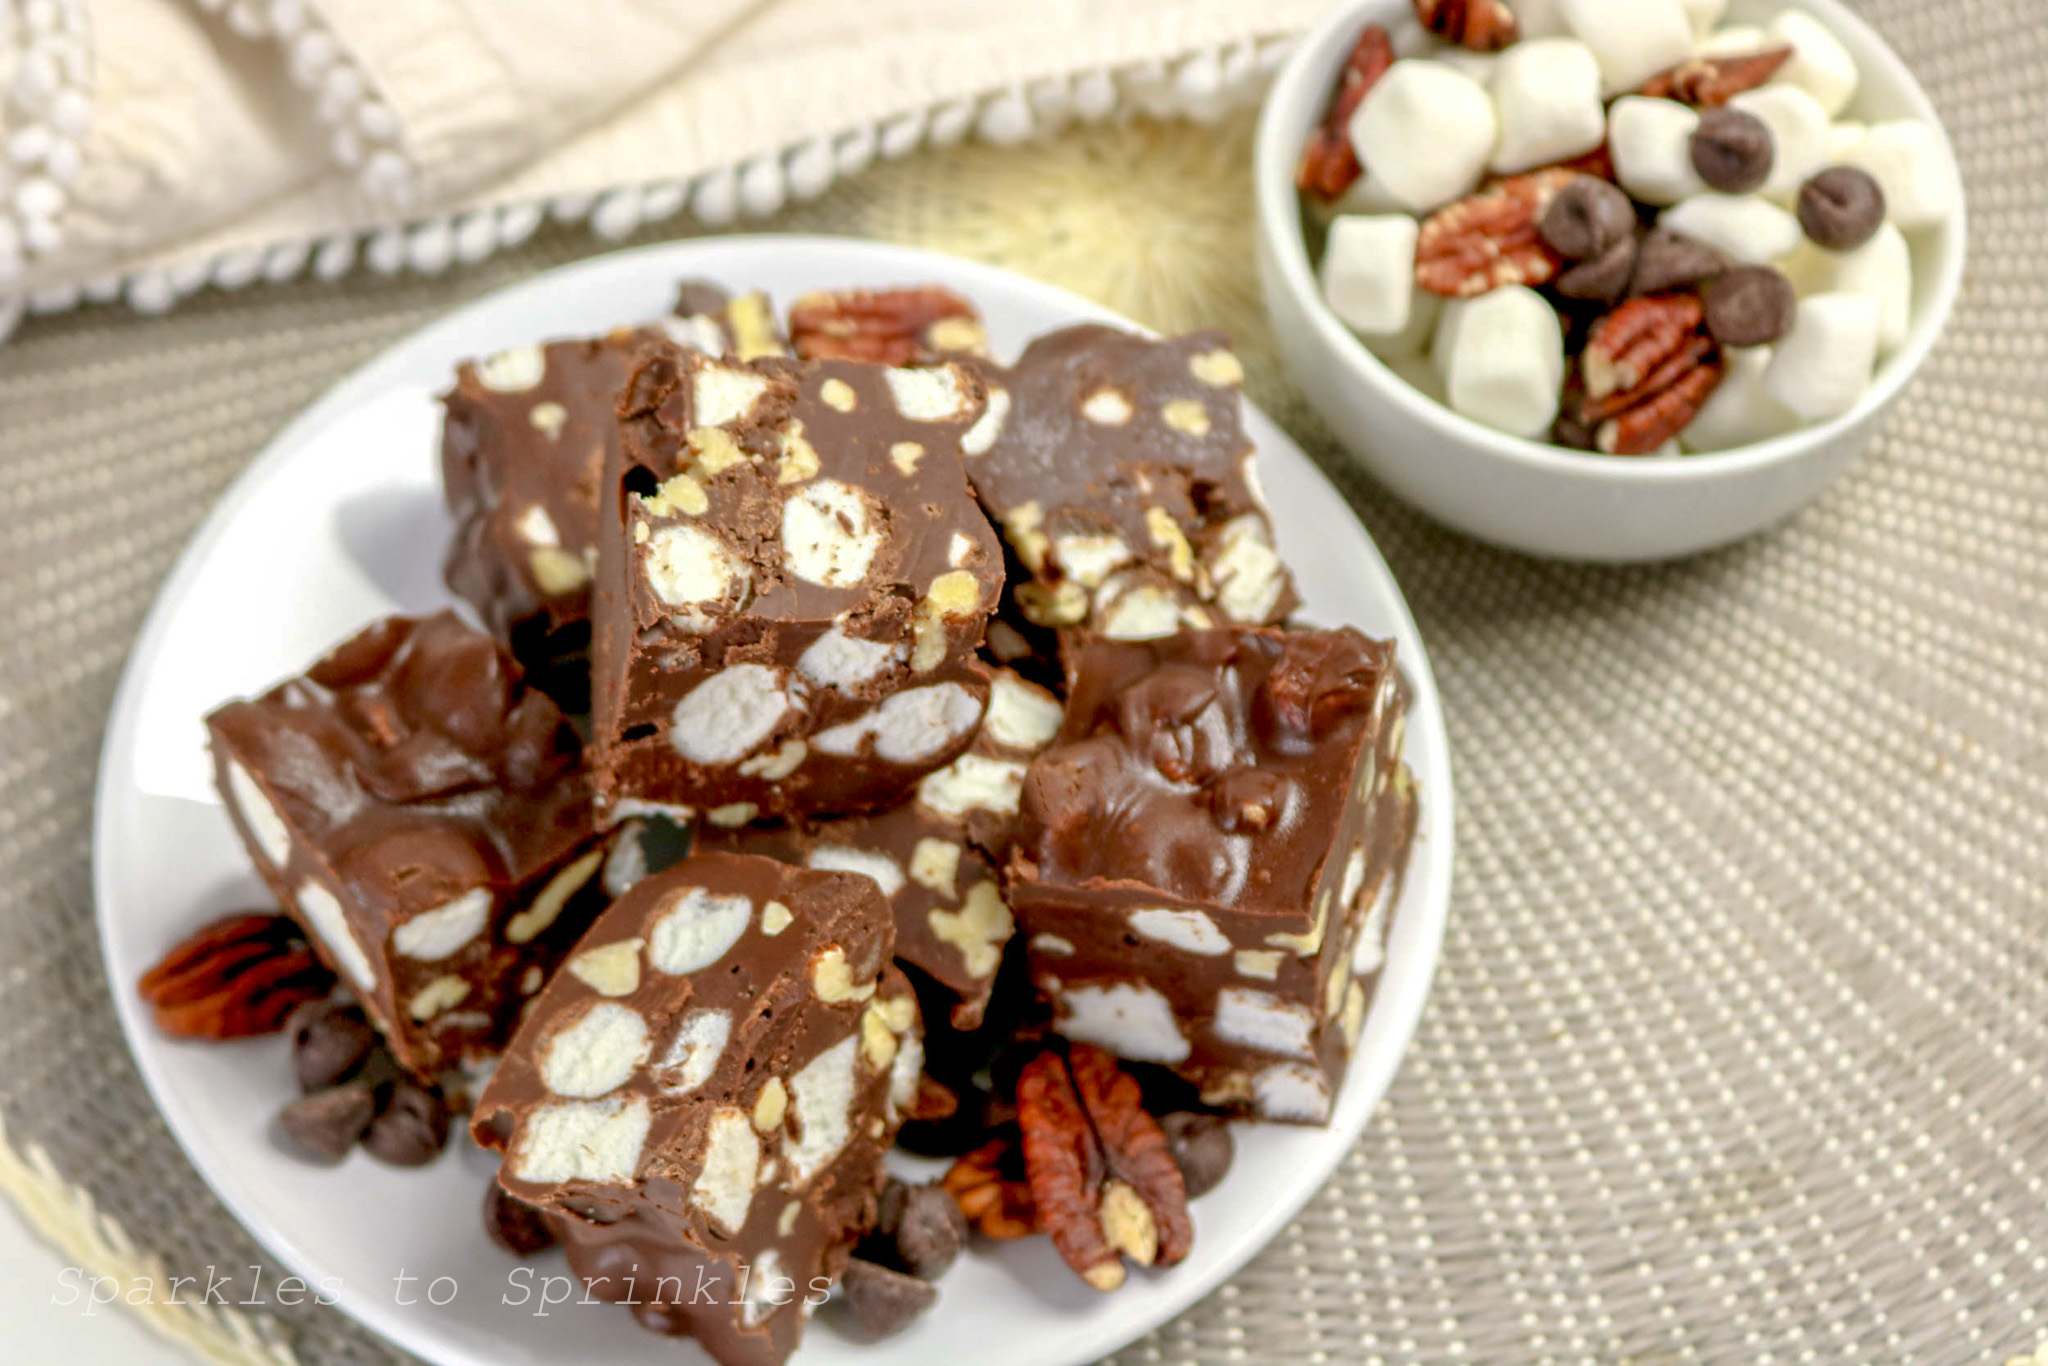
Whether you’re making Rocky Road Candy for a holiday party or a casual movie night, it’s sure to be a crowd-pleaser. Plus, since it keeps well in the fridge or freezer, you can prepare it ahead of time and have it ready whenever your sweet tooth strikes.
What You Will Love About This Recipe
Quick and easy to make with no baking required
Creamy chocolate base with chewy marshmallows and crunchy nuts
Perfect make-ahead dessert for holidays, parties, or gifting
Simple ingredients you may already have in your pantry
Easy to customize with different nuts or add-ins
Tips & Tricks
- Toast the nuts before adding for a deeper flavor and extra crunch.
- Melt the chocolate slowly to avoid burning and keep it glossy.
- Let the melted chocolate cool slightly before mixing in marshmallows so they don’t melt.
- Use parchment paper that hangs over the edges of the pan to easily lift out the candy for cutting.
- Store leftovers in the fridge or freezer for perfectly firm squares.
FAQs

Rocky Road Candy
Ingredients
- 3 cups semisweet chocolate chips
- 3/4 cup creamy peanut butter
- 1 teaspoon vanilla extract
- 2 cups mini marshmallows
- 1/2 - 1 cup chopped nuts (peanuts, walnuts, pecans, or almonds)
Instructions
- Line an 8x8-inch pan with parchment paper.
- In a microwave-safe bowl, melt the chocolate chips (and peanut butter, if using) in 30-second intervals, stirring in between, until smooth.
- Stir in vanilla extract.
- Fold in mini marshmallows and chopped nuts until well combined.
- Pour the mixture into the prepared pan and spread evenly.
- Refrigerate for about 30 minutes, or until firm.
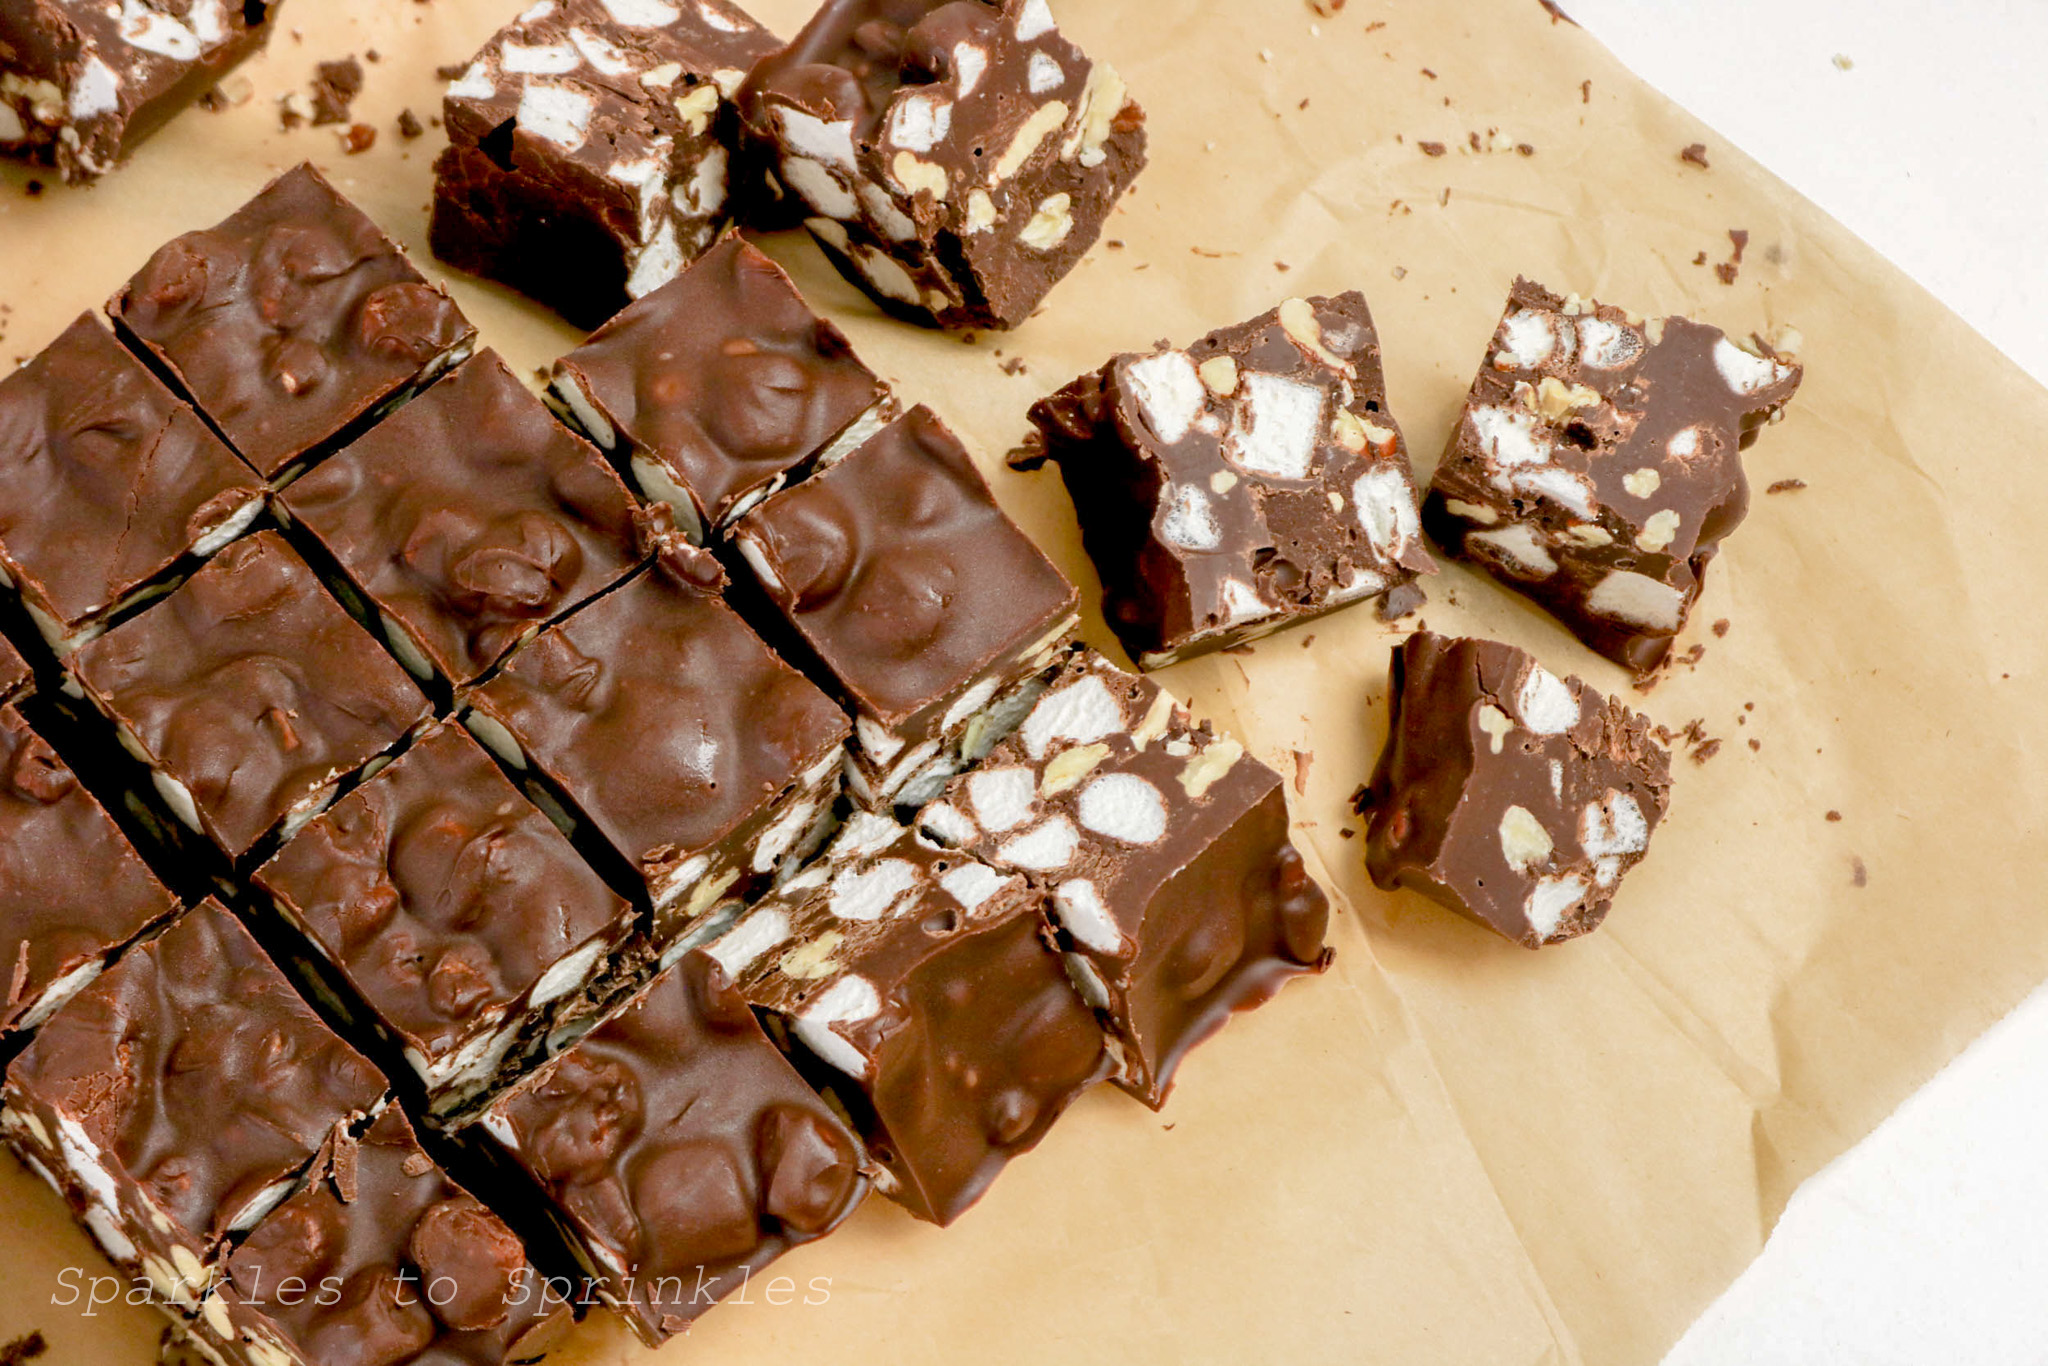
- Cut into squares and serve.
Notes
Tips:
Toast the nuts first for extra crunch and flavor—just bake them at 350°F for 5–7 minutes until fragrant.
Don’t overheat the chocolate—melt it slowly over low heat or in short microwave bursts, stirring often, to keep it smooth and glossy.
Mix in add-ins carefully so the marshmallows don’t melt from the warm chocolate; let the chocolate cool for 2–3 minutes before folding everything together.
Use a serrated knife when cutting to avoid squishing the marshmallows and keep the pieces looking neat.
Line the pan with parchment paper that hangs over the edges—this makes lifting the candy out and cutting much easier.
Store in the fridge or freezer for clean, firm bites, but let sit at room temperature for a few minutes before serving so they’re softer to chew.
Nutrition Information:
Yield:
24Serving Size:
1Amount Per Serving: Calories: 183Total Fat: 12gSaturated Fat: 5gTrans Fat: 0gUnsaturated Fat: 6gCholesterol: 0mgSodium: 52mgCarbohydrates: 20gFiber: 2gSugar: 15gProtein: 3g
I’m Melissa, the imaginative force behind Sparkles to Sprinkles, where creativity comes to life, and sprinkles of joy are scattered generously. Melissa is a proud Jersey girl who found love with a New York boy. As a mom to four wonderful boys and a few fur babies, her journey into the world of blogging began after making the life-changing decision to stay home and raise her children. Previously a dedicated workaholic, Melissa’s blog became her creative outlet and passion project. Inspired by her mother-in-law, a masterful cook renowned for her delicious home-cooked meals and legendary holiday feasts (think mouthwatering sausage stuffing), Melissa honed her culinary skills through a combination of family recipes and countless cooking classes. She often attended these classes with her son Michael, who shared her enthusiasm for cooking from a young age. Melissa’s love for learning extends beyond familiar cuisines, as she enjoys exploring international recipes in hands-on cooking classes. Her blog features a diverse array of recipes, showcasing her expertise with various kitchen appliances such as the Instant Pot, air fryer, Slow Cooker, Ninja Foodi, Instant Vortex Plus, and more. Join Melissa on her culinary adventures as she shares tried-and-true family favorites alongside exciting new discoveries!


